- Why ducts sweat in the first place
- Signs to catch early, and why they matter
- What to do right now: a homeowner’s checklist
- When to call a technician, and what they check
- Long-term fixes that actually stop the problem
- What our technicians see in the field
- Get a duct inspection before small drips become big repairs
- FAQ
- Sources
- Recommended

If your ducts are sweating, warm, humid air is meeting a duct surface that has dropped below its dew point, and moisture is condensing on the outside just like it does on a cold glass of water. Dry any visible water right away, lower indoor humidity, and check the insulation and condensate drain. If insulation is wet, mold has appeared, or water is pooling, call a technician before the system runs again.
TL;DR:
- EPA guidance recommends removing and replacing soaked or moldy duct insulation instead of drying it or cleaning it in place.
- Seal visible joints with UL 181 listed mastic or foil faced metal tape; ordinary cloth duct tape dries out and peels.
- Ducts in unconditioned spaces need insulation with R ratings of at least 8 on supply runs and 6 on returns, plus continuous vapor barriers.
- A dehumidifier reduces moisture but cannot compensate for torn insulation or exposed seams, so pair it with sealed joints and intact vapor barriers.
- Call a technician if water pools near the air handler, mold appears, or condensation returns within days after repairs; do not keep running the system.
Why ducts sweat in the first place
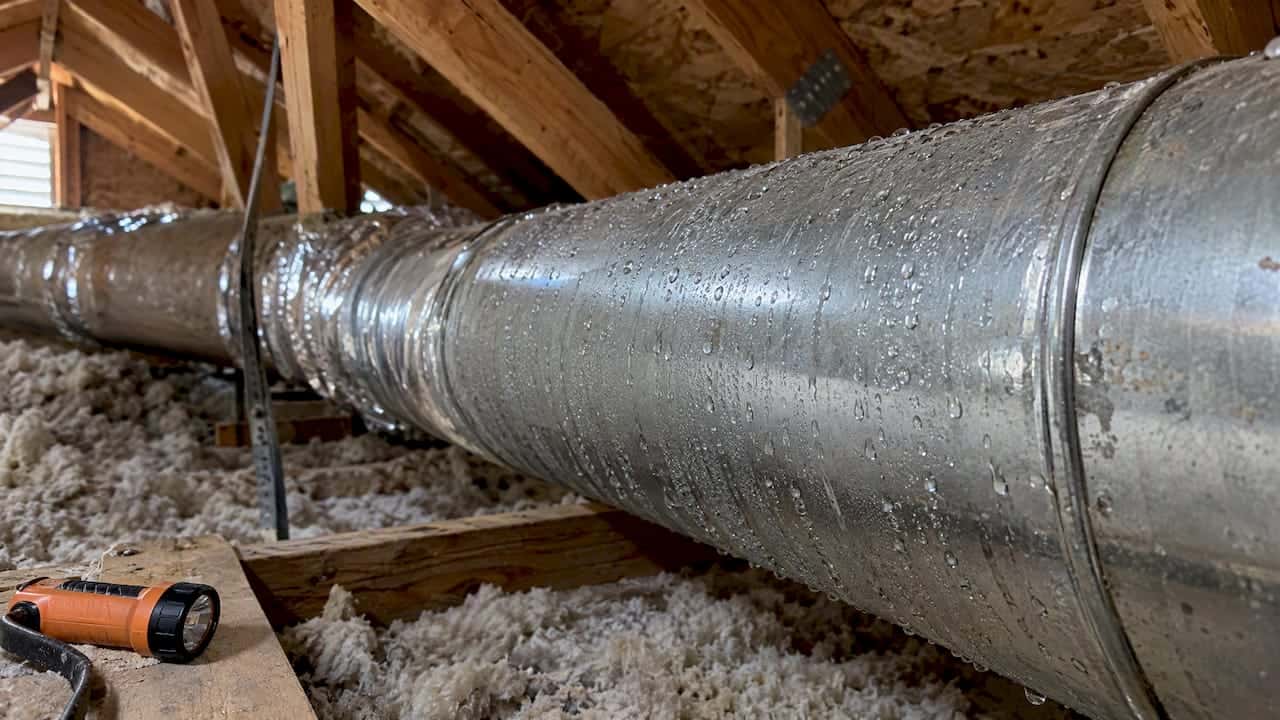
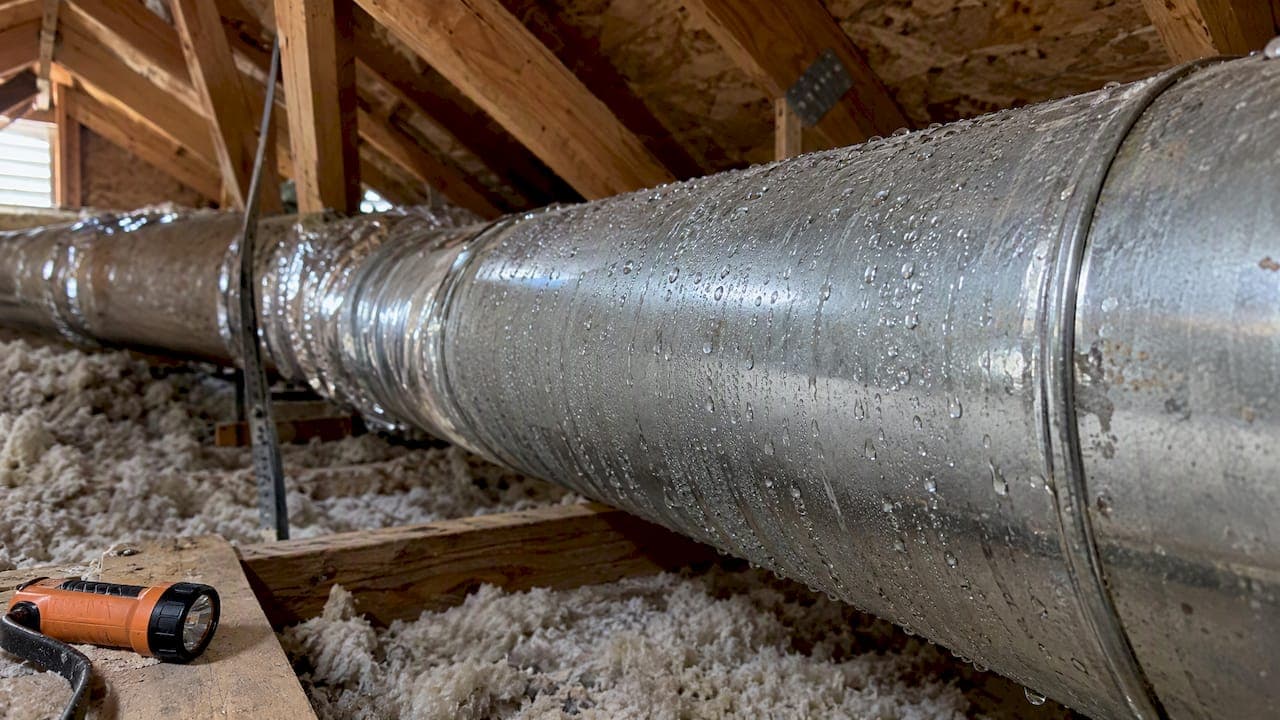
Every surface has a temperature at which moisture in the surrounding air turns to liquid. That’s the dew point, and when your supply ducts carry cooled air through a warm, humid space like an attic or crawlspace, the metal surface can easily drop below it. The result is beads of water forming on the outside of the duct, the same way they form on a cold soda can on a summer afternoon.
Leaky duct joints make this worse by pulling humid air straight into contact with cold metal. A torn seam or a gap at a boot connection is often the starting point, and it’s worth learning to spot leaky duct symptoms before they turn into a moisture problem.
Your system itself can raise the odds of sweating. An oversized air conditioner cools a room quickly, then shuts off before it has run long enough to pull real moisture out of the air. That short-cycling leaves indoor humidity higher than it should be, even though the thermostat reads a comfortable temperature. A clogged filter restricts airflow the same way, forcing the coil to run colder and the ducts downstream to sweat more.

Signs to catch early, and why they matter
Sweating ducts rarely stay quiet for long. Watch for:
- Visible water droplets or dripping along metal duct runs or at register boots.
- Wet, sagging, or darkened insulation wrap on supply ducts.
- A musty smell near vents or in the attic or crawlspace.
- Stains spreading across a ceiling or floor below the ductwork.
Wet fiberglass duct insulation is not something you can dry out and reuse with confidence. Once it’s saturated, it tends to trap moisture against the metal rather than release it, and EPA guidance is direct about this: wet or moldy insulated ducts should be removed and replaced, not cleaned in place. Left alone, that trapped moisture invites corrosion on the duct itself, rot in nearby wood framing, and mold that spreads well beyond the ductwork into your living space.
What to do right now: a homeowner’s checklist
A sweating duct is a moisture problem in progress, so speed matters more than perfection. Work through these steps in order.
- Towel-dry any standing water and move boxes, furniture, or stored items away from the wet area.
- Check the condensate drain line and pan for clogs or standing water. A blocked drain often shows up as pooling near the air handler.
- Seal visible duct joints with UL-181 listed mastic or foil-faced metal tape. Skip cloth-backed duct tape; it dries out and peels within a season.
- Wrap or repair insulation using foil-faced duct wrap with a continuous vapor barrier, pressed tight against the duct with no gaps at seams.
- Replace a dirty air filter and check whether the system is short-cycling or whether the thermostat fan setting needs adjusting.
- Run a portable or whole-house dehumidifier when indoor humidity stays high, which lowers the dew point and gives sweating duct surfaces less to react to.
Pro Tip: Keep a small notepad by the thermostat and jot down the date and location each time you spot new moisture. That pattern tells a technician a lot in the first five minutes of a visit.
If you’ve worked through this list and the ducts are still dripping, or the system is actively wetting insulation while running, stop operating it and call a professional. Continuing to run a system that’s soaking its own insulation only accelerates the damage.
When to call a technician, and what they check
Some situations call for a professional visit instead of another DIY attempt. Reach out when you see:
- Standing water anywhere near ductwork or the air handler.
- Visible mold on insulation, drywall, or registers.
- Insulation that’s soaked through or torn away from the duct.
- Condensation that returns within days of sealing and re-wrapping.
- Puddling on finished floors or ceiling stains that are spreading.
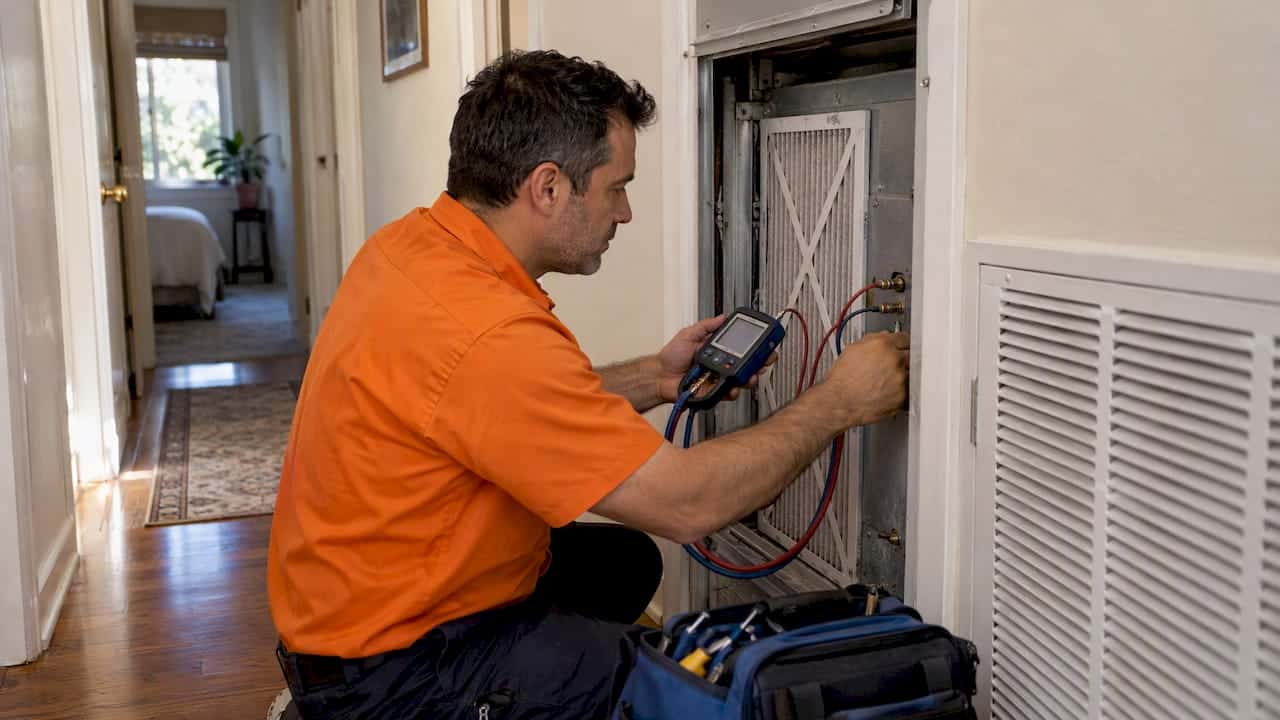
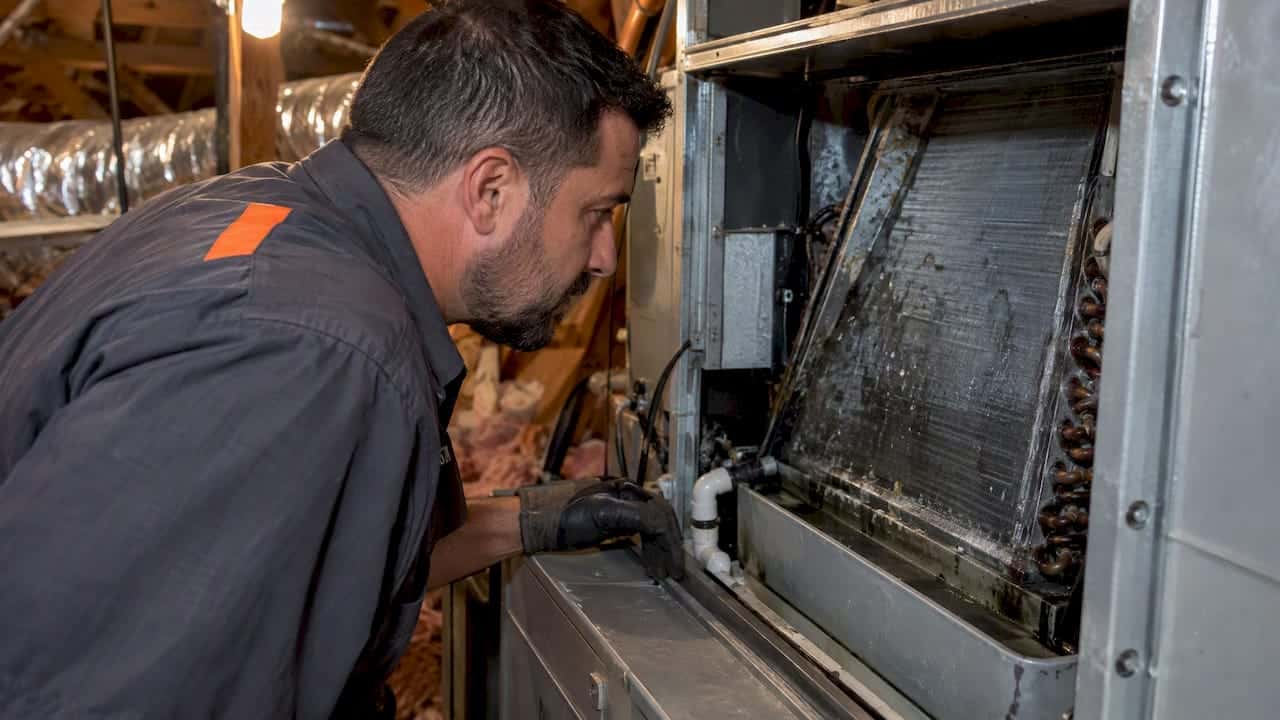
A technician’s visit typically covers duct airtightness and seam sealing, the condition and continuity of the insulation’s vapor barrier, the evaporator coil and condensate pan or drain line, system runtime against the home’s actual cooling load, and whether a dedicated dehumidification strategy makes sense for your climate. Common fixes include re-insulating with a proper vapor retarder, repairing or replacing a cracked condensate trap, adding a whole-house dehumidifier, or right-sizing equipment that’s been short-cycling and failing to pull moisture out of the air.
Long-term fixes that actually stop the problem
Quick patches help, but the fixes that keep ducts dry for good start with insulation thickness and vapor control. Building science guidance recommends a minimum of R-8 for supply ducts and R-6 for return ducts in unconditioned spaces, and insulation only works when it includes a continuous vapor barrier. A gap in that barrier, even a small one at a seam or a strap, lets humid air reach the cold metal underneath and defeats the insulation’s purpose.
In hot, humid climates, some homeowners go a step further with duct encapsulation: closed-cell spray polyurethane foam applied directly to the ductwork, sometimes followed by burying the ducts under attic insulation, as explained in detail by One Day Doors & Closets. Building science research shows this approach can eliminate condensation risk entirely, but only when the ducts are airtight first and the foam layer maintains a low-permeance vapor seal from end to end.
At the system level, Energy points to sealing every duct joint with mastic or UL-181 listed tape and mechanically fastening insulation so it can’t sag or separate over time. Pairing that with correctly sized equipment, so the system runs long enough to dehumidify rather than short-cycling, and routing new ductwork through conditioned space whenever a remodel allows it, keeps surface temperatures from ever approaching the dew point in the first place. If you want more background on how dehumidifiers fit into this picture, our guide to HVAC dehumidification walks through the options.

What our technicians see in the field
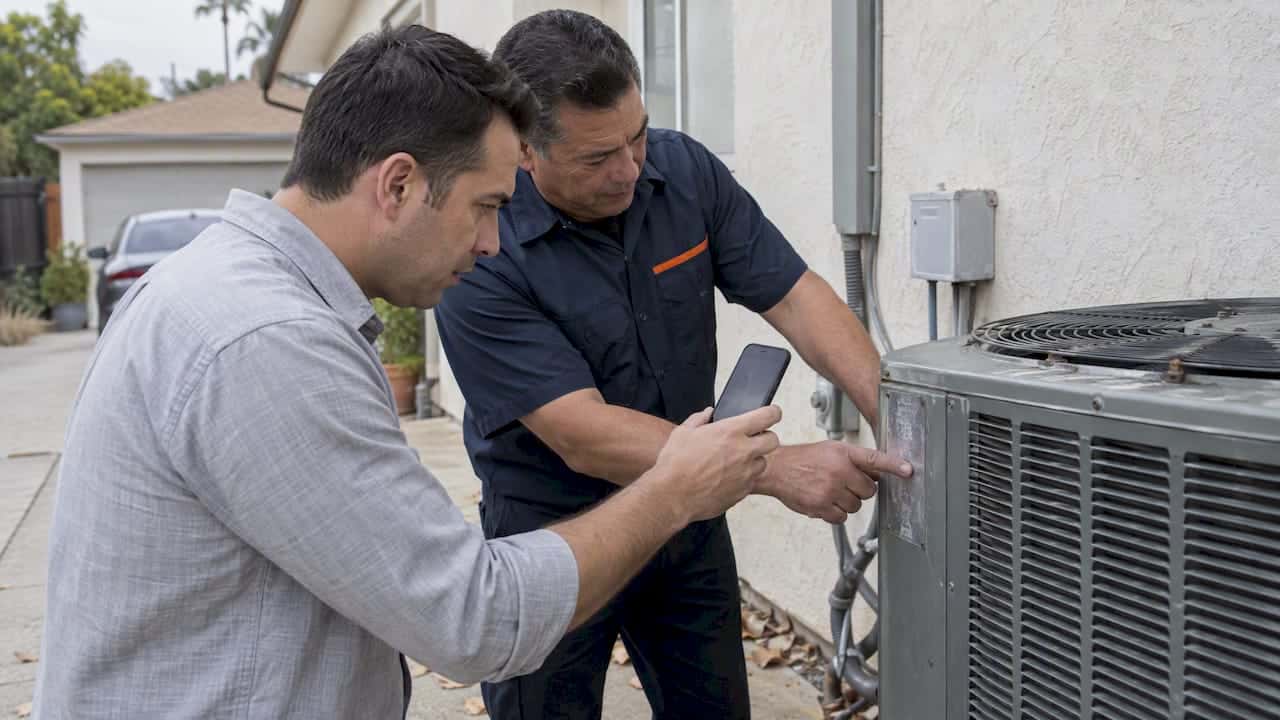
On most sweating-duct calls, we start with a moisture meter reading on the insulation, a visual inspection of every accessible joint, a condensate drain test, and a check of system runtime against the filter’s condition. The pattern we see most often is delay: a homeowner notices a drip, wraps it in whatever tape is in the garage, and calls only after the ceiling has stained. Standard cloth duct tape and non-vapor-barrier wraps are the two materials that fail us the most in these visits. We offer diagnostics at a flat rate, providing cost clarity before starting work.
— Leo
Get a duct inspection before small drips become big repairs
Try the checklist above first. If the sweating keeps coming back, book a diagnostic visit and we’ll check your duct seals, insulation, and condensate drain with the same flat-rate pricing we quote every customer, no surprise fees added once we’re on the roof or in the attic.

We handle everything from resealing and re-insulating ductwork to full duct installation and replacement, plus heat pump service and repair for homes running mini splits or multi-zone systems that are prone to the same condensation issues. Same-day appointments are available across the service area, and our HVAC maintenance plan keeps filters, coils, and drains in shape year-round so sweating ducts don’t come back.
FAQ
What causes condensation on air ducts?
Condensation forms when warm, humid air touches a duct surface that’s colder than the air’s dew point, and the moisture turns to liquid on contact. Leaky seams, thin or gapped insulation, and a system that short-cycles instead of properly dehumidifying all make it more likely.
How do I seal air vents to stop sweating?
Seal visible gaps and joints with UL-181 listed mastic or foil-faced metal tape, never standard cloth duct tape, which dries out and fails within months. Press the seal tight against clean, dry metal, and check it again after the first humid season.
What causes condensation in general, not just on ducts?
Condensation happens anywhere air meets a surface colder than its dew point, whether that’s a window, a cold pipe, or a duct. ASHRAE guidance suggests keeping indoor dew point below roughly 55°F to reduce the odds of moisture forming on any cool surface in the home.
Will a dehumidifier stop condensation on ductwork?
A dehumidifier can lower the air’s moisture content enough to keep it below a duct’s surface temperature, which stops new condensation from forming. It works best alongside sealed joints and intact insulation, since a dehumidifier alone can’t compensate for a torn vapor barrier or an exposed duct seam.
How do I know if my duct insulation needs replacing instead of drying?
If the insulation is soaked through, sagging, or shows mold, EPA guidance recommends removal and replacement rather than drying or cleaning in place. Saturated insulation tends to hold moisture against the duct, which keeps the condensation cycle going even after the surface looks dry.
Sources
- HVAC high-R duct insulation | Building Science Education
- ASHRAE position document on limiting indoor mold and dampness
- Should I have the air ducts in my home cleaned? | EPA
- Energy
- No-sweat condensation on ductwork and boots | Building Science
Recommended
Leo, Propietario y Técnico Principal en LC Heating & Air
Leo dirige LC Heating & Air como propietario-operador y tiene la licencia C-20 HVAC #1073586 de California. Sus guías se enfocan en diagnósticos prácticos, decisiones de reparación seguras y consejos claros para propietarios de Los Ángeles.