- 1. Common signs your ductwork is leaking
- 2. How to check for duct leaks yourself
- 3. What a professional diagnostic test actually measures
- 4. The real cost of leaky ducts: energy, comfort, and air quality
- 5. Materials and methods for sealing ducts the right way
- 6. What our technicians check on a duct inspection visit
- 7. Balancing DIY fixes with professional diagnostics
- How LC Heating & Air handles duct diagnostics and repair
- Sources
- FAQ
- Recommended

If your rooms heat or cool unevenly, your system runs longer than it used to, and your energy bills keep climbing, leaky ductwork is a likely cause. ENERGY STAR notes that a typical home can lose 20 to 30% of the conditioned air moving through its ducts to leaks, holes, and poor connections. Try the simple checks below first, and call a professional if you suspect a large leak or anything involving gas appliances.
TL;DR:
- Most homes lose 20 to 30% of conditioned air through leaks, holes, and poor connections, significantly affecting energy efficiency.
- Signs of leaky ducts include uneven temperatures, weak airflow, rising energy bills, dust buildup, and odd noises, often in combination.
- DIY checks like feeling for air at joints, smoke tests, and visual inspections can help identify major leaks before calling a professional.
- Professional diagnostics utilize airflow measurements, thermal imaging, and pressurization tests to precisely locate and measure leaks.
- Sealing leaks with mastic or foil-backed tape and insulating exposed ducts typically costs less than replacing duct sections and improves system performance.
1. Common signs your ductwork is leaking
Leaky ducts rarely announce themselves with one obvious clue. Instead, they show up as a pattern of small annoyances that add up over a season. If you recognize two or three of these in your own home, your ducts deserve a closer look.
- Uneven temperatures: Some rooms feel noticeably warmer or cooler than the rest of the house, especially at the ends of long duct runs.
- Weak airflow: One or two vents barely push air while others seem fine, or the whole house feels underpowered no matter the setting.
- Rising energy bills: Your heating or cooling costs creep up without a clear reason, and the system seems to run longer to reach the same comfort level.
- Dust buildup: You notice more dust around supply registers, or the house feels dustier shortly after the system cycles on.
- Odd duct noises: Whistling, hissing, or a faint vibrating sound along the ductwork points to air squeezing through small gaps.
- Musty or stale odors: A damp, earthy smell when the system runs can mean air is traveling through an attic or crawlspace before reaching your rooms.
- Visible damage: In attics, crawlspaces, or garages, flexible ducts that are disconnected, kinked, torn, or crushed under stored items are a direct and fixable cause.
None of these signs alone proves a leak, but together they build a pretty convincing case. The good news is that most of them can be checked in an afternoon, which is exactly what the next section walks through.
2. How to check for duct leaks yourself
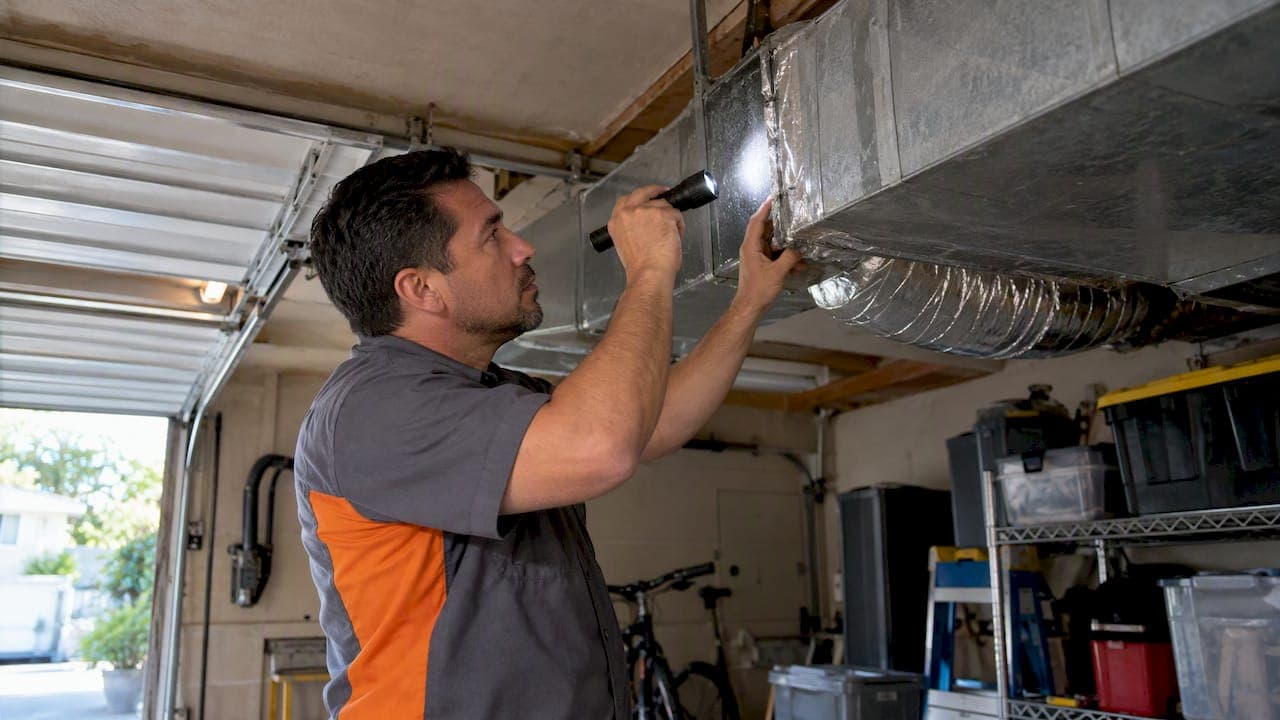
Before calling in a technician, a few safe, low-cost checks can tell you whether your instincts are right. None of these require special tools, just a little patience and a flashlight.
- Run the fan and feel for air. Turn your HVAC fan to “on” so air moves continuously, then run your hand along visible duct joints and seams in the attic, basement, or crawlspace. A steady puff of air where two sections meet usually means a loose connection.
- Try a smoke test. Hold a lit incense stick or a smoke pencil near duct seams and register edges while the fan runs. Smoke that curls and scatters, instead of drifting past in a straight line, is being pulled or pushed through a gap.
- Check registers one by one. With the system running, briefly cover each supply register with your hand or a piece of cardboard and compare how much resistance you feel. A register with noticeably weak airflow compared to others may be fed by a leaky or disconnected duct run.
- Do a visual sweep. In any accessible attic or crawlspace, look for flexible ducts that have come apart at the collar, sagged into a kink, or been crushed by stored boxes or foot traffic.
Pro Tip: Take a quick photo of anything that looks disconnected or crushed before you touch it. It gives a technician a head start and helps you track whether the same spot fails again later.
Keep in mind the limits here. Never open a furnace’s combustion compartment or poke around gas connections on your own, and understand that leaks buried under attic insulation often go undetected without a duct sealing professional’s equipment. For a focused look at hot-upstairs, cold-downstairs complaints, a few quick diagnostic tests can narrow things down further.
3. What a professional diagnostic test actually measures
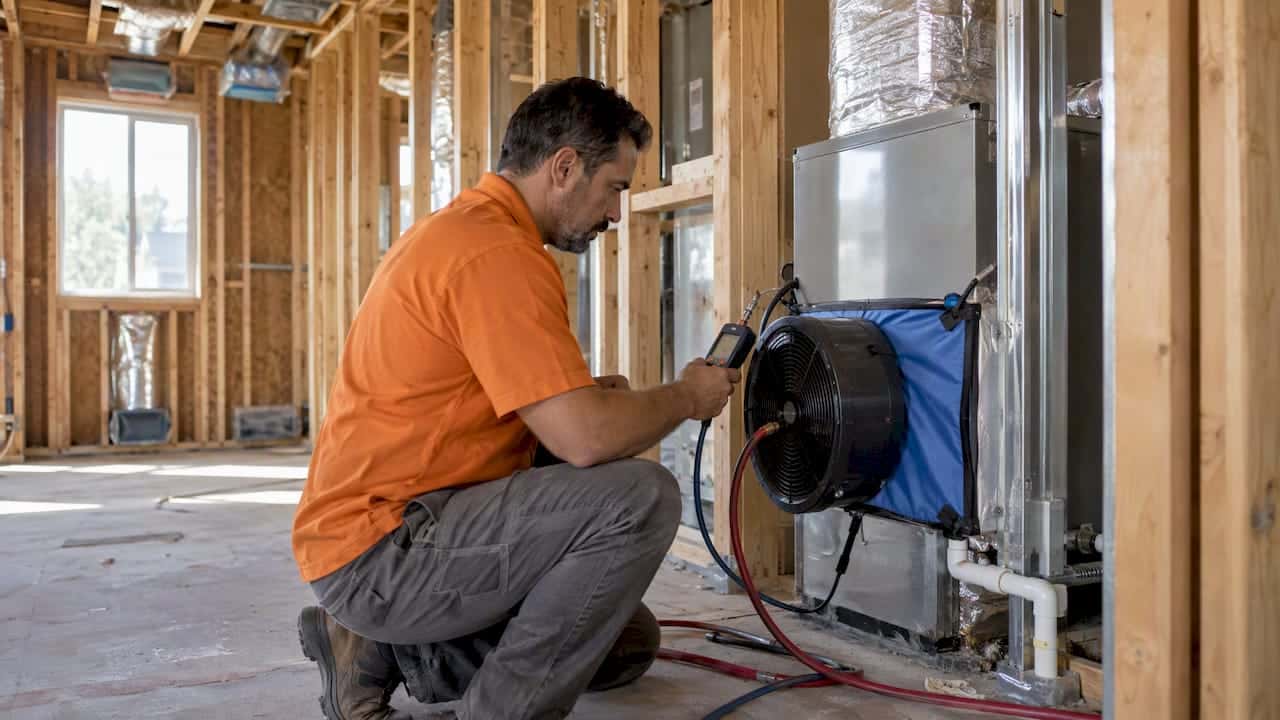
A homeowner’s walkthrough can point you in the right direction, but it cannot put a number on the problem. Professionals rely on a handful of standardized tests to measure exactly how much air is escaping and where.
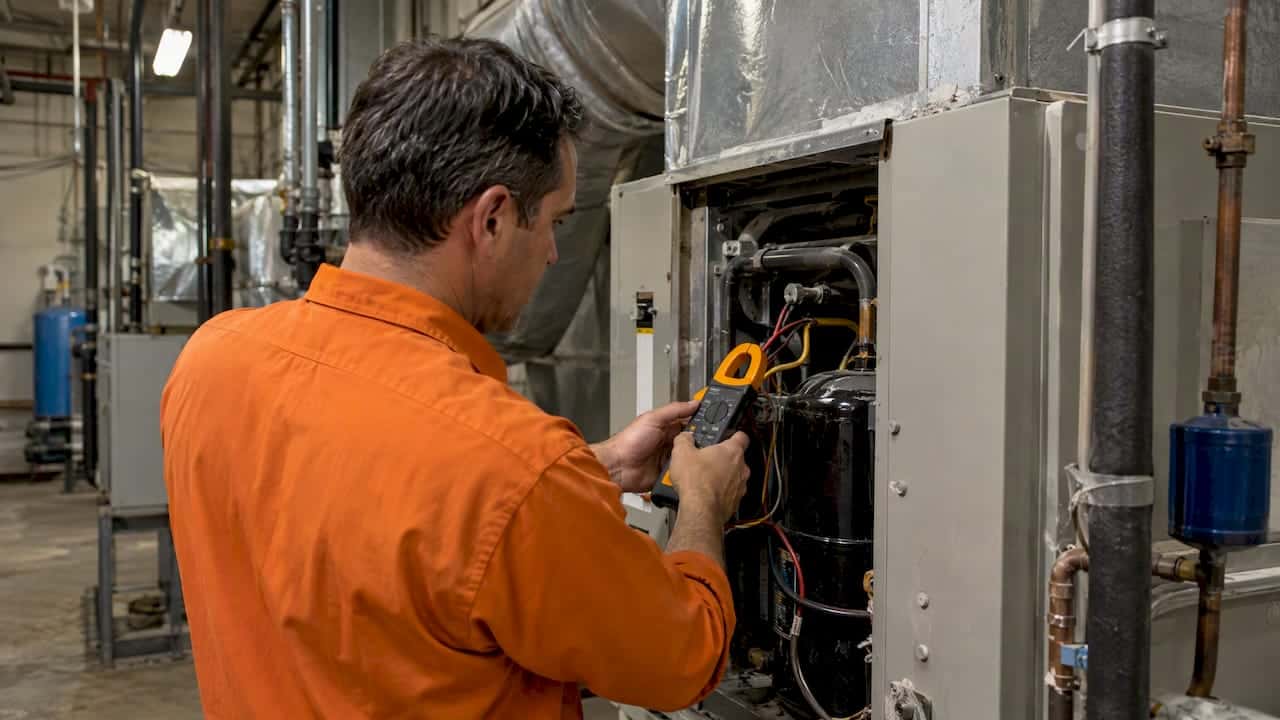
- Duct blower (duct blaster) test: A calibrated fan pressurizes the duct system so a technician can measure total leakage directly, a method described as a standard diagnostic approach in Building America’s duct efficiency guidance.
- Blower-door combined with duct testing: Pairing a whole-house blower door with duct pressurization helps isolate how much leakage happens inside versus outside the conditioned space.
- Pressure pan and flow hood readings: These tools measure airflow at individual registers, which helps a technician pinpoint which specific runs are starving a room.
- Infrared or thermal imaging: A thermal camera can reveal temperature differences around ducts buried under insulation, flagging leaks that no visual inspection would catch.
Leaky ductwork wastes a measurable share of your conditioned air. ENERGY STAR estimates that a typical forced-air home loses 20 to 30% of that air before it ever reaches a vent, a figure that lines up with the practitioner guidance in the same Building America report cited above, which recommends reducing total leakage to a small fraction of the system’s fan flow.
Call a professional without delay if you see ducts fully disconnected, suspect a large pressure imbalance between rooms, notice a return leak near a garage or a gas appliance, or keep seeing high bills after ruling out other causes.
4. The real cost of leaky ducts: energy, comfort, and air quality
Duct leaks do more than waste money. They create a chain reaction that touches comfort, humidity, and the air you breathe.
- A double energy penalty: Supply-side leaks lose conditioned air directly, and the house then draws in unconditioned outdoor air to replace it, so your system works twice as hard for the same result, according to ENERGY STAR.
- Contaminants on the return side: A leaking return duct can pull in attic insulation fibers, soil gases, or combustion byproducts and circulate them through the house, a risk outlined in Building America’s research on duct leakage and indoor air quality.
- Humidity and mold risk: Leaks that let humid outside air into the system can throw off moisture control, and that extra moisture settling in attics or crawlspaces raises the chance of mold affecting the air inside your home.
- Uneven dust distribution: Air pulled through unconditioned spaces often carries dust and debris straight into your living areas through the supply vents.
Sealing existing ductwork is almost always cheaper than upsizing a furnace or air conditioner to compensate for the losses, and it tends to extend equipment life because the system no longer strains to make up for air it never delivers. More on these mechanics is covered in our breakdown of leaky duct impacts.
5. Materials and methods for sealing ducts the right way
Not every fix holds up over time, and the material you choose matters as much as the repair itself.
- Use mastic or metal-backed tape: Industry guidance from ENERGY STAR’s duct sealing resources recommends UL-approved mastic or foil-backed tape for sealing seams and joints.
- Reinforce wide gaps: For gaps wider than about one-eighth of an inch, pair mesh tape with mastic rather than relying on tape alone.
- Skip cloth-backed duct tape: Despite the name, ordinary cloth-backed duct tape loses its grip in the heat and humidity swings of an attic or crawlspace, a failure mode confirmed by University of Florida IFAS guidance on duct sealing materials.
- Insulate exposed ducts: Ducts running through unconditioned attics or crawlspaces need adequate insulation to limit heat gain and loss, on top of being sealed.
Pro Tip: If a duct run looks visibly dirty or contaminated with mold or pests, don’t jump straight to cleaning. EPA guidance recommends cleaning only in those specific cases, since improper cleaning can stir up more dust than it removes.
Full encapsulation or spray-on duct sealants can help in specific situations, but they are not a universal fix. A badly deteriorated or crushed duct run usually needs replacement rather than another layer of sealant.
6. What our technicians check on a duct inspection visit
Two decades of field calls across Los Angeles homes have taught our technicians where leaks tend to hide. Older houses often reveal crushed flex runs in cramped crawlspaces or tape repairs that failed years ago. Newer attics sometimes bury ducts under loose-fill insulation, hiding a leak until a bill spike or a thermal scan gives it away.
A typical visit includes a visual inspection, a smoke test at accessible joints, register-by-register airflow checks, an attic or crawlspace walkthrough, and a combustion-safety check on any nearby gas appliance. When you’re vetting a contractor, ask what tests they actually performed, which sealing materials they used, whether they checked combustion safety afterward, and how their pricing is structured before work begins.

7. Balancing DIY fixes with professional diagnostics
Simple, accessible joints you can see and reach are reasonable DIY territory. Anything buried, anything near a furnace’s combustion chamber, or any leak large enough to affect comfort across multiple rooms is worth a proper diagnostic test first. A partial fix without measuring before and after can shift air pressure elsewhere in the house and create a new problem while solving an old one. Clear pricing and an honest read on what’s actually wrong protect you from both outcomes.
— Leo
How LC Heating & Air handles duct diagnostics and repair
Finding a leak is only half the job. Flat-rate diagnostics with no surprise fees are offered, so you know the cost of finding the problem before work starts. 

A typical visit covers the checks described above, followed by a clear repair plan using mastic and UL-approved materials. Book a service call to get a straight answer on what’s happening in your ducts.
Sources
- Duct sealing | ENERGY STAR
- Improving the Efficiency of Your Duct System (Building America / DOE)
- ENERGY STAR DIY guide (seal your ducts)
- Should you have the air ducts in your home cleaned? | EPA
FAQ
How do you fix leaky ductwork?
Small gaps and joints are sealed with UL-approved mastic or metal-backed tape, while gaps wider than about one-eighth of an inch get mesh reinforcement under the mastic. Crushed, torn, or badly deteriorated duct sections typically need replacement rather than sealing.
How do I test for ductwork leakage?
At home, you can feel for escaping air at joints while the fan runs, use a smoke pencil near seams, and compare airflow register by register. Professionals use duct blower and blower-door tests, described in Building America’s duct efficiency guidance, to measure total leakage precisely.
How much duct leakage is acceptable?
There’s no single number for every home, but ENERGY STAR notes that typical systems lose 20 to 30% of conditioned air to leaks, holes, and poor connections. Industry practitioners generally aim to bring measured leakage down to a small fraction of the system’s total airflow.
How do I know if my air ducts need to be replaced?
Ducts usually need replacement when sections are crushed, torn beyond repair, or so old that insulation and material have broken down. If sealing and insulating no longer solve persistent airflow or comfort problems, a duct repair assessment can confirm whether replacement makes more sense than another round of patching.
Recommended
Leo, Owner & Lead Technician at LC Heating & Air
Leo leads LC Heating & Air as an owner-operator and holds California CSLB C-20 HVAC license #1073586. His guides focus on practical diagnostics, safe repair decisions, and clear advice for Los Angeles homeowners.