- How to Tell If You’re Dealing With Dirty Sock Syndrome
- Why It Happens: Moisture, Coils, and Microbial Growth
- Step-by-Step DIY Checks and Safe Fixes to Try First
- Professional Solutions and Prevention: Coil Cleaning, UV, and Maintenance Plans
- Our Approach to Diagnosing and Preventing Dirty Sock Syndrome
- How Dirty Sock Syndrome Affects Indoor Air Quality and Your Health
- What Happens If You Ignore the Smell Long-Term
- How a Maintenance Plan Prevents Dirty Sock Syndrome Before It Starts
- Caring for Multi-Zone and Heat Pump Systems Specifically
- What Homeowners Tell Us After We Clear the Smell
- What Actually Matters When You’re Dealing With This Smell
- If DIY Didn’t Work, Let’s Get It Fixed for Good
- FAQ
- Sources
- Recommended
Dirty Sock Syndrome: Find the Source Before the Smell Returns

Dirty sock syndrome is a musty, gym-sock odor caused by bacterial or mold growth on your evaporator coil or drain pan, and it shows up most often in heat pumps when the system switches between heating and cooling. If you notice the smell, start by changing your air filter and running the fan alone for a while to help dry out the coil. If the odor keeps coming back, a professional coil and pan cleaning is usually what finally clears it for good.
TL;DR:
- If the smell is strongest at a vent and fades elsewhere, check the HVAC system after ruling out laundry, drains, and standing water.
- Replace the filter, run the fan only for two to three hours, and wait 24 to 48 hours after drying or cleaning before reassessing the odor.
- Call a technician if the odor returns within a week or two, the pan keeps filling, or slime is inaccessible; never open panels around refrigerant lines.
- EPA guidance puts coil and drain pan cleaning ahead of routine duct service, which is reserved for visible mold, pests, or heavy debris inside ducts.
- Add UVC only after physical cleaning, and only when a properly sized, placed, and regularly cleaned lamp can serve as ongoing backup.
How to Tell If You’re Dealing With Dirty Sock Syndrome
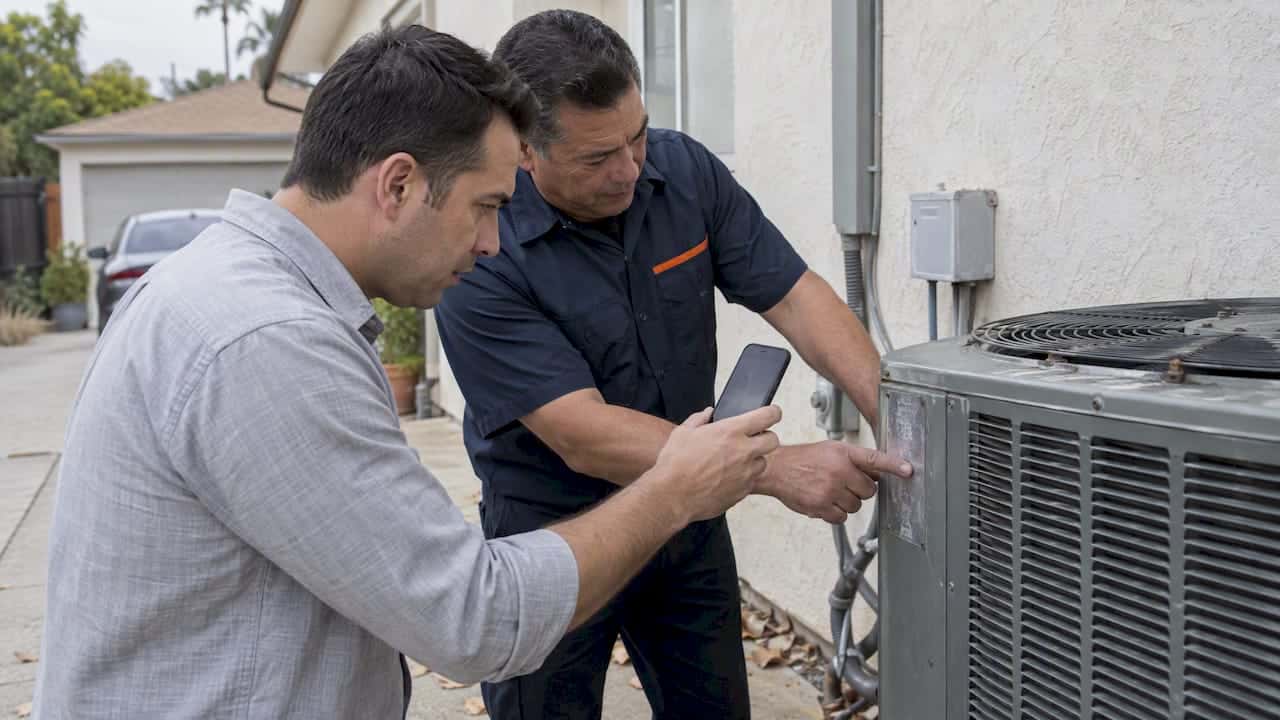
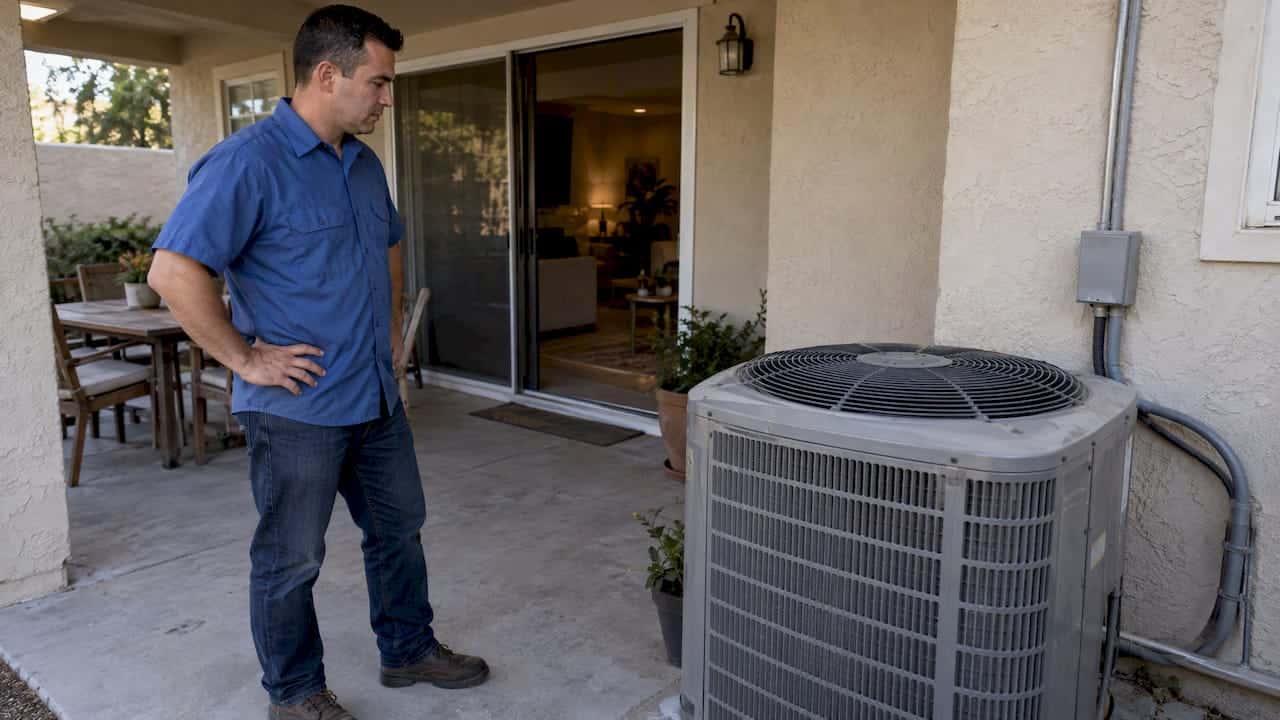
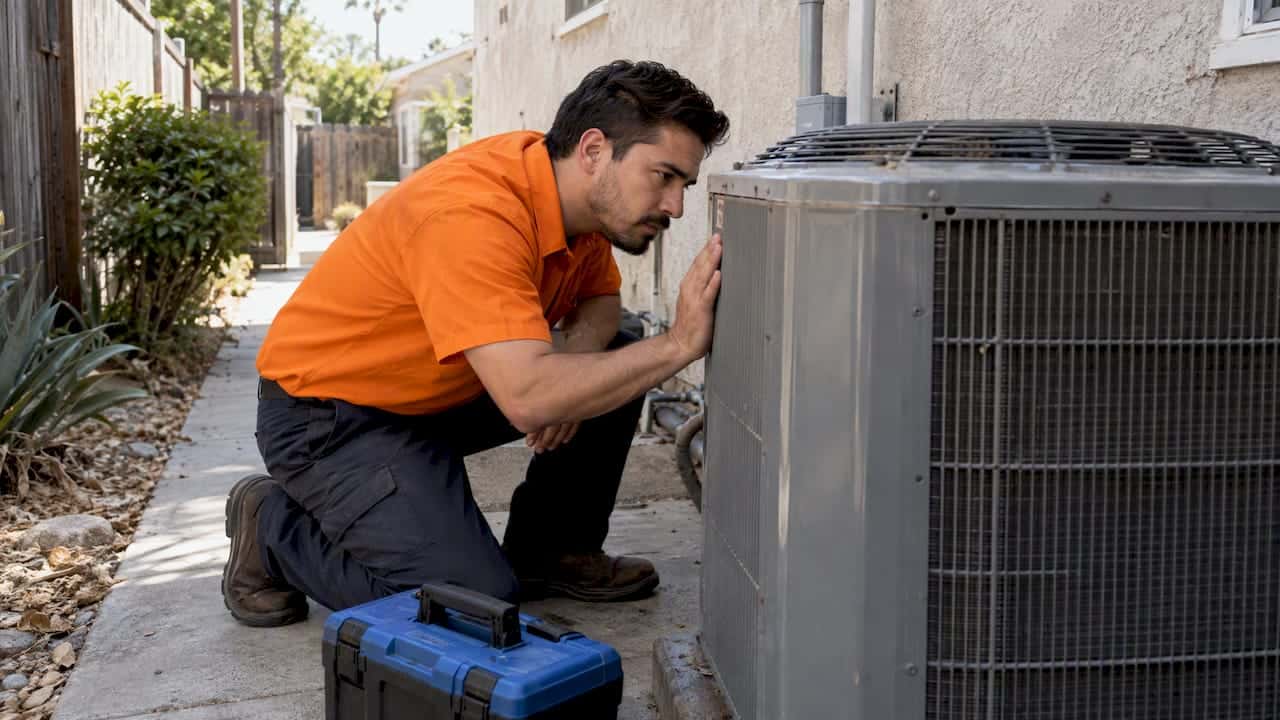
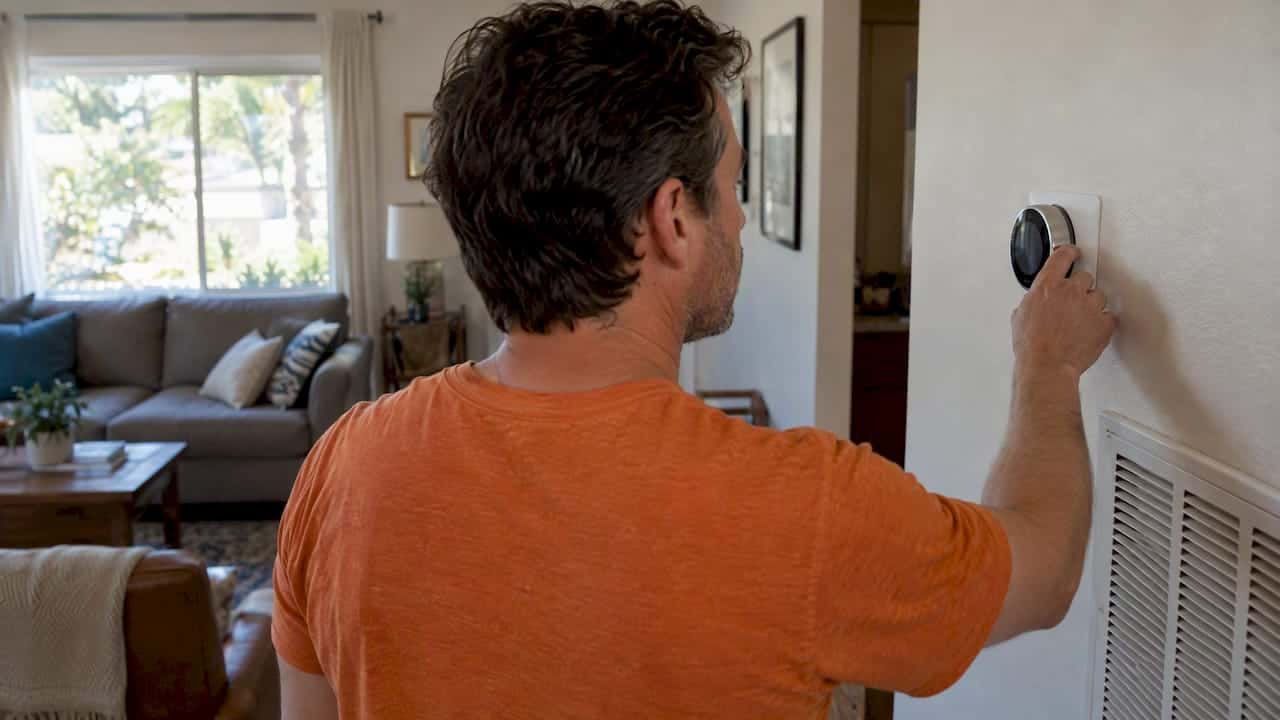
That gym-sock odor has a specific personality. It’s damp, sour, and a little sharp, and most homeowners notice it right when the system kicks on, not while it’s already running. Dirty sock syndrome is most prevalent on heat pump systems during spring and fall, precisely when the unit switches between night heating and daytime cooling. If your nose leads you to a supply register or the return air grille, that’s a strong clue the smell is mechanical, not just something floating around the house.
Before you assume it’s your HVAC system, rule out the easy suspects. A quick walk-through can save you a service call.
- Check the laundry room, trash cans, and any damp towels or gym bags nearby.
- Run water in nearby drains and sinks to rule out a dry trap letting sewer gas creep in.
- Look for standing water near the water heater, basement, or crawl space.
- Smell each room individually. If the odor is strongest near a vent and fades elsewhere, the system is the source.
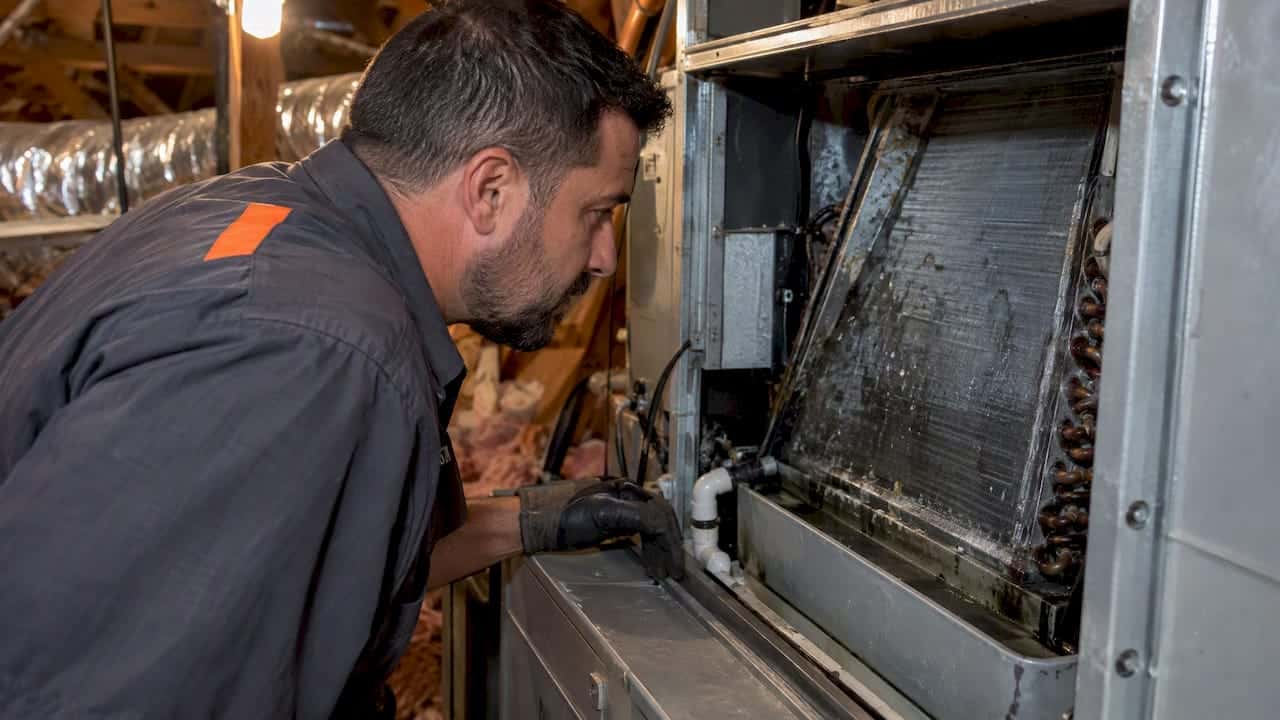
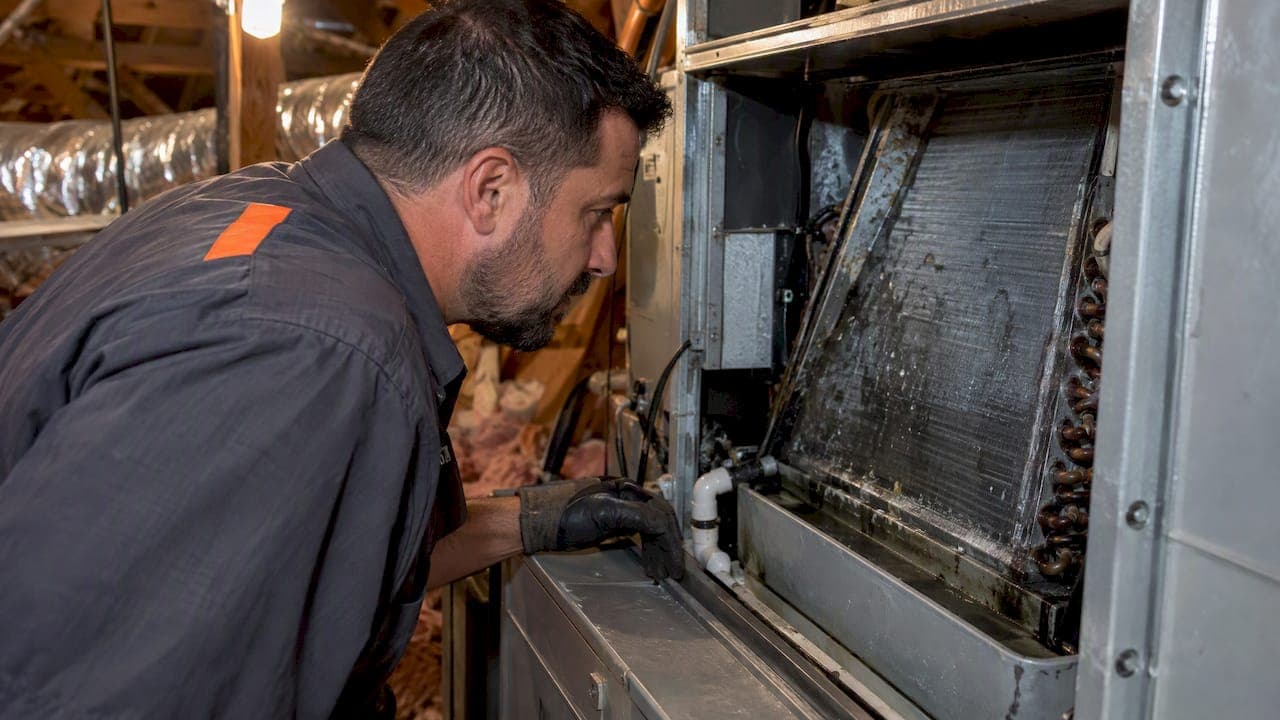
Once you’ve ruled out the obvious, a flashlight check can tell you a lot. If you can safely access the indoor air handler, look for a slimy film on the coil fins or in the drain pan, and check whether the pan is holding standing water instead of draining freely. Those are the classic signs of a coil or pan that’s become a breeding ground for the microbes behind the smell.
Why It Happens: Moisture, Coils, and Microbial Growth
Your evaporator coil is cold and wet for hours at a time, which makes it one of the most hospitable spots in your house for bacteria and mold. Add dust, pollen, and skin cells pulled in through the return air, and you’ve given those microbes food to feed on. Warm, stagnant air around the coil during mode changes finishes the job, creating ideal growing conditions.
A few specific conditions make the problem worse:
- Heat pumps switch between heating and cooling more often than furnace or AC-only systems, which means the coil repeatedly cycles between wet and dry.
- A dirty or clogged filter restricts airflow, which slows drying and leaves more moisture sitting on the coil surface.
- A clogged or improperly sloped condensate line lets water pool in the drain pan instead of draining away.
- Low refrigerant charge or airflow issues can cause the coil to run colder than it should, extending the time it stays wet.
One detail surprises a lot of homeowners: new or recently replaced equipment can seem to cause the smell, even though it didn’t exist before. Trade reporting notes that higher-efficiency systems and ductwork disturbed during installation can reveal microbial growth that was already present in the ducts or at connection points, just not noticeable until the new system’s airflow stirs it up. It’s less that the new unit caused the problem and more that it exposed something that was quietly building for a while.
Step-by-Step DIY Checks and Safe Fixes to Try First
Before calling anyone, there’s a reasonable amount you can do yourself. These steps are safe, don’t require opening the refrigerant circuit, and will tell you whether the issue is solvable at home or needs a professional.
- Replace the air filter. A dirty filter restricts airflow and keeps the coil wetter longer, so this is step one every time.
- Run the fan-only setting for two to three hours. This dries out the coil without cooling or heating the house, and it’s often enough to knock down a mild odor.
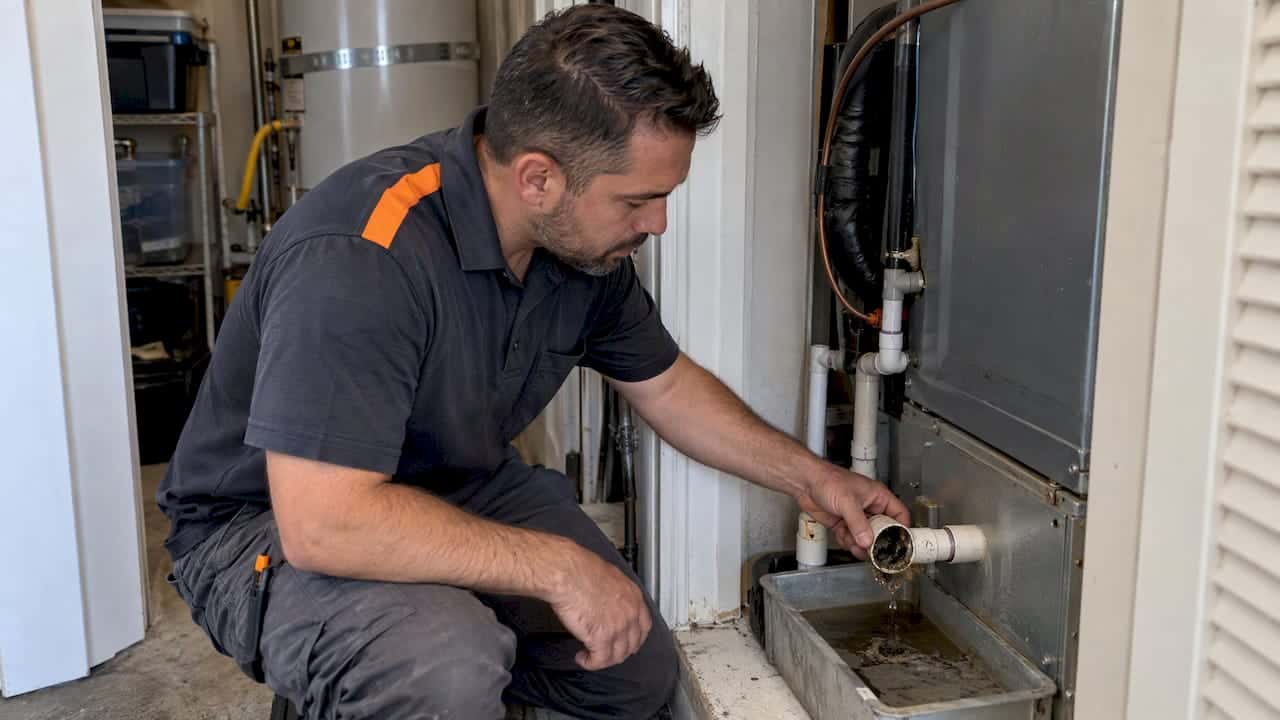
- Locate the condensate drain line, usually a PVC pipe near the indoor unit, and check for a visible clog or slow drip.
- Flush the line carefully using a wet-dry vacuum at the outdoor termination point, or pour a cup of distilled vinegar into the access port near the air handler to help break down buildup.
- Inspect the drain pan for standing water or sludge, but only with the system powered off at the breaker.
- Use a consumer no-rinse coil cleaner foam on the visible coil surface if you can reach it safely, following the product’s instructions exactly.
- Wait 24 to 48 hours after fan-only drying or cleaning and reassess the smell before deciding on next steps.
Pro Tip: Never remove panels covering refrigerant lines or attempt to pull the coil out yourself. That work involves pressurized refrigerant and can void your system’s warranty if handled by anyone other than a licensed technician.
If the smell fades noticeably after these steps, you’ve likely solved a mild case. But there are clear signs it’s time to stop DIY and call a professional: the odor returns within a week or two, you see slime or heavy buildup you can’t reach, the drain pan keeps filling despite a clear line, or you’re not comfortable working near electrical components. At that point, continuing to chase the smell yourself usually just delays the fix.
Professional Solutions and Prevention: Coil Cleaning, UV, and Maintenance Plans
Source removal is the professional starting point, and it’s not optional if the goal is a lasting fix rather than a temporary mask. A technician will mechanically and chemically clean the coil fins and drain pan, removing the biofilm that DIY foam sprays often can’t fully reach. EPA guidance doesn’t recommend routine duct cleaning for most homes, but it does prioritize cleaning coils and drain pans as the higher-impact step for HVAC-related microbial odors, with duct cleaning reserved for cases with visible mold, pests, or heavy debris.

UVC, sometimes called UVGI, is a common add-on once the coil is clean. NADCA’s technical guidance explains that UVC exposure on hard surfaces like coils and pans can achieve a high kill rate for organisms the light actually contacts, but only when the lamp is properly sized, placed, and kept clean. It’s a maintenance item, not a install-and-forget fixture, and it works best as backup to physical cleaning rather than a replacement for it. We cover how this technology works in more detail in our guide to HVAC UV light systems.
Beyond cleaning and UVC, a few other steps round out a solid prevention plan:
- Antimicrobial coil coatings applied during cleaning to slow future buildup.
- Correctly sized filters changed on a consistent schedule rather than “when we remember.”
- A condensate safety switch that shuts the system down before a clogged pan overflows.
- Biannual maintenance visits timed to the spring and fall mode-switching season.
Ask any contractor for a written record of what they cleaned, photos of the coil and pan before and after, and a specific recommendation for follow-up, whether that’s a UV install or a maintenance schedule. That documentation is what separates a one-time patch from an actual prevention plan.
Our Approach to Diagnosing and Preventing Dirty Sock Syndrome
We have diagnosed dirty sock syndrome across a variety of properties, from older historic homes to modern multi-zone heat pump systems. Our diagnostic visits start with flat-rate pricing, so the cost is known before any work begins, and same-day service is offered when urgent issues arise. The approach follows the priority order recommended industry-wide: physical source removal first, then complementary steps like UVC installation when a coil is prone to repeat buildup.
How Dirty Sock Syndrome Affects Indoor Air Quality and Your Health
The microbes behind dirty sock syndrome are mostly a nuisance issue rather than a proven airborne health threat. Trade reporting on the condition notes that industry experts generally treat the organism responsible as a localized odor source on coil surfaces rather than something that spreads through the air and causes illness for most occupants. That said, a persistent musty smell in your living space is unpleasant enough on its own, and anyone with asthma, allergies, or sensitivity to mold should treat lingering odors as a reason to address the source rather than mask it with air fresheners.
The smell itself is also a signal. Moisture sitting on a coil or in a drain pan long enough to grow a noticeable odor means conditions are present for other biological growth too, not just the one organism responsible for the classic sock smell. Clearing the source benefits comfort and peace of mind even when the health risk from the odor-causing organism specifically is limited.
What Happens If You Ignore the Smell Long-Term
Leaving dirty sock syndrome unaddressed rarely stays a cosmetic problem. A coil coated in biofilm transfers heat less efficiently, which means your system works harder and runs longer to hit the same temperature. That extra runtime shows up as higher energy use and faster wear on components like the compressor and blower motor.
A neglected drain pan compounds the issue. Standing water that isn’t draining properly can eventually overflow, leading to water damage around the air handler or, in attic installations, staining and damage to ceilings below. A continuously clogged or overflowing condensate system is also one of the more common reasons indoor units fail prematurely, since corrosion and electrical issues tend to follow sustained moisture exposure.
None of this happens overnight, but it compounds. A system that’s quietly losing efficiency to a dirty coil year after year is also a system that’s shortening its own service life, and the eventual repair or replacement bill is almost always larger than the cost of addressing the odor when it first appeared.
How a Maintenance Plan Prevents Dirty Sock Syndrome Before It Starts
The single most reliable prevention strategy is routine maintenance, not a one-time fix. Keeping filters changed on schedule, inspecting the coil and drain pan periodically, and making sure the condensate line stays clear are the basics that keep moisture from accumulating long enough for microbes to take hold, as efficiency guidance for heat pump owners points out.
A structured maintenance plan builds this into your calendar instead of leaving it to memory. Our HVAC maintenance plan includes scheduled visits timed around the spring and fall transitions, which is precisely when mode-switching heat pumps are most likely to develop the odor. Each visit typically includes a coil inspection, drain pan check, condensate line flush, and filter evaluation, catching the early stages of buildup before they turn into a smell you notice from across the room.
The value isn’t just avoiding the odor itself. Systems that get this kind of regular attention tend to run more efficiently and avoid the kind of surprise failures that come from months of unnoticed moisture sitting in a drain pan. For homeowners who’ve already dealt with the smell once, a maintenance plan is the difference between a one-time cleaning and a system that stays clear going forward.
Caring for Multi-Zone and Heat Pump Systems Specifically
Multi-zone and heat pump systems need a slightly different maintenance rhythm than a single-zone furnace and AC setup. Because dirty sock syndrome is most prevalent on heat pumps during spring and fall mode switching, every indoor coil in a multi-zone system should be inspected individually. Each zone has its own evaporator coil and condensate path, so a clean coil in one room doesn’t mean the unit serving another room is in the same condition.
A few habits matter more for these systems specifically:
- Schedule maintenance before the heating-to-cooling transition each spring and again before the cooling-to-heating transition each fall.
- Check each indoor unit’s drain line separately, since mini split and multi-zone systems often route condensate through narrow, easily clogged tubing.
- Watch for one zone developing an odor while others stay clear, which usually points to a coil or drain issue specific to that unit rather than a whole-system problem.
- Confirm filter access and cleaning for each indoor head, since ducted and ductless zones sometimes use different filter types.
The work covers a range of equipment from single-zone mini splits to multi-zone VRF systems, with inspection processes scaling accordingly: more zones mean more coils and drain points to check, but the same core priorities apply at every scale.
What Homeowners Tell Us After We Clear the Smell
The most common feedback we hear after a coil and drain pan service call is relief that the smell is actually gone, not just reduced. Homeowners who’ve tried filter changes and fan-only cycles on their own often come to us once they realize the odor keeps returning every few weeks, and the difference after a proper coil cleaning combined with a maintenance plan is usually noticeable within the first heating or cooling cycle.
For multi-zone and heat pump households in particular, the pattern we see most often is a smell that shows up specifically during the spring or fall transition and then fades once we’ve serviced the coil and confirmed the condensate line is clear. Getting ahead of that seasonal timing with a scheduled visit tends to prevent the odor from reappearing the following year.
What Actually Matters When You’re Dealing With This Smell
The HVAC industry sells a lot of odor-chasing products, scented filters, enzyme sprays, duct deodorizers, and most of them treat the symptom while leaving the actual microbial colony untouched. Our honest view is that the conventional advice overemphasizes masking the smell and underemphasizes the unglamorous basics: a clean coil, a clear drain line, and a filter changed on schedule.
Where we think homeowners get misled is the assumption that duct cleaning is the fix. For most dirty sock syndrome cases, the ducts aren’t the problem, the coil and drain pan are, and the EPA’s own guidance backs that priority. UVC is useful, but it’s a maintenance commitment, not a lamp you install once and forget.
If you take one thing from this, let it be sequencing: clean the source first, add UVC only if the coil is prone to repeat buildup, and put a maintenance schedule in place so you’re not solving the same problem twice a year.
— Leo
If DIY Didn’t Work, Let’s Get It Fixed for Good
If the smell persists after filter changes and fan-only cycles, or if slime or standing water is found in inaccessible places, it’s time to call a professional. Service calls can start at a flat rate, with same-day availability often possible.

A typical visit includes a full inspection of the coil and drain pan, a clear explanation of what we find, and recommendations tailored to your system, whether that’s a coil cleaning, a UV installation, or enrollment in our HVAC maintenance plan for ongoing prevention. You can book a service call directly or explore our full range of HVAC services to find the right fit for your system.
FAQ
How do you fix dirty sock syndrome in an HVAC system?
Start with a filter change and a few hours on fan-only to dry out the coil, then check the condensate line for clogs. If the smell returns, a professional coil and drain pan cleaning, sometimes paired with a UVC installation, is usually what resolves it long-term.
What is the $5,000 rule for HVAC?
This is a budgeting guideline some contractors use to help homeowners decide between repairing and replacing a system, multiplying the age of the equipment by the estimated repair cost and comparing it to a benchmark amount for replacement. It isn’t a standard tied to dirty sock syndrome specifically, since that odor is almost always fixable through coil and drain cleaning rather than full system replacement.
What exactly is dirty sock syndrome in an AC or heat pump?
It’s a musty, sock-like odor caused by bacterial or mold growth on the evaporator coil and drain pan, most common in heat pumps during the spring and fall mode-switching season. The smell is strongest right when the system starts up and typically fades once the coil is cleaned.
Does dirty sock syndrome go away on its own?
It can fade temporarily with fan-only drying or a filter change, but it usually returns because the underlying microbial growth on the coil hasn’t been removed. A lasting fix generally requires physical cleaning of the coil and drain pan rather than waiting it out.
Sources
- Dirty Sock Syndrome – Trane Commercial HVAC Help Center
- Should you have the air ducts in your home cleaned? — EPA
- A cure for the dreaded ‘Dirty Sock Syndrome’? — ACHR News
Recommended
Leo, Propietario y Técnico Principal en LC Heating & Air
Leo dirige LC Heating & Air como propietario-operador y tiene la licencia C-20 HVAC #1073586 de California. Sus guías se enfocan en diagnósticos prácticos, decisiones de reparación seguras y consejos claros para propietarios de Los Ángeles.