- Key Takeaways
- What Makes a Capacitor “Dual,” and Why HVAC Systems Use One
- How to Read the Label: Terminals, MFDs, and Voltage
- How a Dual Run Capacitor Actually Powers the Motors
- Checking and Testing a Dual Run Capacitor Safely
- Choosing the Right Replacement Capacitor
- How Long a Capacitor Lasts and What Replacement Costs
- Symptoms Worth Checking Before You Call Anyone
- How LC Heating and Air Conditioning Diagnoses Capacitor Problems
- Ready to Get Your Capacitor Checked?
- What This Article’s Research Actually Tells Homeowners
- Sources
- FAQ
- Recommended
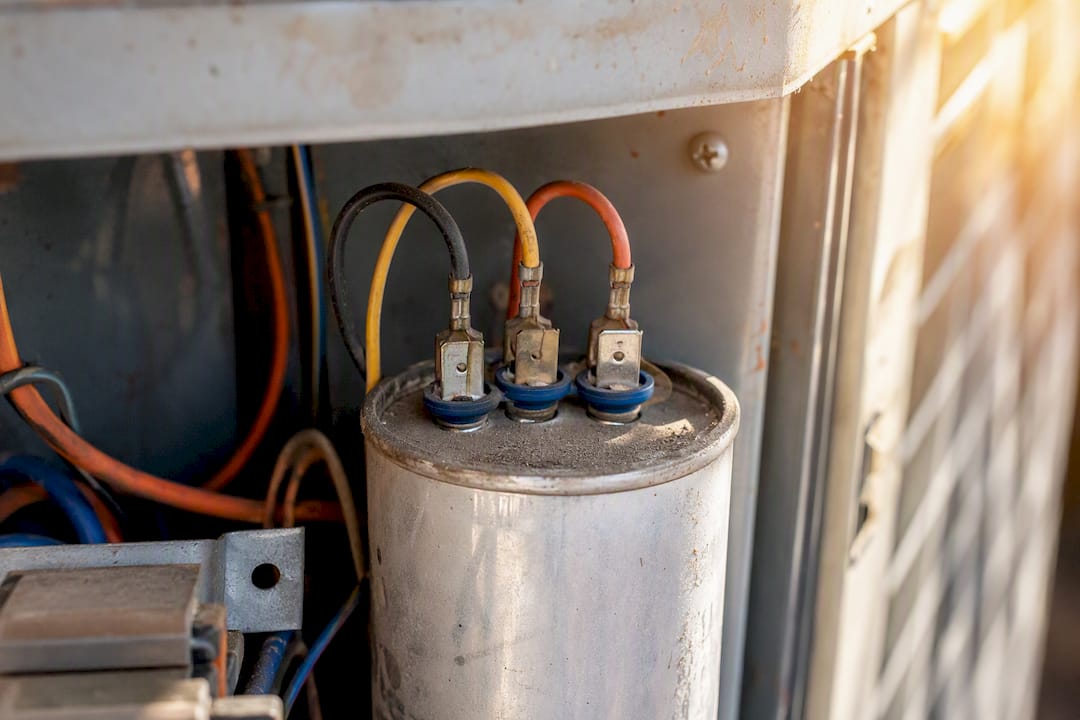
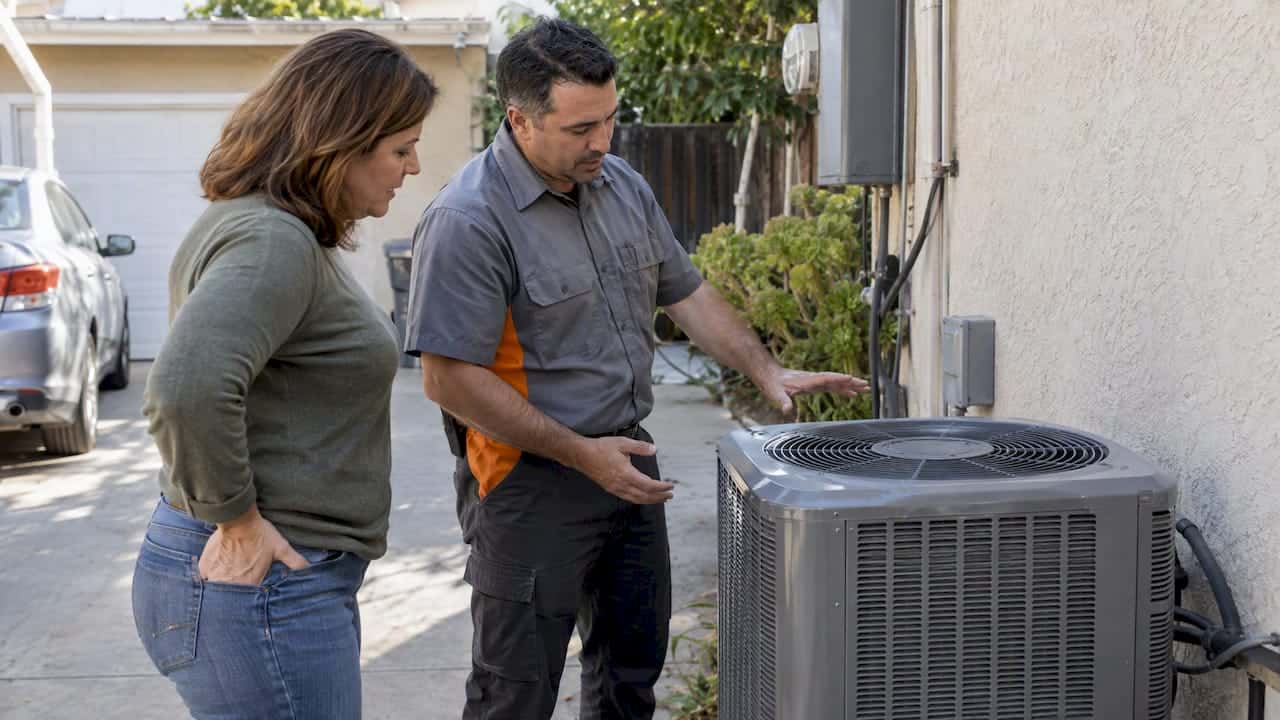
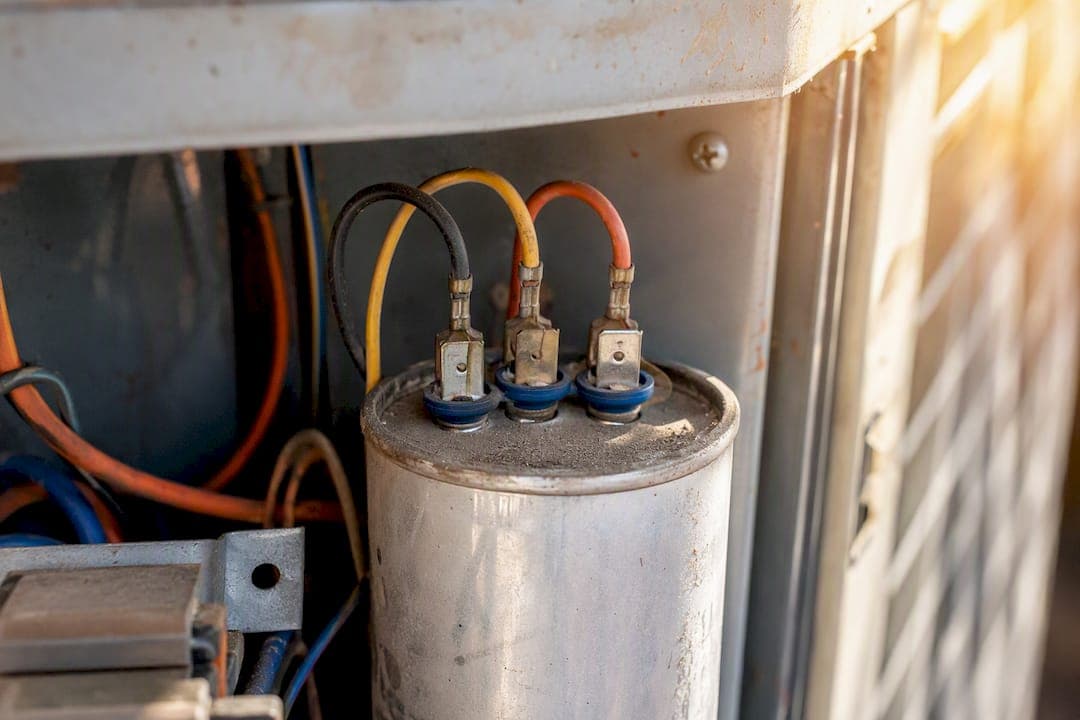
A dual run capacitor is a single HVAC part that combines two run capacitors in one housing, powering both the compressor motor and the condenser fan motor at the same time through three terminals marked C, FAN, and HERM. You’ll find it mounted inside the outdoor condensing unit of most central air conditioners and heat pumps, tucked near the compressor. Before you go near one, know this: a dual run capacitor can hold a dangerous electrical charge even after you’ve cut the power at the breaker. That stored charge is exactly why this is one of the few HVAC parts where “just take a quick look” can turn into a real hazard if you touch the terminals without discharging it first.
- What it does: runs the compressor and condenser fan simultaneously
- Where it lives: outdoor condensing unit, near the compressor
- Key terminals: C (common), FAN, and HERM
- Safety flag: capable of holding a charge after power is off
Key Takeaways
| Point | Details |
|---|---|
| One part, two circuits | The C, FAN, and HERM terminals run the fan and compressor independently from a single housing. |
| Discharge before touching | Capacitors hold a charge after power is off, so always discharge the terminals first. |
| Match MFD closely | Replacement capacitance should stay within about 5% of the original label value. |
| Voltage can go up, not down | A 440V capacitor can replace a 370V one, but never the reverse. |
| Mismatched symptoms signal capacitor trouble | A fan that won’t spin while the compressor runs (or vice versa) usually points to one failed circuit. |
What Makes a Capacitor “Dual,” and Why HVAC Systems Use One
Inside the metal or plastic can, a dual run capacitor is really just two separate run capacitors sharing one housing and one common terminal. One side feeds the compressor motor (the HERM side, short for hermetic), and the other feeds the condenser fan motor (the FAN side). Electrically, they’re independent circuits. Physically, they’re one part with three wires coming off it instead of four.
That’s a meaningfully different job from a start capacitor, which only kicks in for a fraction of a second to help a motor overcome initial resistance and get spinning. A run capacitor, dual or otherwise, stays in the circuit the entire time the motor operates, continuously shifting the electrical phase to keep torque steady. Some compressors also use a start capacitor alongside the run capacitor for extra starting torque, but that’s a separate part entirely, not to be confused with the dual run capacitor covered here.
So why combine two run capacitors instead of wiring in two separate ones? Mostly, it comes down to real estate and simplicity. Manufacturers favor dual capacitors to save space and reduce the number of separate components crammed into an already tight outdoor unit cabinet. Fewer parts also mean fewer wire connections that can loosen, corrode, or fail over the unit’s lifespan. The tradeoff is that when a dual capacitor fails, it can take out both circuits at once, whereas separate run capacitors let a technician diagnose and swap out just the failing circuit without touching the other. Most residential systems built in the last few decades still choose the space savings.
How to Read the Label: Terminals, MFDs, and Voltage
Every dual run capacitor is labeled with information you genuinely need before buying a replacement, and it’s simpler to decode than it looks at first glance.
The three terminals are marked plainly on top of the can:
- C stands for common, the shared connection point for both circuits
- FAN (sometimes just F) connects to the condenser fan motor
- HERM (sometimes just H) connects to the compressor, short for “hermetic,” referring to the sealed compressor housing
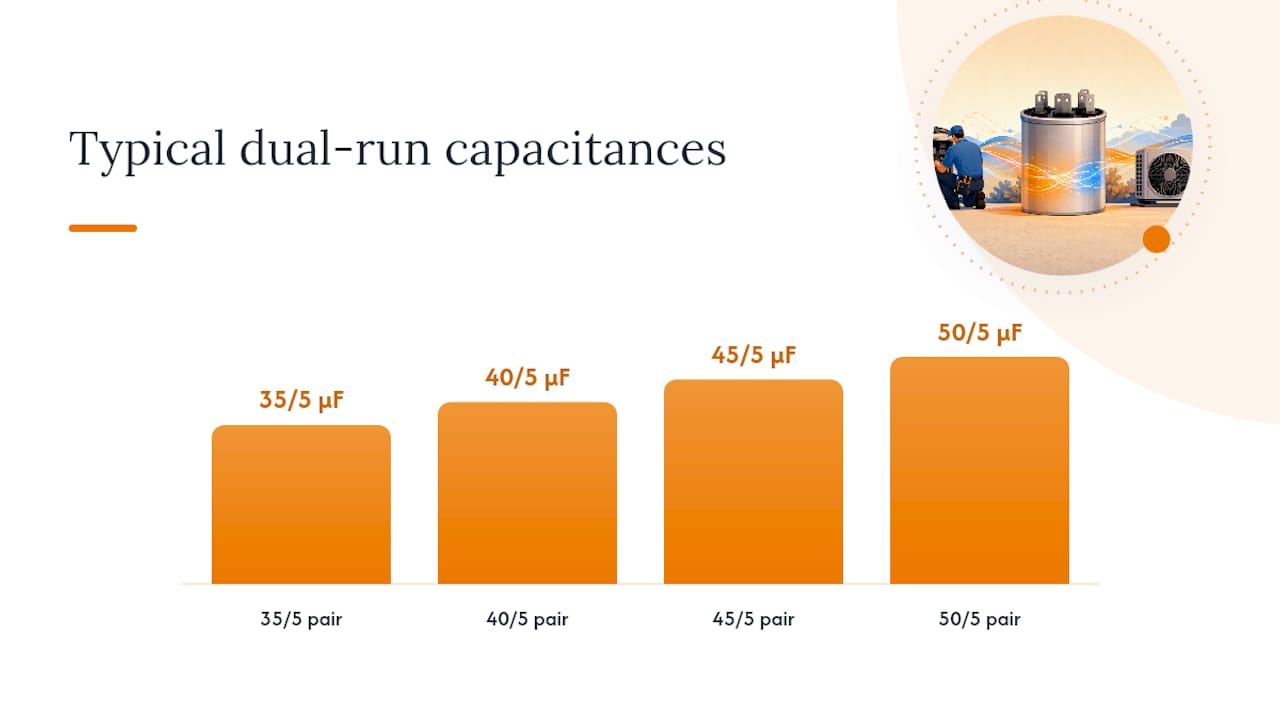
Capacitance is measured in microfarads, written as µF or MFD, and dual run capacitors typically list two values together, such as 40/5 µF. The larger number is nearly always the HERM side, since compressors need more capacitance to run efficiently, and the smaller number is the FAN side. A typical residential pairing might be 35/5, 40/5, 45/5, or 50/5, with the larger MFD value corresponding to the compressor and the smaller to the condenser fan.
Voltage rating appears separately, usually as 370V or 440V, and it tells you what the capacitor is rated to withstand rather than what it’s actively drawing. This matters enormously for replacement, which we’ll get into shortly.
One rule to memorize now: when you replace a dual run capacitor, the capacitance needs to stay within about ±5% of the original value on both the FAN and HERM sides. A capacitor that drifts outside that window, even if it hasn’t fully failed, is already dragging down motor performance.
How a Dual Run Capacitor Actually Powers the Motors
Here’s the part most homeowners never learn until something stops spinning: a run capacitor’s job is to shift the electrical phase of the current feeding the motor, creating a rotating magnetic field that gives the motor consistent torque throughout its full rotation. Without that phase shift, a single-phase motor like the ones in your compressor and condenser fan would stutter, struggle to start, or run with noticeably less pull.
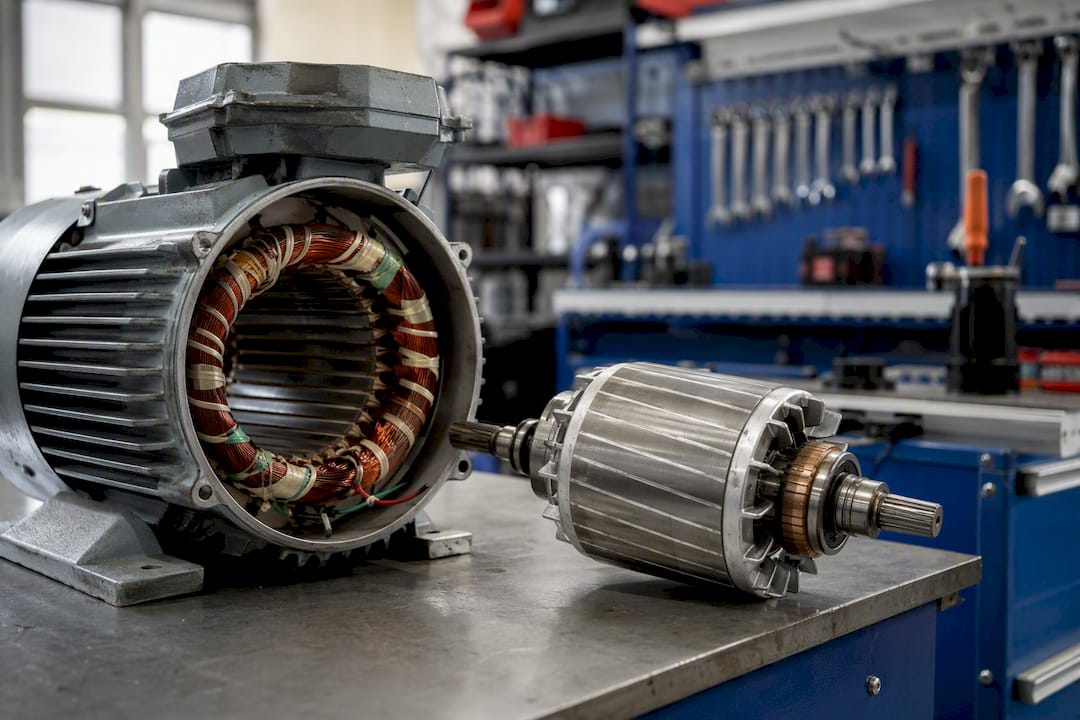
Think of it as a small but mighty timing device. The capacitor stores an electrical charge and releases it in a precisely timed pattern that keeps the motor’s magnetic field rotating smoothly instead of pulsing unevenly. That smoothness translates directly into how efficiently the motor spins, how much current it draws, and how much heat it generates while running. A capacitor that’s still “working” but has drifted out of tolerance forces the motor to draw more current to compensate, which shows up on your electric bill and shortens the motor’s own lifespan.
Because the HERM and FAN sides are electrically separate, they don’t always fail together, and that’s actually useful information when something goes wrong. If the fan side degrades, you’ll typically notice the condenser fan spinning slowly, wobbling, or not spinning at all while the compressor still hums along, drawing power and building pressure with nowhere for the heat to go. If the HERM side fails, the compressor may not start at all, and you’ll often hear a persistent hum or a clicking sound as the system tries and fails to get the motor moving. That mismatch between symptoms is one of the clearest signs you’re dealing with a capacitor problem rather than a motor problem, since a genuinely failed motor tends to fail completely rather than partially.
This split-circuit design is also why a technician testing a suspected capacitor issue checks the FAN and HERM readings independently rather than treating the part as pass or fail as a whole.
Checking and Testing a Dual Run Capacitor Safely
Visual signs of a failing capacitor are often obvious once you know what to look for. A healthy capacitor’s can looks flat on top and bottom. A failing one bulges, swells at the seams, or shows a rupture where it’s actually leaked oil. You might also spot burn marks, a scorched smell, or terminals that have worked loose from vibration over years of cycling on and off.
If you want to confirm a suspicion with an actual reading, here’s the safe sequence:
- Cut power at the disconnect and the breaker. Never work on a capacitor with the system energized.
- Wait a few minutes, then visually confirm nothing is arcing or smoking near the unit.
- Discharge the capacitor deliberately using an insulated screwdriver to briefly bridge the terminals, or a purpose-built capacitor discharge tool. Capacitors can hold a charge even after power is removed, and skipping this step is how people get hurt.
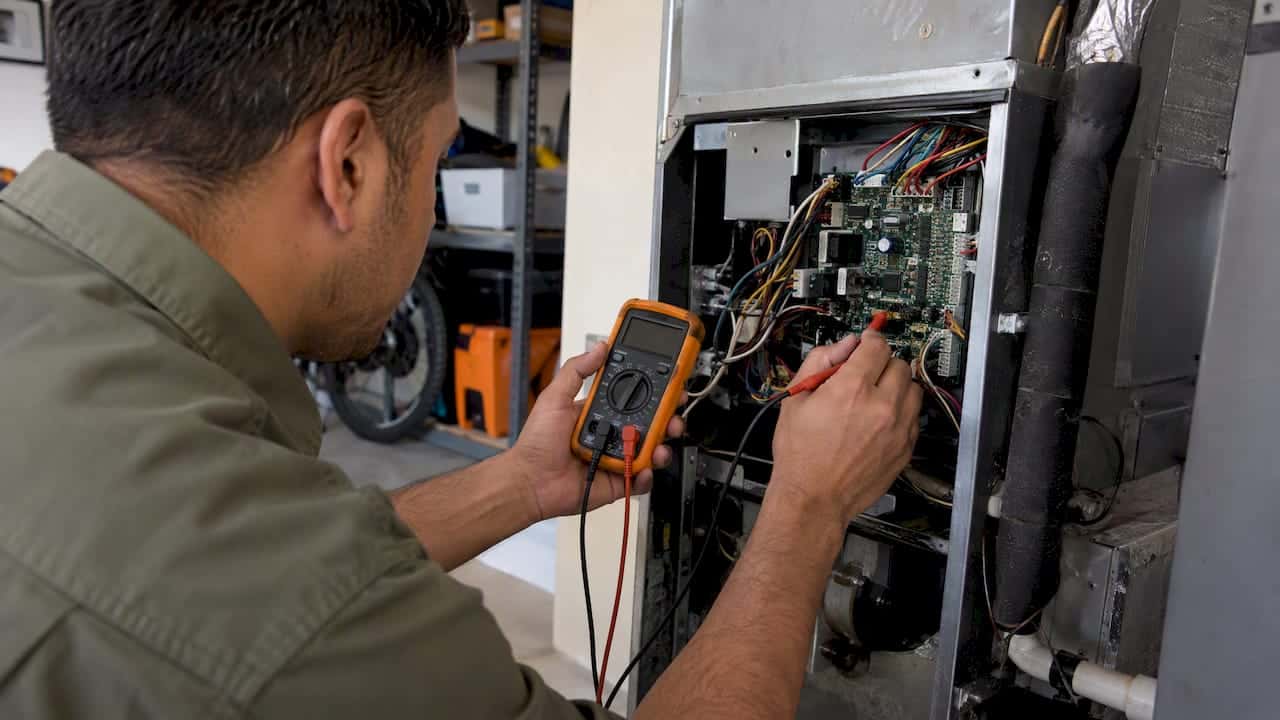
- Set a digital multimeter to capacitance mode (µF or MFD) and touch the leads to the appropriate terminal pairs, testing C to FAN and C to HERM separately.
- Compare each reading to the label. A reading more than about 5% below the labeled value points to a weakening capacitor that’s due for replacement, and a reading near zero usually means the capacitor has already failed outright.
Pro Tip: If your multimeter doesn’t have a dedicated capacitance mode, don’t guess with a resistance or continuity test. It won’t give you a reliable reading, and it won’t tell you whether the capacitor is within tolerance.
If you’re not comfortable working inside an energized electrical cabinet, or if the readings come back ambiguous, that’s the moment to stop and call a trained technician rather than push further. Misreading a marginal capacitor as “probably fine” is one of the more common reasons homeowners end up calling for an emergency repair a few weeks later when the part finishes failing.
Choosing the Right Replacement Capacitor
Getting a replacement right comes down to matching two numbers precisely: the MFD rating and the voltage rating. A dual run capacitor labeled 45/5 µF at 370V needs a replacement that matches both the 45 and the 5 within roughly 5% tolerance, and matches or exceeds the voltage rating.
That voltage part has a one-way rule worth remembering. A 440-volt capacitor can safely take the place of a 370-volt one, since it’s simply rated to handle more than the circuit will ever demand of it. Going the other direction, dropping a 370V capacitor into a system built for 440V, risks premature failure and, in some cases, a more dramatic rupture. When in doubt, size up on voltage, never down.
Physical fit matters more than most buying guides mention. Capacitors come in round and oval cans, in a handful of standard diameters, and with mounting straps or brackets that vary between manufacturers. A capacitor with the right electrical specs but the wrong shape can still cause problems if it doesn’t fit securely inside the cabinet or line up with the existing mounting hardware, so check the physical dimensions and terminal style, not just the numbers on the label. If you’re planning any broader replacement work or coordinating parts logistics, resources like construction software built for HVAC contractors show how professionals track fit and mounting details across a job.
Installation itself is straightforward for someone comfortable with basic electrical work: discharge the old capacitor, photograph the wiring before disconnecting anything, transfer wires one at a time to the matching terminals on the new part, and secure the mounting strap. Where homeowners most often get into trouble is skipping the discharge step or crossing wires between the FAN and HERM terminals, which can send the wrong capacitance to the wrong motor. If any of that gives you pause, that’s a reasonable point to bring in a professional.
How Long a Capacitor Lasts and What Replacement Costs
Most dual run capacitors last somewhere in the range of 5 to 10 years under normal conditions, though several factors push that number down. Heat is the biggest one: a capacitor baking inside a condenser cabinet in direct summer sun ages faster than one with decent airflow and shade. Frequent short cycling (the system turning on and off rapidly rather than running full cycles), voltage spikes from grid fluctuations, and general electrical age all shorten the part’s working life too.
On cost, the capacitor itself is genuinely inexpensive, generally a modest parts cost, while labor and any diagnostic time make up most of what you’ll pay for a professional replacement. Exact pricing varies by region, unit accessibility, and whether other issues turn up during the visit, so treat any number you see online as a rough starting point rather than a quote.
A few habits stretch a capacitor’s lifespan without much effort: keep the area around your outdoor unit clear of debris and direct obstruction, keep the condenser fins clean so the system isn’t working harder than it needs to, and have an electrician check tight, corrosion-free terminal connections during routine maintenance visits.
Symptoms Worth Checking Before You Call Anyone
A handful of symptoms point toward a capacitor issue often enough that it’s worth a quick check before you assume you need a full technician visit:
- A persistent humming sound from the outdoor unit with no fan or compressor movement
- The condenser fan sitting still while the compressor runs (or the reverse)
- The system cycling on and off rapidly without settling into a steady run
- A visible bulge, leak, or burn mark on the capacitor can itself
A failed dual run capacitor commonly stops the fan or compressor from starting, sometimes both together, sometimes just one. If you smell anything burnt, see smoke, or notice a breaker that’s tripped and won’t reset, stop troubleshooting and shut the system down at the disconnect. That combination points to something beyond a simple capacitor swap.
Before your technician arrives, jot down what you noticed: which motor wasn’t spinning, whether you heard humming or clicking, and roughly how long the symptom had been happening. That detail alone often narrows the diagnosis considerably. For a closer look at one of the most common versions of this problem, our guide on what to check when the outside fan isn’t running but the inside fan is walks through the differential clues in more depth.
How LC Heating and Air Conditioning Diagnoses Capacitor Problems
When our technicians get a call about a system that’s humming, cycling oddly, or not starting at all, capacitor testing is one of the first things we check, precisely because it’s fast to rule in or out. We start with a visual inspection of the can itself, move to multimeter testing of the FAN and HERM circuits separately, and only recommend replacement when a reading actually falls outside tolerance or the part shows physical damage. Our flat-rate diagnostic pricing means you know the cost of that visit before we start, not after.
We see capacitor failures across a wide range of systems, from older condensers on historic homes throughout Los Angeles’s older neighborhoods to modern heat pumps working through demanding cooling and heating cycles. Heat pumps in particular put extra strain on run capacitors because the compressor works nearly year round instead of just during cooling season. Read more about capacitor basics or explore our HVAC service coverage across the greater Los Angeles area, including West Hollywood, Beverly Hills, Bel Air, and Brentwood.
Repeated capacitor failures on the same unit usually mean something else is stressing the system, whether that’s dirty coils, short cycling, or voltage irregularities feeding the unit. That’s a pattern worth mentioning to your technician rather than just replacing the part again and hoping it holds.
Ready to Get Your Capacitor Checked?
If you’re seeing any of the symptoms above, or you’ve already tested a capacitor and confirmed it’s out of tolerance, the safest next step is booking a diagnostic visit rather than guessing at a replacement part online. LC Heating and Air Conditioning offers flat-rate pricing on capacitor diagnostics and repairs across Los Angeles, so you know the cost before any work begins, with no surprise fees tacked on afterward. Schedule a same-day service visit and get a technician looking at your specific unit rather than a general guess. If you’re weighing a bigger upgrade alongside the repair, our heat pump and equipment options are worth a look too.
What This Article’s Research Actually Tells Homeowners
Most advice about capacitors online is either too vague to act on or too technical to trust without an electrical background. The gap that stands out from working through this material is how much confidence a simple multimeter reading can give you, and how little most guides emphasize that. Homeowners don’t need to understand phase-shift theory to make a safe decision. They need to know the discharge step, the tolerance rule, and when a reading crosses from “fine” to “replace it now.”
Where conventional advice tends to fall short is treating capacitor replacement as a pure numbers problem: match the MFD, match the voltage, done. The physical fit and the reason a capacitor failed in the first place matter just as much. A capacitor that failed early because of dirty coils or a short-cycling system will fail again on schedule if nobody addresses the underlying stress. If you take one thing from this, prioritize the discharge and testing steps first, and treat a repeat failure as a signal to look past the part itself.
Sources
For deeper technical background, Carrier’s AC capacitor overview explains the part’s role in plain terms, while the Wikipedia entry on dual capacitors covers terminal labeling and tolerance standards in more technical detail. Ferguson’s AC capacitor guide adds useful context on why dual designs became standard.
FAQ
Can I Replace a Single Run Capacitor With a Dual Run Capacitor?
Not directly. A dual run capacitor has three terminals and serves two separate motor circuits, so it needs to match your system’s original wiring configuration and both capacitance values, not just one.
How Much Does a Dual Run Capacitor Cost to Replace?
The capacitor part itself is inexpensive, while labor and diagnostic time make up most of a professional replacement bill; costs vary by region and unit accessibility, so a flat-rate diagnostic visit gives you an exact number for your system.
How Long Does a Dual Run HVAC Capacitor Last?
Most dual run capacitors last around 5 to 10 years, though heat exposure, voltage spikes, and frequent short cycling can shorten that lifespan considerably.
How Do I Know if My Capacitor Is a Dual Run Type?
Check the terminals on top of the can: a dual run capacitor shows three labeled terminals (C, FAN, and HERM) and lists two capacitance values, such as 40/5 µF, instead of a single number.
Recommended
Leo, Propietario y Técnico Principal en LC Heating & Air
Leo dirige LC Heating & Air como propietario-operador y tiene la licencia C-20 HVAC #1073586 de California. Sus guías se enfocan en diagnósticos prácticos, decisiones de reparación seguras y consejos claros para propietarios de Los Ángeles.