- Quick Thermostat Troubleshooting Checklist To Run Right Now
- Blank Thermostat Screen: Power Loss Is Almost Always The Cause
- Why Does My Thermostat Say Heating But No Heat Comes On?
- Is Your Thermostat Reading The Room Wrong?
- When Should You Stop And Call A Licensed HVAC Technician?
- Preventive Maintenance That Keeps Thermostats From Failing
- LC Heating and Air Conditioning: 20+ Years Of Field Experience
- What Homeowners Get Wrong About Thermostat Troubleshooting
- Get A Straight Answer On Your Thermostat, Same Day
- Sources
- FAQ
- Recommended
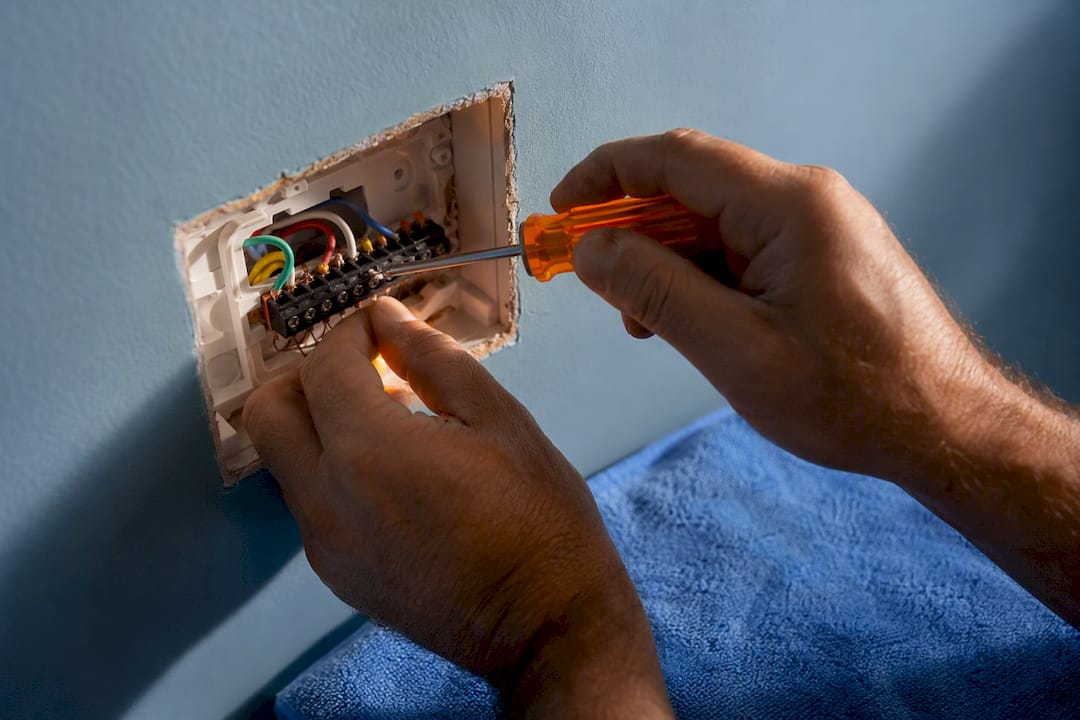
Start with three checks: swap in fresh batteries, reset the HVAC breaker or furnace switch, and confirm the thermostat is set at least 2 to 3 degrees past the current room temperature following these 3 safe checks that fix most blank thermostat screens. Most dead screens and unresponsive thermostats trace back to one of those three things. Stop immediately and skip the DIY steps if you smell burning or see exposed, frayed wiring. Everything else in this guide walks you through what to try next, in the order that actually solves problems fastest.
TL;DR:
- Replacing the thermostat batteries and resetting the HVAC breaker often resolve power issues causing blank screens, especially if the transformer or wiring is intact.
- A recurring blank display typically indicates a power drop from either the batteries or the low-voltage wiring, with transformer failure being the last possible cause after basic checks.
- Wiring mistakes, especially incorrect Rc/Rh terminal jumpering or missing common wires, are the most common causes of thermostats displaying correctly but not activating heating or cooling.
- When a thermostat shows it is running but no heat or cool is produced, safety switches, equipment malfunctions, or wiring faults are usually responsible rather than the thermostat itself.
- For persistent issues or signs of electrical faults, only a licensed technician should perform voltage testing and wiring repairs to prevent damage or shock risks.
Quick Thermostat Troubleshooting Checklist To Run Right Now
Work through these five steps in order. Most homeowners solve a thermostat not working within ten minutes, without opening a single panel near the furnace.
- Replace the batteries. Pop off the faceplate and swap in fresh, high-quality alkaline batteries, matching the polarity markings exactly. Weak batteries are the single most common reason a thermostat has no power, even when the old ones still register a charge on a battery tester.
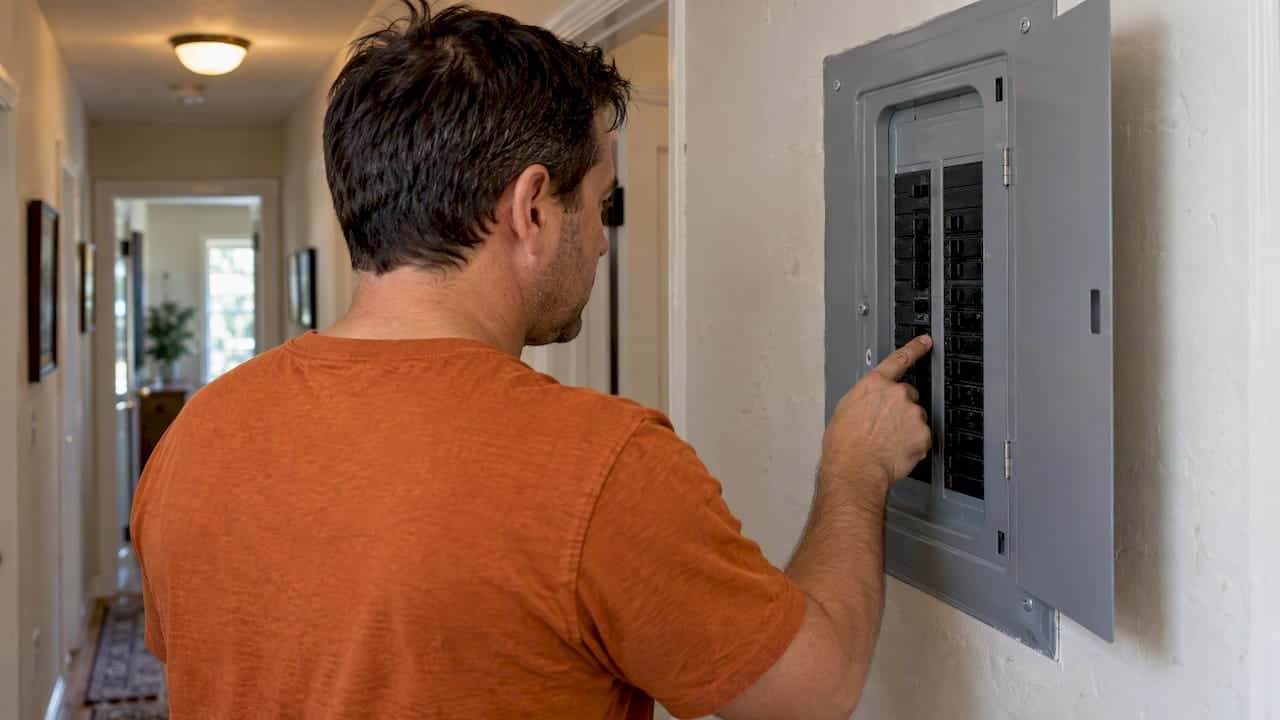
- Check your breaker and furnace switch. Find the HVAC breaker in your electrical panel and the furnace’s power switch (it looks like a standard light switch, usually mounted on or near the unit). Flip both fully off, wait ten seconds, then back on. A partial reset does nothing.
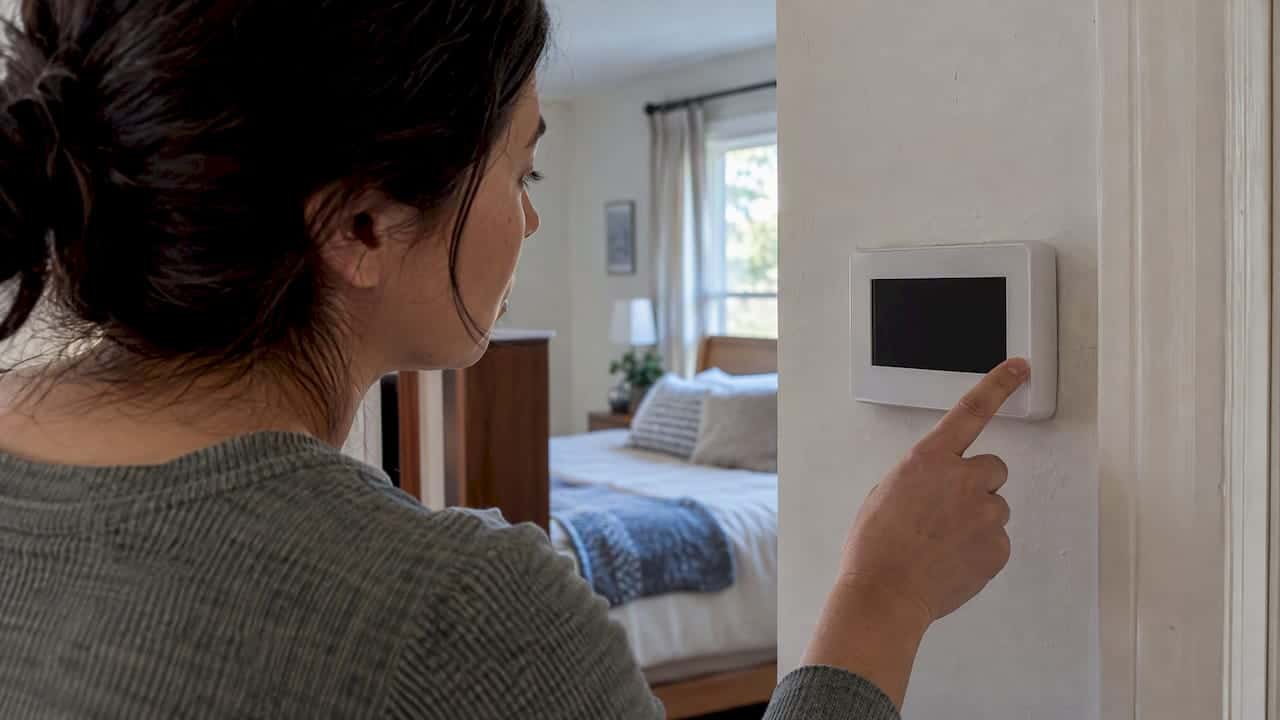
- Confirm the mode and setpoint. Make sure the system is set to Heat or Cool, not Off, and that the target temperature is at least 2 to 3 degrees away from the current room reading. A thermostat sitting one degree from the room temperature won’t call for anything, which looks exactly like a broken unit.
- Reboot and reseat the display. If the screen is flickering or frozen, remove the faceplate and reseat it against the wall plate. Do not touch or disconnect any wiring behind it. This resolves plenty of cases where the thermostat display is not working correctly but the base unit still has power.
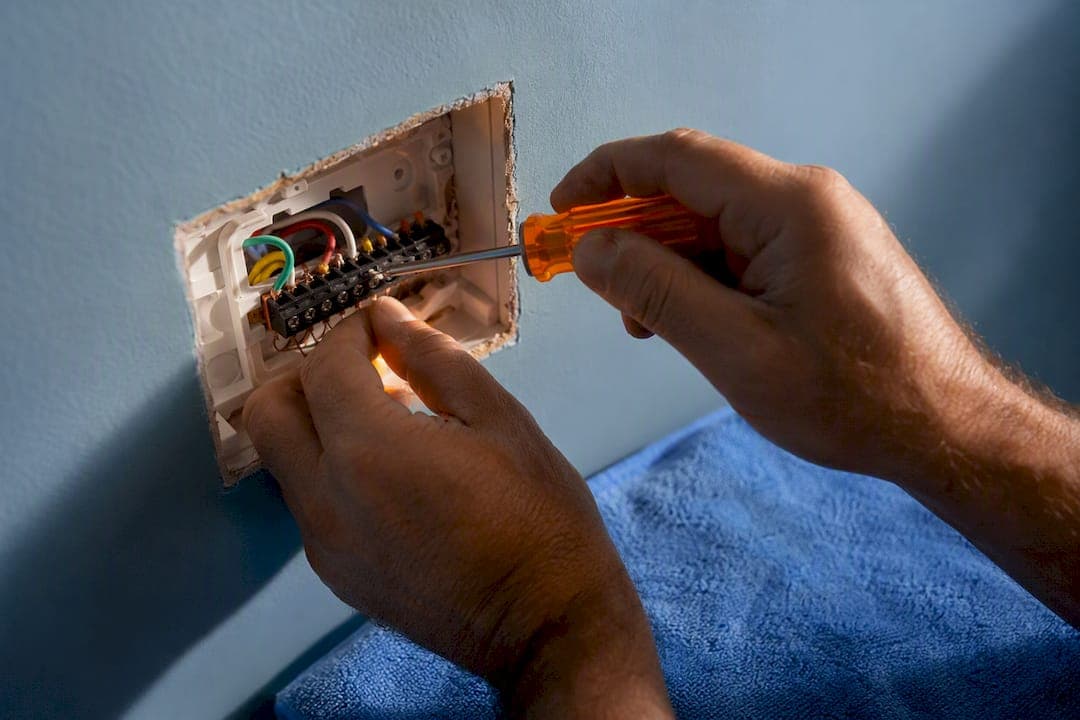
- Document before you call. If none of that works, snap a photo of the thermostat model number, the wiring behind the faceplate, and any error codes or blinking lights on the screen. Having this ready cuts diagnostic time significantly when a technician arrives.
Pro Tip: Keep a spare set of alkaline batteries taped inside your electrical panel door. It sounds small, but it turns a scramble for batteries into a thirty-second fix the next time your screen goes dark.
Blank Thermostat Screen: Power Loss Is Almost Always The Cause
A completely blank thermostat screen points to a power problem in nearly every case, whether your thermostat runs on batteries, low-voltage wiring, or both. Energy that programmable and smart thermostats typically draw power from batteries and a 24-volt supply from your HVAC system, so a blank display usually means one of those two sources has dropped out.
Battery-powered thermostats are the simpler case: dead batteries mean a dark screen, full stop. Hardwired thermostats pull power from a transformer inside your furnace or air handler, so a blank screen there can mean a tripped breaker, a blown low-voltage fuse, or a failed transformer. Some smart thermostats, including certain Nest models, let you charge temporarily over USB if the internal battery has fully drained, which buys you time before a permanent fix.
Work through these checks before assuming the worst:
- Replace batteries first, even if the old ones seem fine.
- Reset the HVAC breaker and the furnace’s power switch completely off, then on.
- Look for a small glass or blade fuse on the furnace control board. A blown fuse often signals a wiring short elsewhere in the system, not a random failure.
- If the screen stays blank after all three checks, the transformer itself may have failed.
One pattern worth knowing: thermostats connected to systems missing a proper common wire drain batteries faster and lose power more often, according to ENERGY STAR’s smart thermostat guidance, which notes that many smart models need a dedicated C-wire or adapter for stable power. If your screen keeps going blank on a recurring cycle, that’s the first thing to suspect. For a deeper walkthrough of this exact symptom, LC Heating and Air Conditioning has a dedicated guide on blank thermostat displays.
Call a professional if you see a fuse that blows again immediately after replacement, melted or discolored wire connectors, or a multimeter reading stuck at zero volts across the transformer terminals. Those are electrical faults, not settings problems.
Why Does My Thermostat Say Heating But No Heat Comes On?
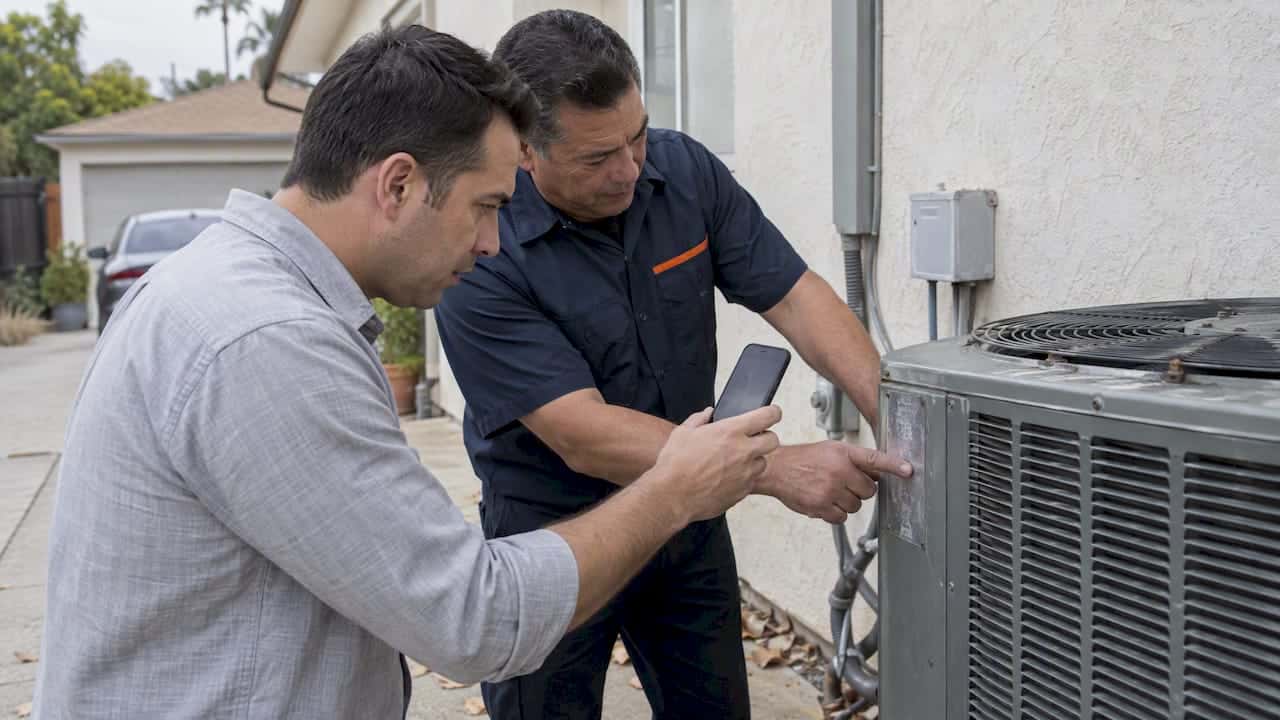
This is a different animal entirely from a blank screen, and it trips up more homeowners than any other symptom. The display is alive, it shows “heating” or “cooling” active, but the furnace or condenser never actually starts. According to Carrier’s troubleshooting guidance, a display that says the system is running while the equipment stays silent usually points to wiring, a safety switch, or an equipment-side failure rather than a bad thermostat.
Before you assume the worst, give it time. Most systems build in a five to ten minute protection delay between cycles to prevent compressor damage. Listen for your indoor blower or outdoor condenser fan during that window.
- Check the outdoor unit’s disconnect box and any nearby service switch. If someone bumped it off during yard work, your AC simply has no power at the compressor.
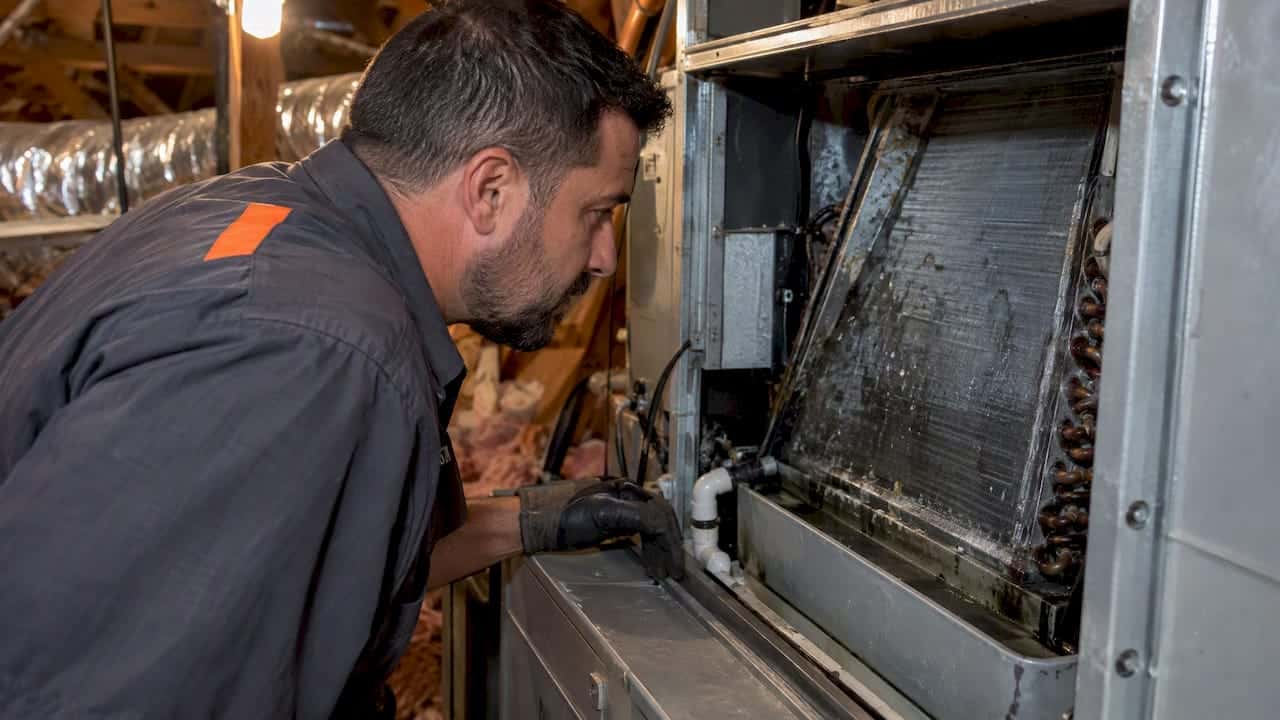
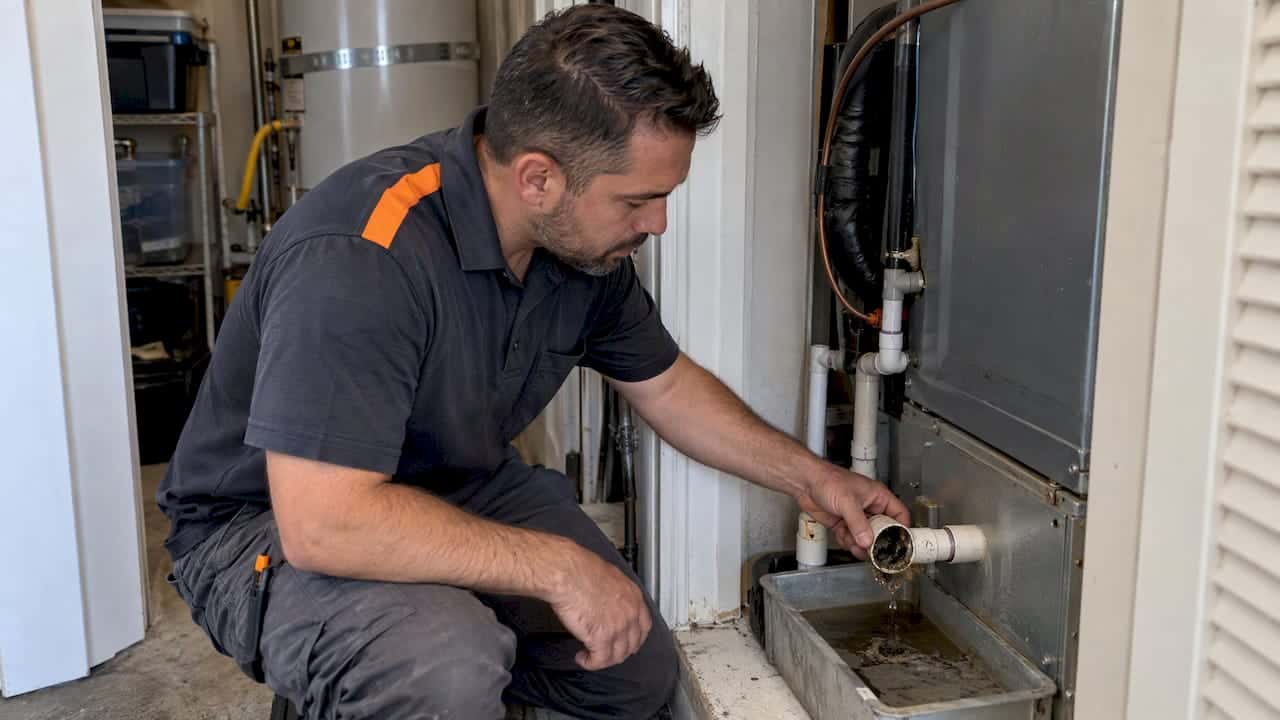
- Look for a condensate float switch near your indoor unit or attic air handler. These safety switches shut the whole system down the moment a drain line clogs, and they’re often mistaken for thermostat failures.
- Confirm your furnace door is fully seated. Furnace safety switches won’t let the system run with the panel loose or removed.
A huge share of these calls trace back to wiring, not hardware. Field data from Honeywell’s own troubleshooting resources shows that wiring or configuration mistakes, especially a missing common wire or swapped Rc/Rh terminals, cause more “broken thermostat” complaints than any actual component failure. The Rc and Rh terminals control power to the cooling and heating circuits separately on some systems, and if an installer jumpered them incorrectly, your thermostat can display one mode while sending voltage to the wrong equipment entirely.
Pro Tip: Never jumper thermostat terminals yourself to test wiring. It’s a legitimate diagnostic technique, but it involves live 24-volt circuits and, on some systems, higher voltage nearby. Leave that specific test to a licensed technician. LC Heating and Air Conditioning covers this exact scenario in more depth in our guide on thermostats that click but won’t start the AC.
Is Your Thermostat Reading The Room Wrong?
Sometimes the thermostat isn’t failing at all. It’s just lying to you about the temperature, and that’s a placement problem more often than a hardware defect.
- Check where it’s mounted. A thermostat near a sunny window, a supply vent, a lamp, or an exterior wall will read several degrees off from the rest of your home. Direct sunlight hitting the sensor for even twenty minutes can push a reading up by multiple degrees.
- Run an independent calibration test. Place a separate accurate thermometer next to the thermostat for fifteen minutes, out of direct airflow. If the readings differ by more than one or two degrees consistently, the thermostat’s internal sensor may be drifting, and it might be time to consider a replacement unit. LC Heating and Air Conditioning’s calibration walkthrough covers this test step by step.
- Rule out short cycling before blaming the thermostat. A system that turns on and off rapidly, never running a full cycle, often gets blamed on the thermostat when the real cause is a clogged air filter restricting airflow, a refrigerant issue, or a stuck relay on the control board. All three can mimic a thermostat malfunction perfectly.
- Check for stuck schedule holds. Many thermostats include a “hold” or “vacation” mode that overrides your normal schedule indefinitely. If your system seems to ignore programmed setpoints, check for an active hold before assuming a bigger problem.
- Approach factory resets with caution. A full factory reset can resolve software glitches, but it wipes your saved schedule and, on some smart models, your Wi-Fi credentials. Write down or screenshot your current settings first.
ENERGY STAR’s home heating and cooling guidance points out that a surprising number of comfort complaints attributed to a faulty thermostat are actually airflow or configuration issues elsewhere in the system. That matches what shows up in the field constantly: the thermostat gets replaced, and the real problem, a dirty filter or a bad placement spot, never gets addressed.
When Should You Stop And Call A Licensed HVAC Technician?
Some situations call for a professional immediately, no further troubleshooting attempted. Treat these as hard stops:
- Any burning smell or visible melting near the thermostat, furnace, or electrical panel.
- Exposed, frayed, or chewed wiring anywhere in the low-voltage or main power circuits.
- A breaker that trips again the instant you reset it, which signals an active short somewhere downstream.
- Repeated blown fuses on the control board, even after you’ve replaced the fuse correctly.
- A multimeter reading that stays at zero volts across terminals that should be carrying 24 volts.
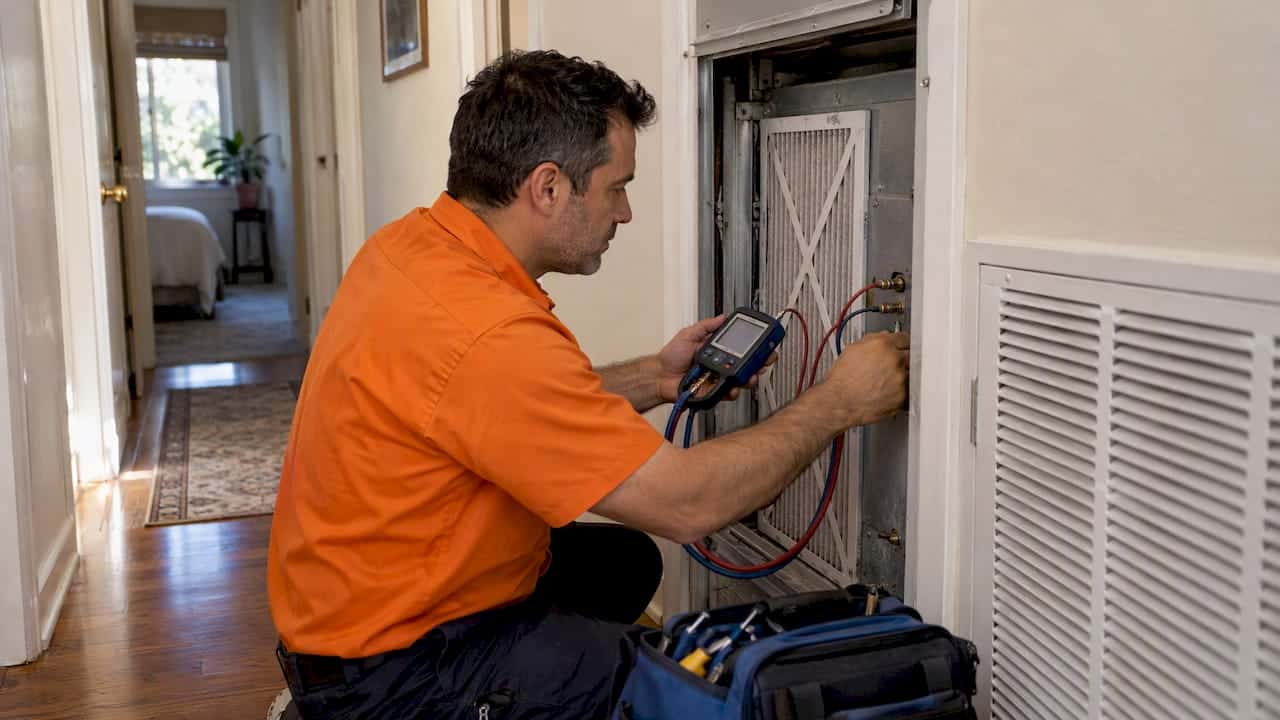
Testing voltage at the transformer or control board is a job for a trained technician, not because it’s complicated to explain, but because it involves live circuits where a wrong move can damage a control board or cause a shock. This is also true of the jumper test mentioned earlier: it’s a genuinely useful way to isolate whether the thermostat or the equipment is at fault, but it requires handling live voltage safely, which is why InspectAPedia’s technical guidance frames it strictly as a technician-level diagnostic step.
Before your technician arrives, gather your thermostat’s model number, a clear photo of the wiring behind the faceplate, any error codes or blinking light patterns you’ve noticed, and a quick list of what you’ve already tried. A flat-rate diagnostic visit typically includes a full check of your transformer, wiring connections, safety switches, and control board, so the more detail you can hand over up front, the faster the actual fix happens.
Preventive Maintenance That Keeps Thermostats From Failing
A little routine upkeep prevents most of the headaches covered above. Build these into your seasonal HVAC habits:
- Replace your air filter every one to three months. A clogged filter restricts airflow enough to trigger short cycling that looks exactly like a thermostat fault.
- Vacuum or use compressed air on the thermostat’s interior at least once a year, and gently tighten any loose terminal screws you can see without disconnecting wires.
- Test both heating and cooling modes right before each season starts, not the first cold or hot day you actually need them.
- Double check your programmed schedule after Daylight Saving Time changes twice a year, since some older models don’t adjust automatically.
- If you’re considering a smart thermostat upgrade, ask about proper C-wire installation or a dedicated adapter rather than relying on battery power alone, and consider a remote sensor if one room in your home runs consistently hotter or colder than the rest.
- Replace thermostat batteries on a schedule, roughly once a year, using fresh alkaline cells rather than waiting for a low-battery warning.
Pro Tip: Set a recurring phone reminder tied to your filter changes to also check your thermostat batteries. Bundling the two habits together means you’ll never separately forget one.
LC Heating and Air Conditioning: 20+ Years Of Field Experience
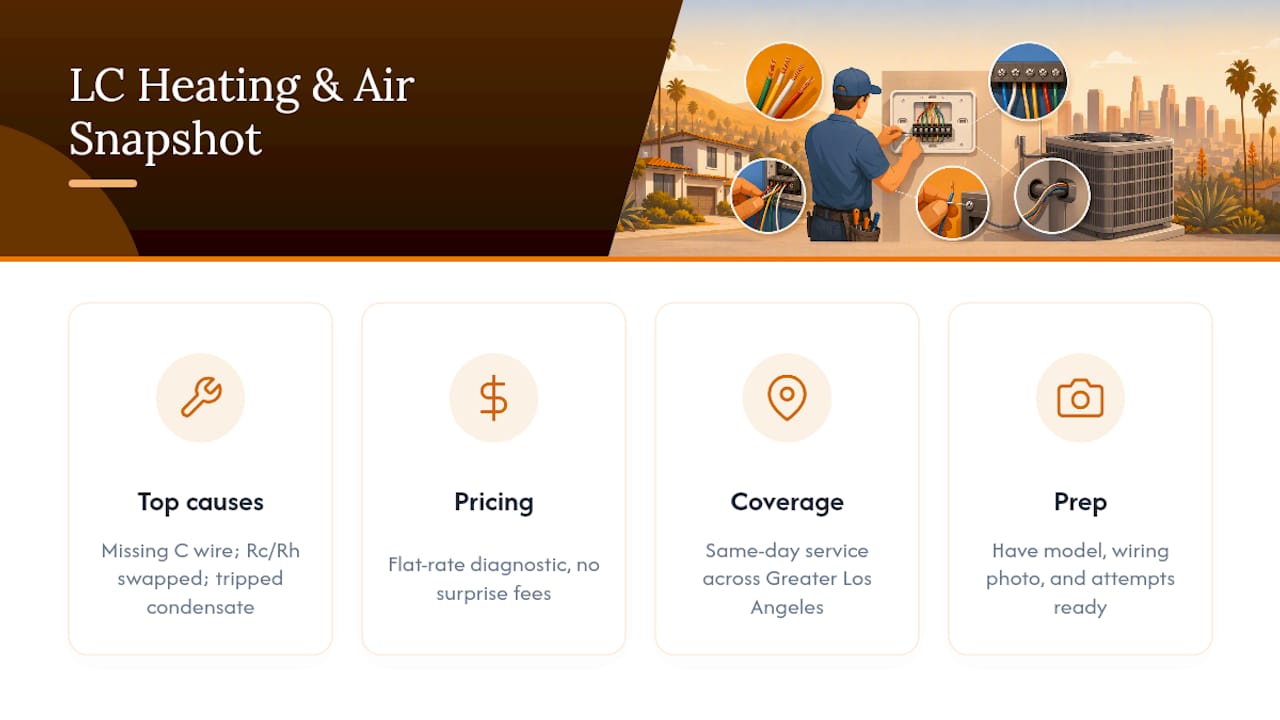
I’m Leo, and I’ve spent more than twenty years working on HVAC systems across Los Angeles, from century-old homes in Hollywood to modern multi zone heat pump installs in Bel Air and Brentwood. Thermostat calls make up a steady share of our service volume, and the pattern rarely changes: missing common wires, swapped Rc/Rh connections, and tripped condensate safety switches account for the overwhelming majority of “my thermostat isn’t working” calls we get, far more than actual defective thermostats.
We built LC Heating and Air Conditioning around fixing that experience for homeowners: flat-rate diagnostic pricing with no surprise fees, same-day service across the Greater Los Angeles area, and straight answers about whether you need a thermostat, a repair, or nothing at all. We work on everything from legacy furnace systems to heat pumps, mini splits, and commercial VRF systems, so whatever’s behind your wall, we’ve likely already diagnosed one just like it this month.
If you’re booking a visit, have your thermostat model number, a photo of the wiring, and a quick rundown of what you’ve already tried ready to go. It shortens the visit and keeps the diagnostic focused.
What Homeowners Get Wrong About Thermostat Troubleshooting
The biggest mistake I see homeowners make is assuming a malfunctioning thermostat needs a full replacement before anyone has actually checked the wiring behind it. It’s an easy assumption. The screen is unresponsive, so the screen must be broken. But a thermostat is really just the front end of a small electrical system, and the failure point is frequently a loose common wire connection or a safety switch tripped somewhere else in the house.
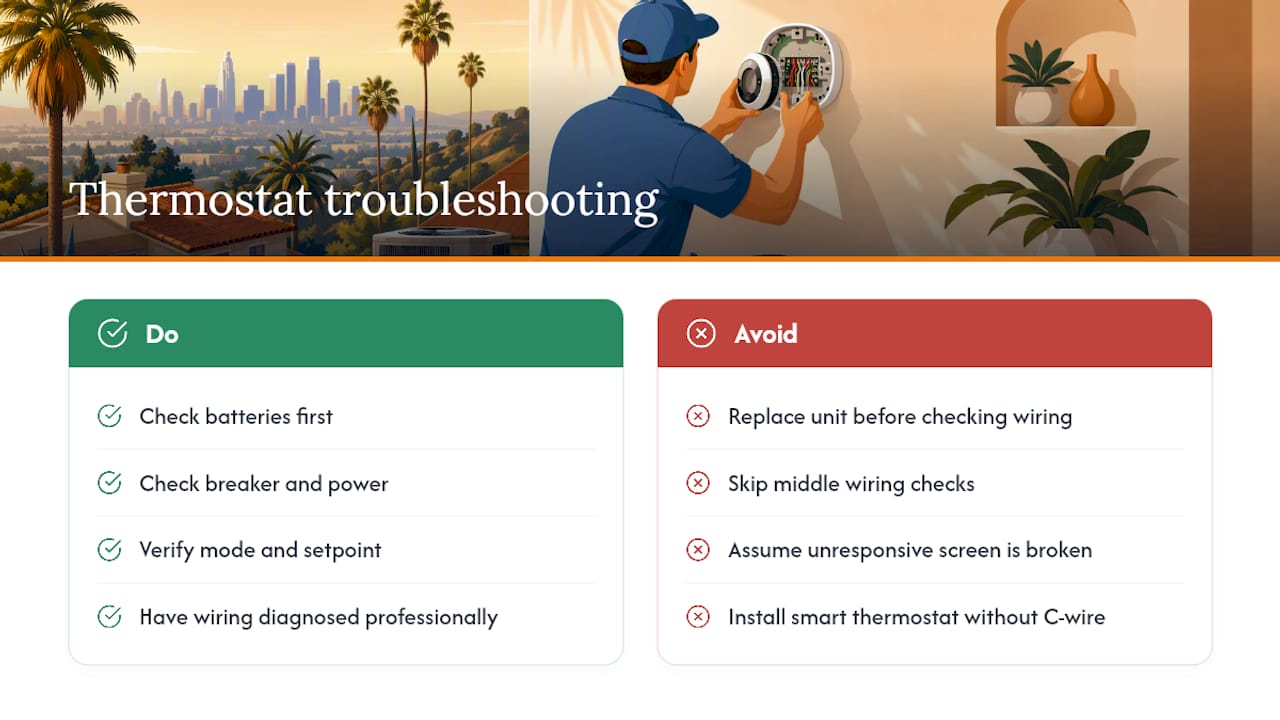
Conventional troubleshooting advice tends to treat every thermostat problem the same way: replace batteries, then replace the unit. That skips the middle step that actually matters, isolating whether the fault sits in the thermostat, the wiring, or the equipment itself. A homeowner who jumps straight to a smart thermostat upgrade without addressing a missing C-wire just moves the same problem into a more expensive box.
My honest take: run the safe checks yourself first, batteries, breaker, mode, setpoint. If the problem persists past that point, stop guessing at parts and get a proper wiring diagnosis. That single decision saves homeowners more money than any thermostat brand or model ever will.
— Leo
Get A Straight Answer On Your Thermostat, Same Day
LC Heating and Air Conditioning gives you something most HVAC calls in Los Angeles don’t: a flat-rate diagnostic price before we touch your system, so you know the cost of finding the problem before we find it. That matters most on thermostat calls specifically, where the fix ranges from a five-minute battery swap to a wiring repair, and you deserve to know which one you’re facing before the invoice arrives.
Our technicians carry the tools to check transformer voltage, trace wiring faults, and verify C-wire connections on the spot, and we work on everything from older hardwired thermostats to the latest smart models, plus the heat pumps, mini splits, and commercial VRF systems that increasingly run behind them. If your thermostat has been acting up and the checks in this guide haven’t solved it, book a same-day visit through our HVAC service page and have your thermostat model number and a photo of the wiring ready when we arrive. It’s the fastest way to get a straight answer and a fixed price, not a guess.
Sources
FAQ
Is there a reset button on a thermostat?
Most thermostats don’t have a dedicated physical reset button. Instead, you reset them by removing batteries for a few seconds, pulling and reseating the faceplate, or using a factory reset option buried in the settings menu.
How do I know if my thermostat is broken?
Check whether the breaker, batteries, and setpoint are all correct first. If the screen stays blank or unresponsive after those checks, or the system runs erratically even with correct wiring, the thermostat itself may be faulty rather than the wiring or equipment.
Why is my thermostat running but not heating?
A thermostat that shows “heating” without actual heat usually points to a wiring issue, a tripped safety switch, or an equipment-side failure rather than the thermostat itself, according to Carrier’s diagnostic guidance. Common culprits include a tripped furnace door switch, a clogged condensate line triggering a float switch, or a miswired Rc/Rh connection.
How do I reset an unresponsive thermostat?
Remove and replace the batteries, reset the HVAC breaker and furnace switch fully off and back on, then reseat the faceplate against the wall plate without touching any wiring. If the screen stays blank after that, the transformer or wiring likely needs a professional look.
Should I try the wiring myself if the thermostat still isn’t working?
No. Wiring checks and voltage testing at the control board involve live circuits and should be left to a licensed HVAC technician. LC Heating and Air Conditioning offers flat-rate diagnostics specifically so you get a clear answer without guessing at parts yourself.
Recommended
Leo, Propietario y Técnico Principal en LC Heating & Air
Leo dirige LC Heating & Air como propietario-operador y tiene la licencia C-20 HVAC #1073586 de California. Sus guías se enfocan en diagnósticos prácticos, decisiones de reparación seguras y consejos claros para propietarios de Los Ángeles.