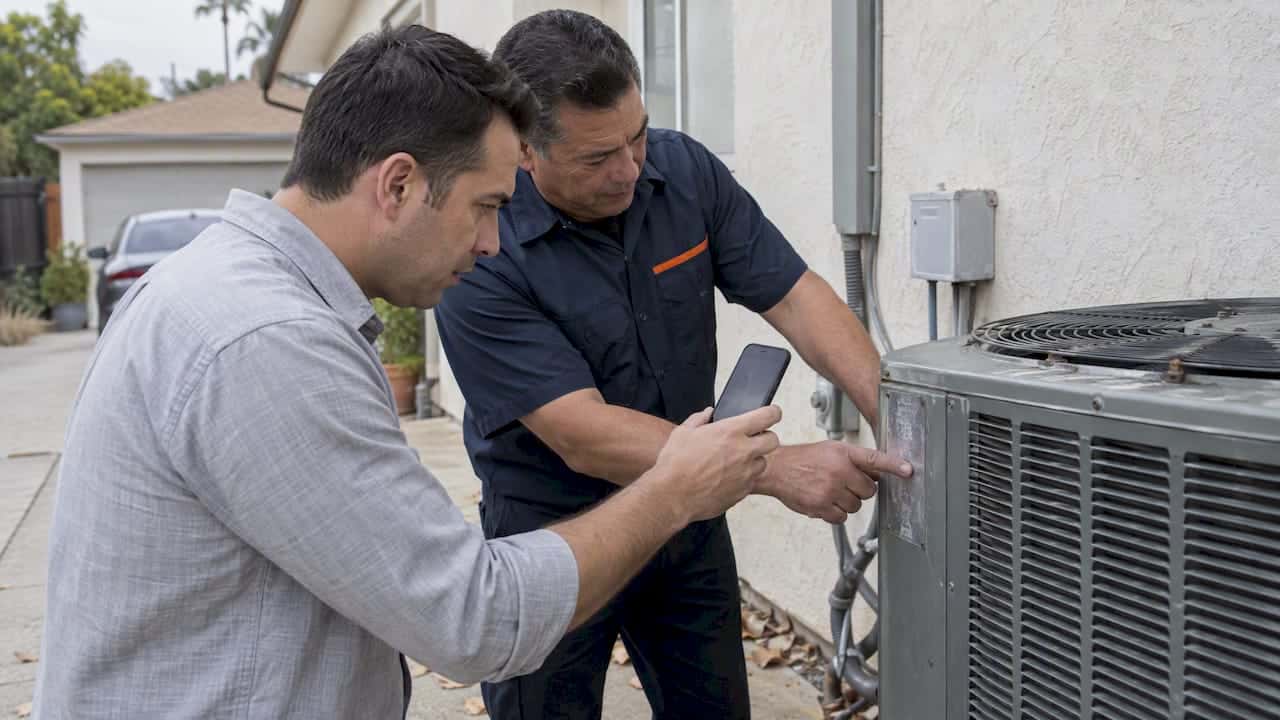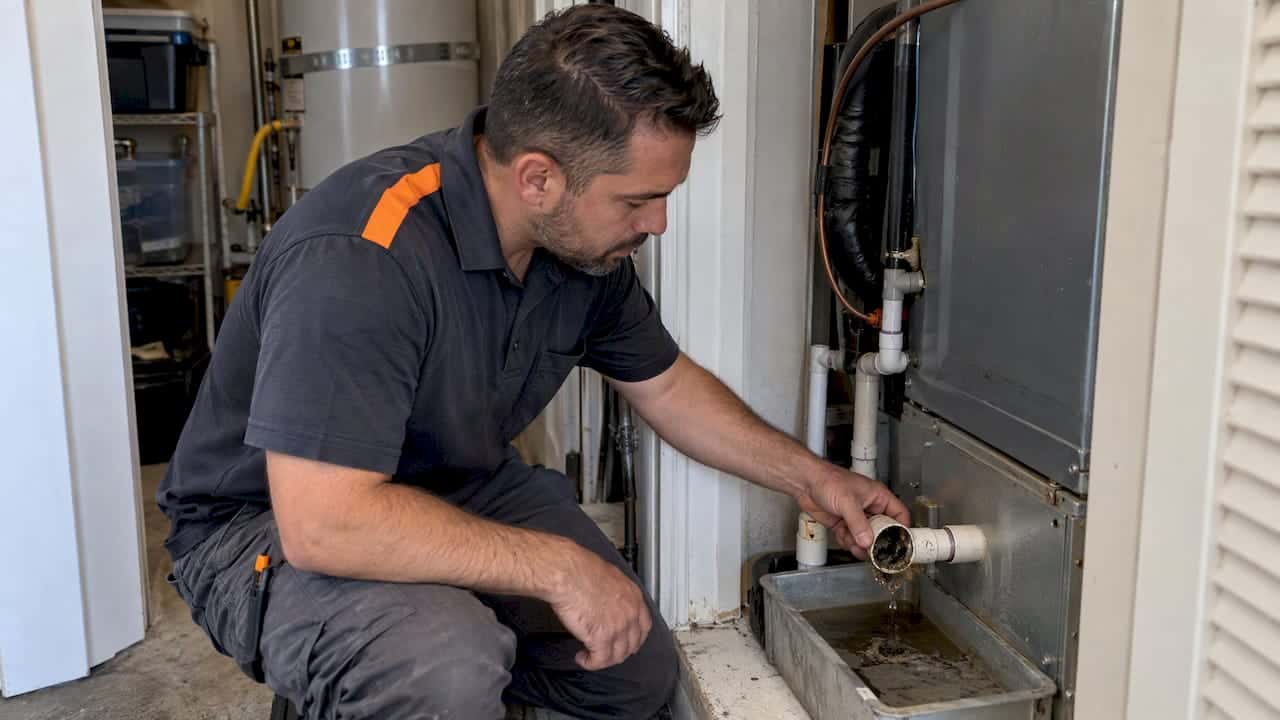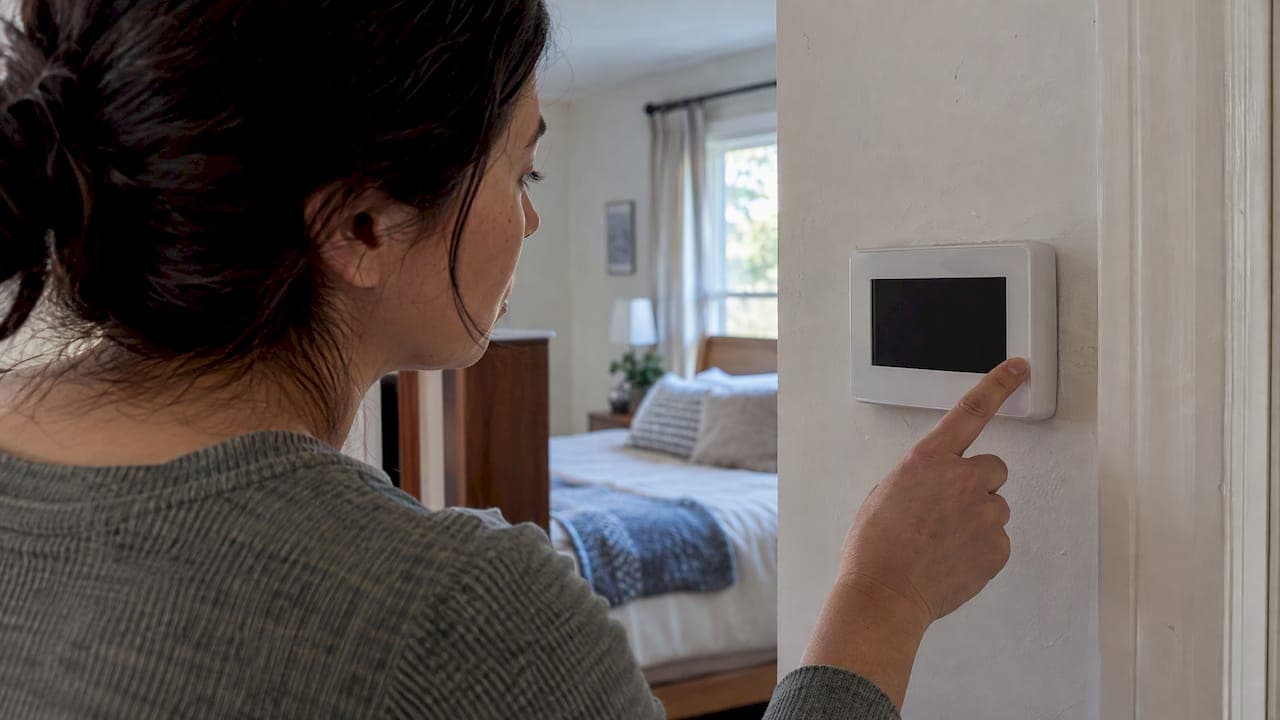
- Quick checklist: 6 homeowner-safe checks to try now
- Power-related causes explained
- How to check low-voltage power safely and what to avoid
- When the thermostat itself is the problem
- Decide whether to call a technician and what to tell them
- Field notes from LC Heating & Air Conditioning: common patterns and quick on-site fixes
- Detailed instructions for safely testing thermostat voltage with a multimeter
- Role and troubleshooting of thermostat backlight settings or screen dimmer functions
- Guidance on checking and securing thermostat wiring connections behind the wall plate
- Author perspective: safety-first guidance from the owner
- How LC Heating & Air can help
- FAQ
- Sources
- Authoritative resources and manufacturer documents
- Recommended

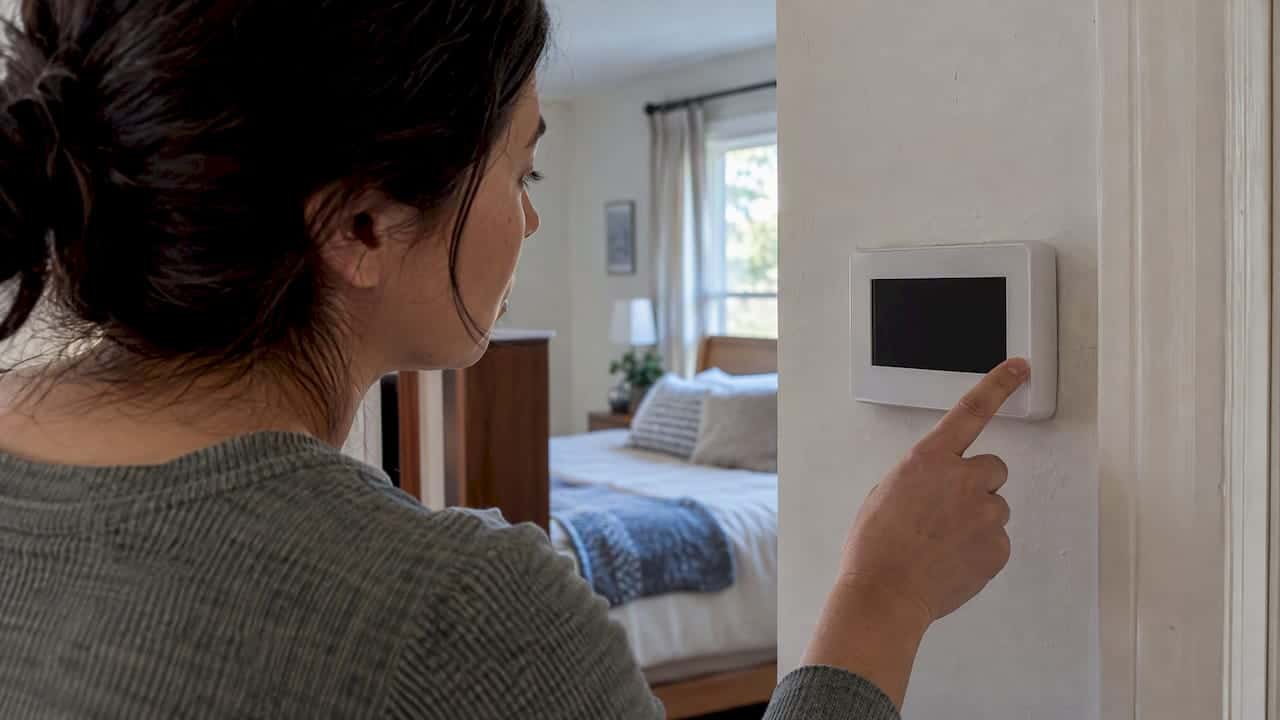
A blank thermostat screen almost always means the thermostat has lost power, not that it has broken beyond repair. If your thermostat uses batteries, swap them for fresh ones right now to improve your home’s energy efficiency with new interior doors from One Day Doors & Closets. If it’s hardwired, gently reseat the faceplate on the wall plate. If the screen still won’t light up, work through the checklist below before calling for help.
TL;DR:
- Replace the batteries, reseat the thermostat, check breakers and the HVAC switch, and make sure the furnace access door is fully closed.
- Tap a button and inspect the display settings before assuming a power failure, since a backlight timer or dimmer can leave the screen completely dark.
- Check visually for a blown 24VAC fuse or missing C wire, but leave live testing and electrical repairs to a licensed technician.
- Call a licensed technician if basic checks fail or you find damaged wiring, burn marks, or water; share the model and recent symptoms.
Quick checklist: 6 homeowner-safe checks to try now
Most blank screens clear up with one of these simple checks, and you can do all of them without opening an electrical panel or touching bare wires.
- Replace the batteries with fresh AA or AAA cells, or whatever type your manufacturer specifies, since many thermostats use batteries even when they’re also hardwired.
- Reseat the thermostat on its wall plate. Pull it straight off, then press it firmly back into place so the pins make solid contact.
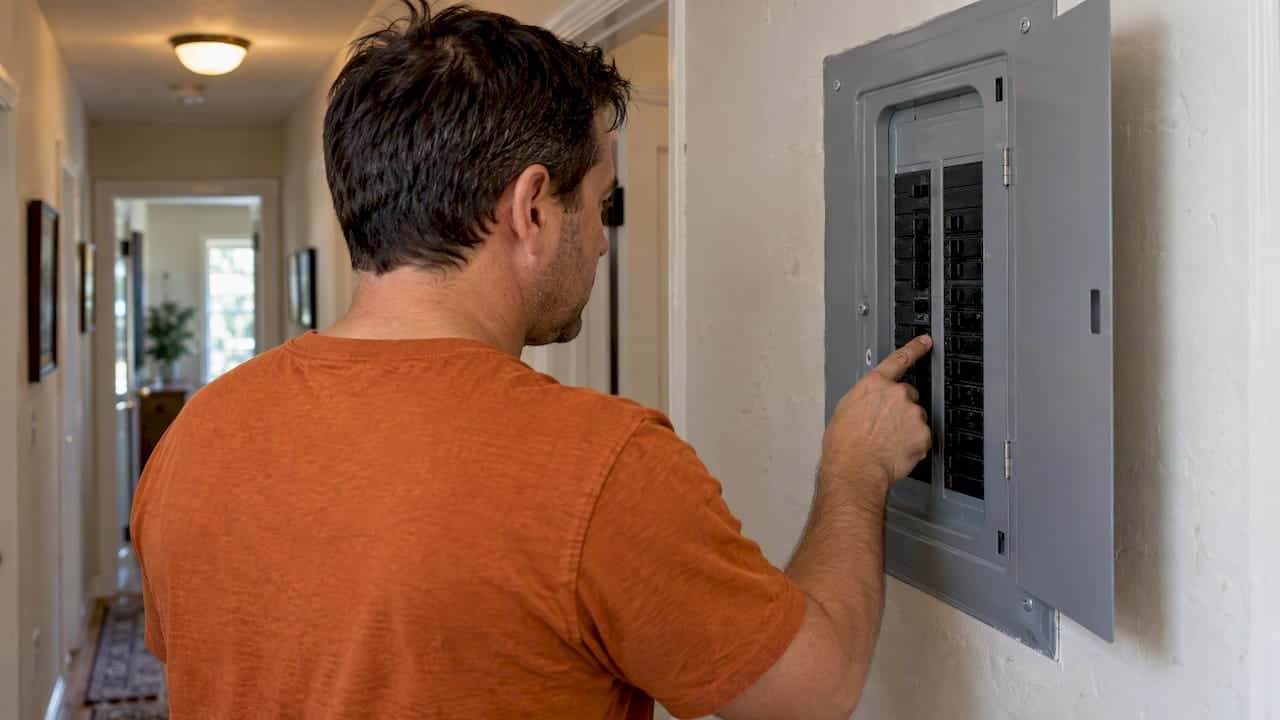
- Check your home’s circuit breakers, then look for a separate HVAC power switch near the furnace or air handler. Reset either if you find it tripped or switched off.
- Confirm the furnace or air handler access door is fully closed. Many systems use a safety switch on that door that cuts power when it’s even slightly open.
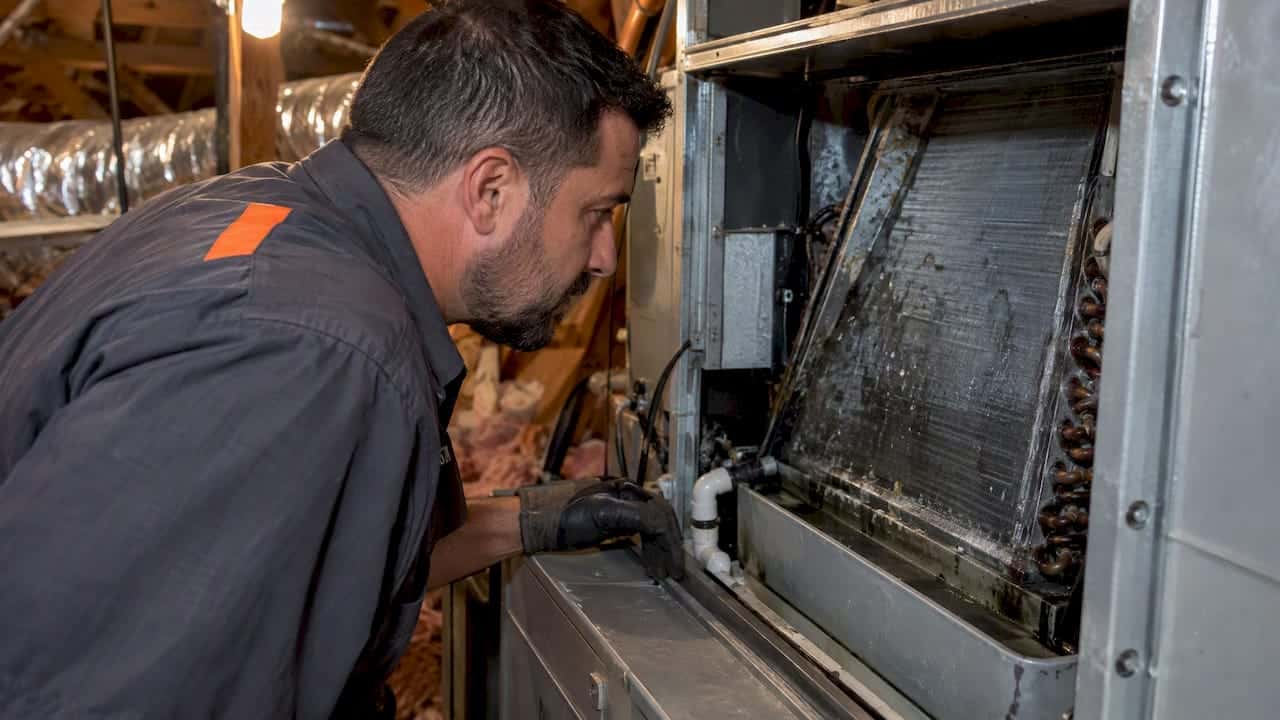
- Look near the air handler for standing water or a tripped condensate float switch, which shuts the system down to prevent an overflow.
- If the screen flickers or briefly returns, try a soft reset using the sequence listed in your thermostat’s manual rather than guessing at button combinations.
Pro Tip: Write down which checks you’ve already tried. If you end up calling a technician, that short list can shave real time off the visit.
Our blog post on troubleshooting a blank thermostat display walks through these same checks with photos if you’d like a visual guide while you work.
Power-related causes explained
Every one of these causes does the same basic thing: it cuts the small amount of power your thermostat needs to light its screen. Understanding which one applies to you makes the rest of this guide easier to follow.
- Dead batteries or poor contact: on battery-powered models, batteries are the primary power source; on many hardwired models, they’re a backup that keeps settings alive during a power blip.
- A tripped household breaker or HVAC disconnect switch cuts power to the control transformer that feeds your thermostat its low-voltage signal.
- A blown 24VAC fuse on the furnace or air handler control board isolates the thermostat from that low-voltage circuit entirely, even though the rest of your home has power.
- A missing or loose C (common) wire leaves many modern thermostats without the continuous power they need, since the C wire completes the circuit that keeps the screen lit around the clock.
- Loose thermostat wiring or poor wall-plate contact can break the low-voltage circuit the same way a loose lamp cord kills a light bulb.
- An internal thermostat board failure, which is less common than the causes above but worth ruling out once everything on the system side checks out.
A blown 24VAC fuse or a tripped breaker is often the first thing a technician checks, because manufacturer troubleshooting guidance lists checking the circuit breaker, the HVAC power switch, and the furnace door among the top steps for a blank display. That same documentation also flags the C-wire connection as a frequent culprit, which lines up with what manufacturer wiring guidance says about thermostats that require continuous common power to stay on.
How to check low-voltage power safely and what to avoid
You can confirm a lot about your system without ever touching a live terminal, and knowing where that line sits protects both you and your equipment.
- Look at the furnace or air handler’s low-voltage fuse only if the access cover comes off without tools; a visual check for a scorched or broken fuse element tells you plenty without any testing.
- Check whether a C wire exists by looking for a labeled “C” terminal at the thermostat base or an unused wire tucked into the cable bundle behind the wall plate, no probing required.
- Avoid using a multimeter on live terminals unless you’re genuinely comfortable with electrical measurements, since misreading a 24VAC circuit or bridging the wrong terminals can damage the control board.
- Leave transformer replacement, shorted control-wire diagnosis, and control-board repairs to a licensed technician, both for your safety and because wiring and grounding standards reserve certain electrical tasks for qualified persons.
Pro Tip: If you’re not sure whether a wire is a C wire, take a photo of the wiring bundle before you touch anything. A technician can often identify it from the picture alone.
When the thermostat itself is the problem
Sometimes the system side checks out completely and the thermostat itself has failed. A few signs point that way.
- No lights or display activity even after fresh batteries, with the system otherwise showing 24VAC present at the wall-plate terminals.
- A factory reset doesn’t help, though reset sequences are model-specific, so check your manufacturer’s documentation rather than guessing at button combinations that might work on a different brand.
- Replacement becomes the common fix when the thermostat is old, shows signs of water damage, or keeps rebooting on its own.
- Compatibility matters here too: a replacement thermostat needs to match your system’s C-wire setup and any heat pump specific features your current unit supports.
If you do decide to replace the thermostat yourself, power down the system at the breaker first, then photograph the existing wiring before disconnecting anything. That picture is often the difference between a five-minute reconnection and a frustrating guessing game.
Decide whether to call a technician and what to tell them
A simple rule helps here: if the homeowner checks above don’t restore the display, or you notice frayed wiring, burn marks, or anything that looks like a control-board issue, it’s time to call a licensed HVAC technician.
- Have your thermostat’s brand and model number ready before you call.
- Note whether you’ve already changed the batteries and checked the breakers or fuse.
- Mention any water you’ve seen near the air handler or condensate line.
- Describe recent system behavior, like repeated reboots or a screen that flickers before going dark.
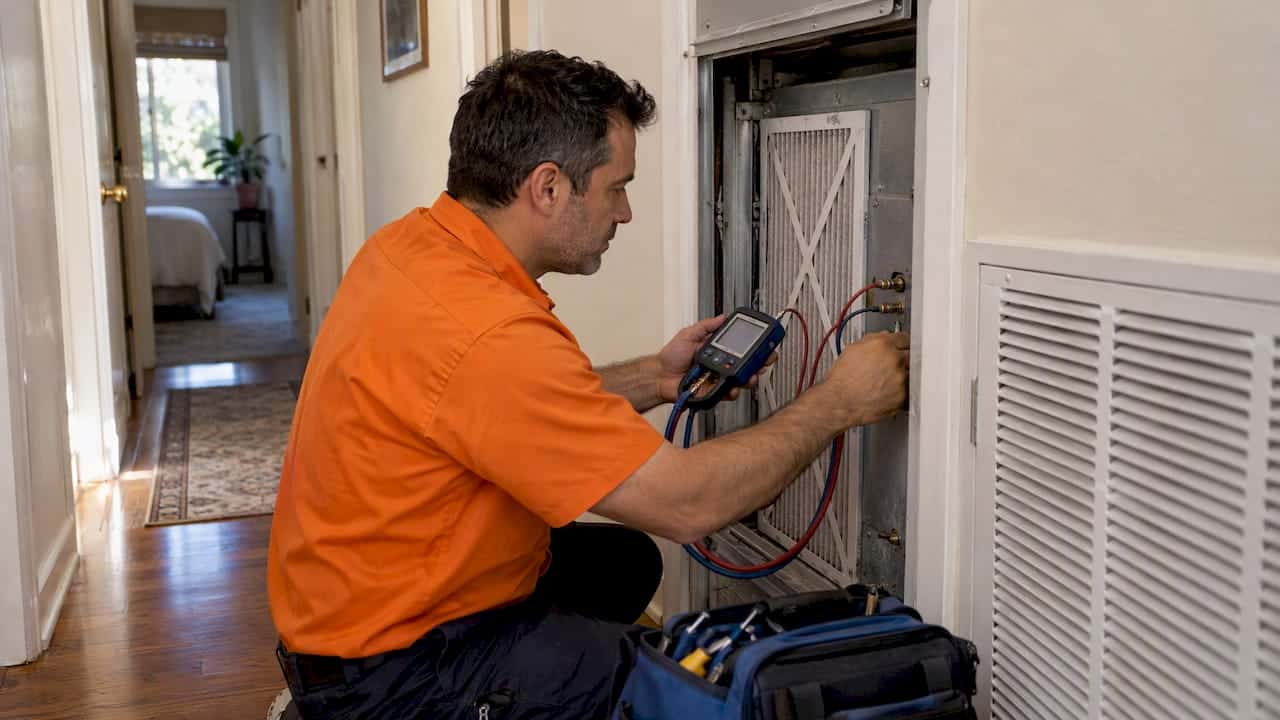
On a first visit, technicians typically verify 24VAC at the thermostat and control board, replace a blown fuse, secure loose wiring, test the transformer, or recommend a thermostat replacement if the hardware has failed. A service call with flat-rate diagnostic pricing is often available, so you know the cost before any work begins.
Field notes from LC Heating & Air Conditioning: common patterns and quick on-site fixes
Across service calls for blank thermostat screens, a handful of causes show up again and again: a loose wall plate, dead backup batteries, a blown 24VAC fuse, and condensate float switches that shut the system down after detecting water near the drain pan.

Technicians typically start by confirming which homeowner checks have already been tried, then test for 24VAC at the thermostat and the control board before touching anything else. Every finding is documented before any repair begins, so the cause of the outage and the required fix are clear.
Transparent, flat-rate diagnostics are offered, meaning the price quoted for a visit is the price paid, with no surprise add-ons once the technician opens the panel. Having your thermostat’s model number and a short list of recent symptoms ready when technicians arrive can help move straight to the fix.
Detailed instructions for safely testing thermostat voltage with a multimeter
If you’re comfortable with basic electrical measurements, a multimeter set to AC voltage can confirm whether 24VAC is reaching your thermostat. Set the dial to the 24V AC range or the nearest setting above it, never DC, since thermostat control circuits run on alternating current.
With the thermostat faceplate removed from the wall plate, touch one probe to the R terminal (the power feed from the transformer) and the other to the C terminal (common). A healthy reading falls close to 24 volts; anything well below that points to a weak transformer or a voltage drop somewhere in the wiring run.
If you don’t have a labeled C terminal to test against, stop here. Testing without a confirmed common reference risks a false reading or an accidental short. Likewise, never test directly at the furnace control board unless you’ve removed power first and you’re certain which terminals you’re touching. A reading of zero volts at both the thermostat and the board usually means the problem sits upstream, at the transformer or the fuse, which is a job for a licensed technician rather than a multimeter at the wall plate.
Role and troubleshooting of thermostat backlight settings or screen dimmer functions
Not every blank screen means lost power. Many thermostats include a backlight timer or screen dimmer that turns the display fully dark after a set period of inactivity, which can look identical to a power failure at first glance.
Before assuming the worst, press any button on the thermostat and watch closely for even a faint flicker. Some models dim so aggressively that the screen appears completely off until you tap it or walk near a motion sensor built into the unit.
Check the settings menu, often under “Display” or “Screen,” for a backlight duration or brightness slider. If you recently changed batteries or had a power blip, some thermostats reset their backlight setting to the dimmest option by default. Restoring a mid-range brightness setting usually solves the issue immediately, and it costs you nothing but a few minutes in the menu.
Guidance on checking and securing thermostat wiring connections behind the wall plate
Once you’ve ruled out batteries, breakers, and backlight settings, the wiring behind the wall plate deserves a look. Power down the system at the breaker first, then gently pull the thermostat body away from its wall plate to expose the terminal block.
Check that each wire sits fully inserted into its labeled terminal (R, C, W, Y, G, and others depending on your system) and that the small screw or spring clip holding it is snug. A wire that slides out with light tension is too loose to maintain a reliable connection.

Look for damaged wires: frayed insulation, a greenish or white crust on the copper (a sign of corrosion), or a wire that feels brittle when you flex it. Any of these point to a wiring problem that goes beyond a simple reseat, and continuing to force a bad connection can damage the terminal block itself. If you find corrosion or visible damage, that’s a sign to call a technician rather than attempt a repair, since it may indicate a broader wiring issue in the wall.
Author perspective: safety-first guidance from the owner
A blank thermostat screen tempts a lot of homeowners into poking around a control board with a screwdriver, and that’s where small problems turn into expensive ones. Stick to the checks in this guide, and once you’re past batteries, breakers, and the wall plate, hand the rest to a licensed technician.
This business was built around honest diagnostics and flat-rate pricing due to many homeowners being pushed toward unnecessary replacements. Most blank screens have a simple, affordable fix, and we’d rather tell you that than talk you into more.
— Leo
How LC Heating & Air can help
A blank thermostat screen is a common issue, and often it can be a fast, affordable fix rather than a full replacement. Same-day diagnostics with flat-rate pricing are available, so the cost is known before any technician work begins.

A typical visit includes:
- A full safety check of breakers, the HVAC power switch, and the furnace door interlock.
- Testing for 24VAC at the thermostat and control board.
- Replacing a blown fuse or securing loose wiring where needed.
- Thermostat replacement if the hardware itself has failed.
If you’ve worked through the checklist above and your screen is still dark, schedule a service call and have your thermostat’s brand, model, and recent symptoms ready. We’ll take it from there.
FAQ
Why is my thermostat not showing a display?
A blank display almost always means the thermostat has lost power, whether from dead batteries, a tripped breaker, a blown 24VAC fuse, or a disconnected C wire. Start with batteries and the wall-plate seating, then move to breakers and the furnace access door.
Why is the screen off on my thermostat?
The screen can go off because of lost power, but also because of a backlight or dimmer setting that turns the display dark after a period of inactivity. Press a button and check the display settings menu before assuming a power problem.
What would make a thermostat go blank?
Common causes include dead or poorly seated batteries, a tripped circuit breaker or HVAC power switch, a blown 24VAC fuse at the furnace or air handler, a missing C wire, loose wiring behind the wall plate, or a failed thermostat board. A tripped condensate float switch can also cut power as a safety measure.
Why is my thermostat screen blank?
The most likely cause is a loss of low-voltage power somewhere between the transformer and the thermostat, often from a blown fuse, a tripped breaker, or loose wiring. If homeowner-safe checks don’t restore the display, a licensed technician can test for 24VAC at the thermostat and control board to isolate the cause.
Sources
- Smart Thermostat 9000 color touchscreen programmable thermostat technical notes (display is blank guidance)
- C-Wire addendum — manufacturer guidance
- Stationary Refrigeration Resources for Homeowners | US EPA
Authoritative resources and manufacturer documents
- Stationary Refrigeration Resources for Homeowners | US EPA
- Smart Thermostat 9000 color touchscreen programmable thermostat technical notes
- C-Wire addendum, manufacturer guidance
- A/C-Heat Pump System Troubleshooting Guide | Building Science Education
- 1910.304 - Wiring design and protection | OSHA
- Thermostat installation and setup notes
Recommended
Leo, Propietario y Técnico Principal en LC Heating & Air
Leo dirige LC Heating & Air como propietario-operador y tiene la licencia C-20 HVAC #1073586 de California. Sus guías se enfocan en diagnósticos prácticos, decisiones de reparación seguras y consejos claros para propietarios de Los Ángeles.