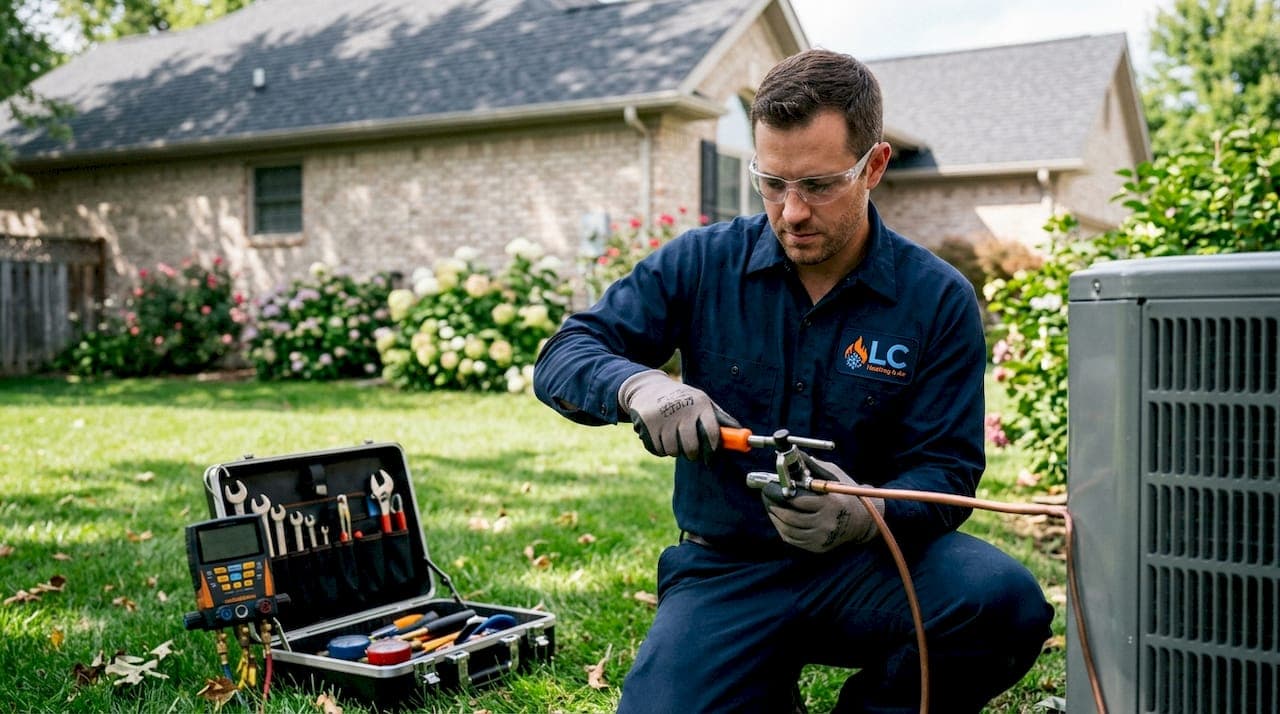
- What is an HVAC flare fitting and how does it work?
- What are the types and sizes of HVAC flare fittings?
- How do you use flare fittings? A step-by-step installation guide
- What torque specs do HVAC flare fittings require?
- Key Takeaways
- Why I trust flare fittings more than most technicians admit
- LC Heating and Air Conditioning handles flare fittings the right way
- FAQ
- Recommended
HVAC Flare Fitting Explained: Installation Guide for 2026
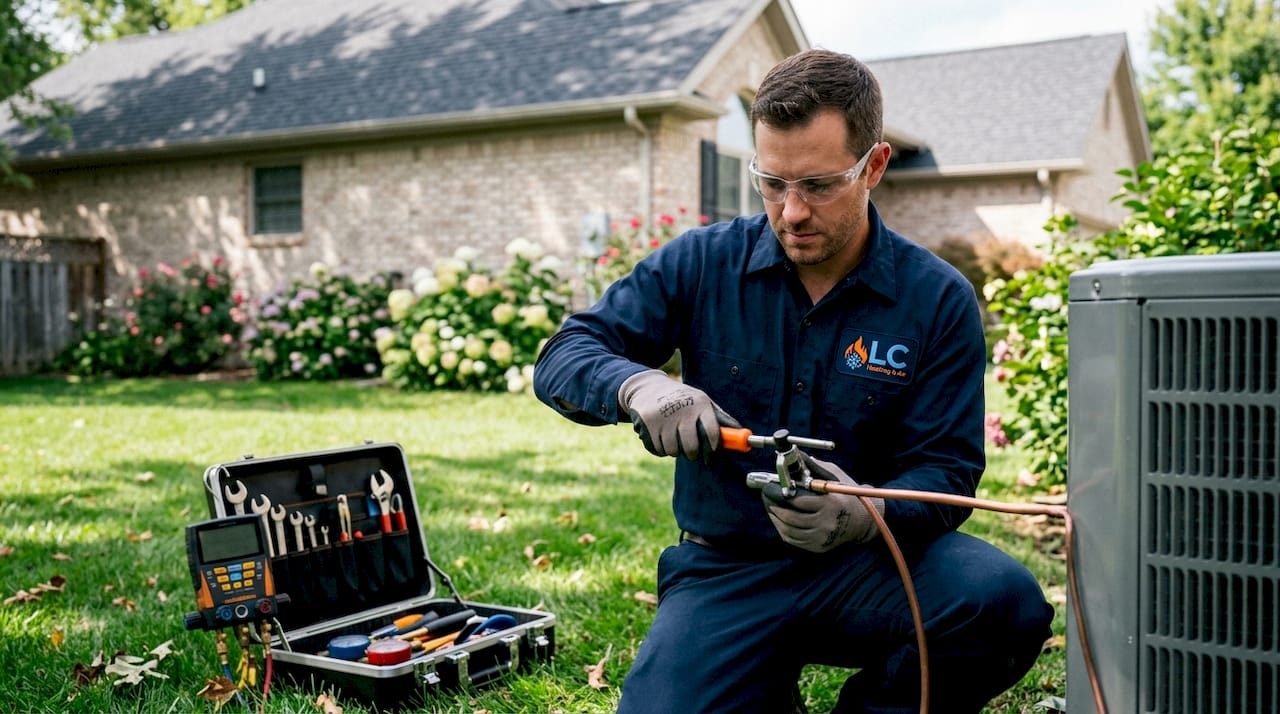
TL;DR:
- HVAC flare fittings are compression joints that connect copper tubing to brass fittings using a 45-degree seat, requiring no solder or open flame. They are easily serviceable and prevent leaks when properly installed with the correct tools, angle, and torque. Using the right size, angle, and a calibrated torque wrench ensures a reliable seal and system performance.
An HVAC flare fitting is a mechanical compression joint formed by expanding a copper tube end into a precise 45-degree cone that presses tightly against a matching brass fitting seat, secured by a flare nut. This metal-to-metal seal requires no solder, no open flame, and no adhesive. It is the standard connection method for refrigerant lines in residential and commercial air conditioning systems, governed by SAE J513, the industry specification that defines flare geometry and interchangeability. Understanding what is an HVAC flare fitting matters whether you are installing a new mini-split, repairing a refrigerant leak, or inspecting an existing system.
What is an HVAC flare fitting and how does it work?
An HVAC flare fitting works by deforming the end of a copper tube outward into a cone shape. That cone seats against a matching angled recess inside a brass fitting body. A flare nut threads over the tube before flaring and then tightens down to compress the two surfaces together, creating a metal-to-metal seal that holds refrigerant pressure without any additional sealing material.
The key advantage over a brazed joint is serviceability. A brazed connection is permanent. It requires a torch, flux, and filler metal to create, and it must be cut out if the line needs to be disconnected. A flare fitting, by contrast, can be loosened with a wrench, inspected, and reconnected. This makes flare fittings the preferred choice for service valves, heat pump line sets, and mini-split connections where a technician may need to access the refrigerant circuit more than once.
Flare fittings are also safer in accessible locations because they eliminate open-flame work near walls, insulation, or finished ceilings. That is a real benefit in Los Angeles homes where HVAC equipment often sits in tight attic spaces or utility closets.
Here is where you will typically find flare fittings in a residential or commercial HVAC system:
- Service valves on condensing units, where technicians connect gauges for refrigerant charging
- Mini-split line sets, connecting the indoor air handler to the outdoor compressor
- Heat pump refrigerant lines, which require periodic access for maintenance
- Manifold gauge connections, used during system diagnostics and refrigerant recovery
- Flare unions, joining two sections of copper tubing in a straight run
Pro Tip: If you are ever unsure whether a connection is brazed or flared, look for a hex-shaped flare nut on the outside of the fitting. Brazed joints show no nut. A flare nut is a dead giveaway.
What are the types and sizes of HVAC flare fittings?
HVAC flare fittings follow a specific set of size and angle standards that differ from other industries. Getting these details right prevents leaks before the system ever runs.
The standard flare angle for HVAC and refrigeration work is 45 degrees. This is defined by SAE J513 and applies to all standard HVAC flare sizes, which include 1/4", 3/8", 1/2", and 5/8" copper tubing outside diameters. These four sizes cover the vast majority of residential and light commercial refrigerant line applications. The 1/4" size is most common for liquid lines on smaller systems. The 3/8" and 1/2" sizes appear on suction lines for mid-range systems. The 5/8" size handles suction lines on larger tonnage equipment.
The 45-degree HVAC flare angle is not universal across all industries. Automotive and hydraulic systems use a 37-degree flare angle, and the two are not interchangeable. Using a 37-degree flaring tool on HVAC copper tubing produces a cone that does not seat correctly against a 45-degree brass fitting. The result is a mismatched seal that will leak refrigerant regardless of how tightly you torque the nut. This is one of the most common installation errors in the field.
The table below shows the standard HVAC flare fitting sizes and their typical applications:
| Tube OD | Common application | Flare angle |
|---|---|---|
| 1/4" | Liquid lines, small systems | 45 degrees (SAE J513) |
| 3/8" | Liquid lines, medium systems | 45 degrees (SAE J513) |
| 1/2" | Suction lines, medium systems | 45 degrees (SAE J513) |
| 5/8" | Suction lines, larger systems | 45 degrees (SAE J513) |
Fittings are almost always brass. Brass resists corrosion from refrigerant oils, holds up under pressure cycling, and machines to tight tolerances that support a reliable seal. The copper tubing itself forms the flare cone, so the quality of the copper matters too. Use refrigeration-grade copper tubing, not plumbing-grade, because refrigeration copper is cleaner internally and holds a more consistent wall thickness.
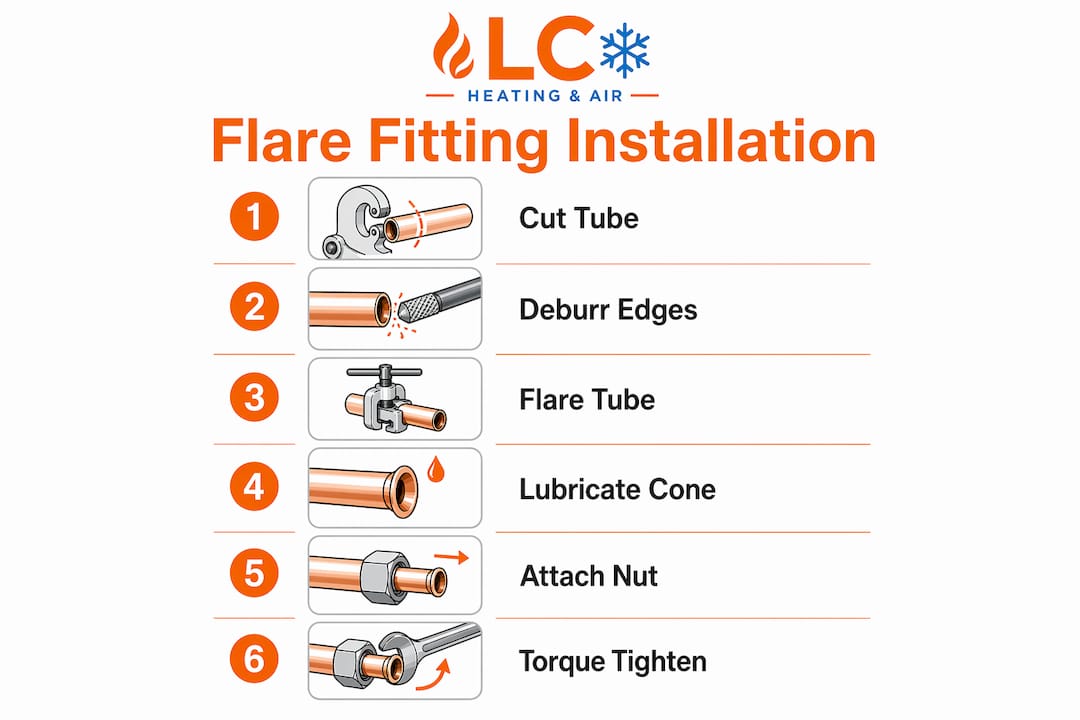
How do you use flare fittings? A step-by-step installation guide
Creating a proper flare fitting is a skill. The right tools and the right sequence make the difference between a leak-free connection and a callback.
-
Cut the copper tubing cleanly. Use a tubing cutter, not a hacksaw. A hacksaw leaves burrs and an uneven face. Rotate the cutter slowly with light pressure to avoid work-hardening the copper.
-
Deburr the tube end. Use the reamer built into most tubing cutters or a separate deburring tool. Any burr on the inside edge will fold into the flare cone and create a stress point.
-
Slide the flare nut onto the tube before flaring. This sounds obvious, but forgetting the nut is one of the most common mistakes in the field. Once the flare is formed, the nut cannot pass over it.
-
Secure the tube in the flaring block. The tube should extend above the block face by the correct amount for your fitting size. Most flaring tools include a gauge or depth stop for this. Too much extension creates an oversized flare that cracks. Too little creates an undersized flare that does not seat fully.
-
Form the flare using a 45-degree HVAC flaring tool. Eccentric-style flaring tools are preferred over traditional impact-style tools because they roll the copper outward gradually, producing a smoother and more uniform cone. This reduces the risk of thinning the copper wall at the flare edge.
-
Inspect the flare visually and by touch. The cone surface should be smooth, shiny, and free of cracks, wrinkles, or tool marks. Run your fingernail across the seating surface. Any roughness will translate to a leak path under pressure.
-
Thread the flare nut onto the fitting body by hand first. Cross-threading a brass flare nut damages both the nut and the fitting body. Always start by hand and confirm the nut turns freely for at least two full rotations before applying a wrench.
-
Tighten to the correct torque specification. Never guess on torque. Use a calibrated torque wrench and follow the manufacturer’s specification for the tube size and refrigerant type.
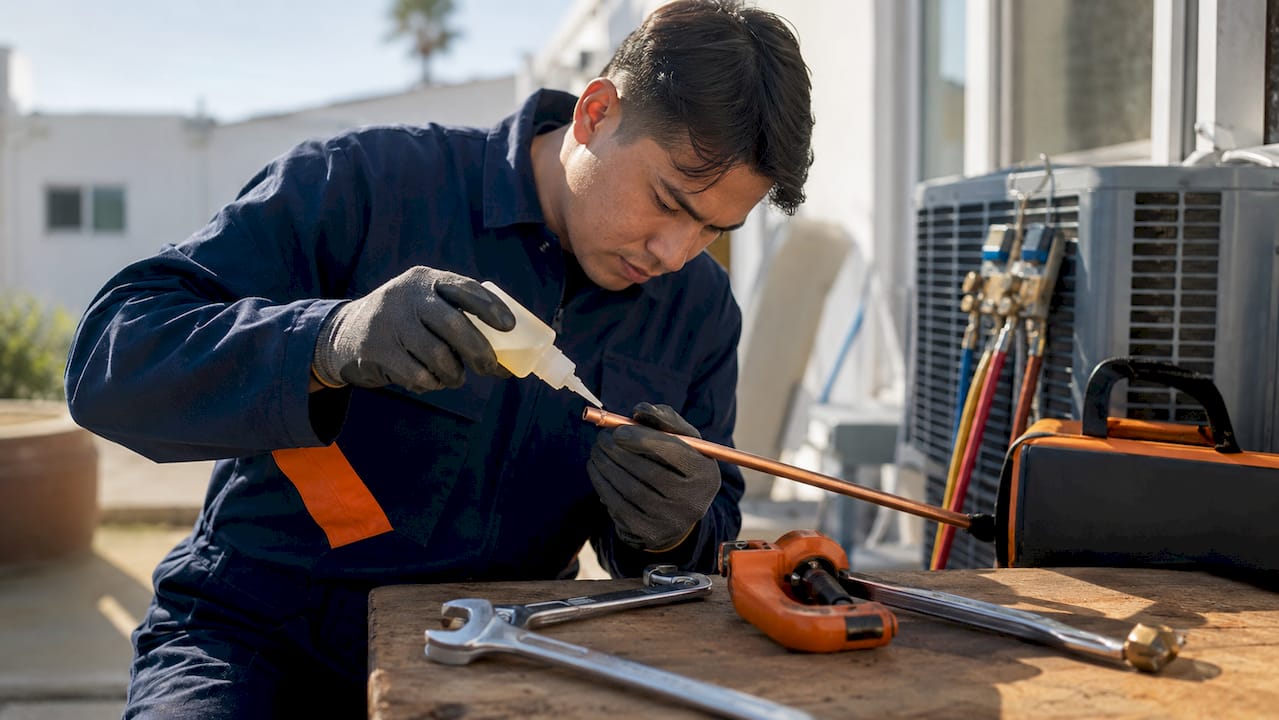
Pro Tip: Apply a small amount of refrigerant oil to the flare cone surface before assembly. This lubricates the metal-to-metal contact during tightening and helps the surfaces seat evenly, reducing the chance of galling the brass fitting.
For a deeper look at how copper lines fit into your overall HVAC system, the HVAC copper line guide from LC Heating and Air Conditioning covers sizing, insulation, and routing in plain language.
What torque specs do HVAC flare fittings require?
Torque is the single most misunderstood part of flare fitting installation. Too loose and the fitting vibrates open over time. Too tight and you crush the copper seating surface, creating micro-fractures that leak under refrigerant pressure.
Torque specifications for flare fittings vary by tube diameter. A 1/4" flare fitting typically requires 13–18 foot-pounds, with most technicians targeting 15 foot-pounds as a reliable midpoint. Larger diameters require more torque because the seating surface area increases. Always confirm the exact specification in the equipment manufacturer’s installation manual, because brands like Mitsubishi, Daikin, and Fujitsu publish their own torque tables and those numbers take priority over generic guidelines.
Refrigerant type also affects torque requirements. Systems running R-32 refrigerant operate at higher pressures than R-410A systems. Higher operating pressure means the flare connection must be tighter to maintain a reliable seal under load. Following model-specific torque specs from the equipment manufacturer is the only way to account for these differences correctly.
Here is a summary of best practices for torquing flare fittings:
- Use a calibrated torque wrench. A standard adjustable wrench gives you no feedback on actual torque applied. Calibrated tools are not optional on refrigerant lines.
- Hold the fitting body steady with a backup wrench. Allowing the fitting body to rotate while tightening the flare nut twists the copper tube and distorts the flare cone.
- Never re-torque a fitting that has been in service. If a flare connection is leaking, disassemble it, inspect the cone for damage, and re-flare if necessary. Adding torque to a leaking fitting rarely solves the problem and often makes it worse.
- Test every flare connection after installation. Apply electronic leak detection or nitrogen pressure testing before charging the system with refrigerant. Finding a leak at this stage costs minutes. Finding it after charging costs hours and refrigerant.
Over-torquing crushes the flare seat while under-torquing risks leakage from vibration. Both failures are preventable with the right tools and the right process. If you suspect a refrigerant leak at a flare connection in your home, the AC leak repair team at LC Heating and Air Conditioning can diagnose and repair it the same day.
Knowing how to detect a gas or refrigerant leak early is also worth understanding. The gas leak detection guide from EZ Plumbing walks through the safety steps that apply to any pressurized line in your home.
Key Takeaways
A properly formed and correctly torqued HVAC flare fitting creates a reliable, serviceable, metal-to-metal refrigerant seal that outperforms brazed joints in any location requiring future access.
| Point | Details |
|---|---|
| 45-degree angle is non-negotiable | HVAC flares require a 45-degree SAE J513 tool; a 37-degree tool causes guaranteed leaks. |
| Torque by the spec, not by feel | A 1/4" flare fitting requires 13–18 ft-lbs; always use a calibrated torque wrench. |
| Eccentric tools produce better flares | Eccentric-style flaring tools reduce copper wall thinning and create a smoother cone. |
| Flare fittings beat brazed joints for serviceability | Flare connections can be disassembled and reassembled without an open flame. |
| Test before charging | Use electronic leak detection or nitrogen pressure testing before adding refrigerant. |
Why I trust flare fittings more than most technicians admit
I have been working on HVAC systems in Los Angeles for over twenty years, and flare fittings are one of those components that separate careful technicians from careless ones. The fitting itself is simple. The margin for error is not.
The most common mistake I see in the field is not a wrong angle or a forgotten flare nut. It is a technician who tightens a flare fitting by feel and calls it done. No torque wrench, no leak test, no second look. That fitting might hold for six months. Then the compressor vibration works it loose, refrigerant escapes, and the homeowner calls wondering why their system stopped cooling in August.
The second thing I see constantly is re-torquing a leaking fitting instead of inspecting the flare cone. A damaged cone will not seal no matter how tight you run the nut. You have to pull it apart, look at the surface, and re-flare if there is any roughness or cracking. Skipping that step wastes everyone’s time.
Flare fittings are genuinely the right tool for serviceable HVAC connections. They are reusable, they require no flame, and when done correctly they hold refrigerant pressure reliably for the life of the equipment. The problem is that “done correctly” requires a specific tool, a specific angle, and a specific torque value. None of those things are guesswork.
My honest advice: if you are a homeowner doing your own mini-split installation, invest in a quality eccentric flaring tool and a torque wrench before you buy anything else. Those two tools are the difference between a system that works and a refrigerant leak you will not find until the system stops cooling. If you are not comfortable with the process, call a licensed technician. A proper flare connection takes ten minutes to do right and can take hours to diagnose when done wrong.
— Leo
LC Heating and Air Conditioning handles flare fittings the right way
Flare fitting work requires the right tools, the right technique, and the right torque. When any one of those is missing, refrigerant leaks follow.

LC Heating and Air Conditioning has handled refrigerant line installations and repairs across Los Angeles for over twenty years, from historic single-family homes to modern multi-zone commercial systems. The team uses calibrated torque wrenches, eccentric flaring tools, and electronic leak detection on every job. No guesswork, no surprise fees. If you need same-day HVAC repair or a professional flare fitting inspection, LC Heating and Air Conditioning offers flat-rate pricing and honest diagnostics. You can also browse the full range of HVAC services in Los Angeles to find the right solution for your system.
FAQ
What is an HVAC flare fitting?
An HVAC flare fitting is a mechanical joint that connects copper refrigerant tubing to a brass fitting by expanding the tube end into a 45-degree cone, which seats tightly against the fitting body and is secured by a flare nut.
What size flare fittings are used in HVAC systems?
Standard HVAC flare fitting sizes are 1/4", 3/8", 1/2", and 5/8" outside diameter, as defined by SAE J513. The correct size depends on the refrigerant line type and system tonnage.
What is the difference between a 45-degree and 37-degree flare?
HVAC systems use a 45-degree flare angle per SAE J513, while automotive and hydraulic systems use a 37-degree angle. The two are not interchangeable, and using the wrong angle causes refrigerant leaks.
How tight should an HVAC flare fitting be?
A 1/4" flare fitting requires 13–18 foot-pounds of torque, with 15 foot-pounds as a common target. Always follow the equipment manufacturer’s torque specification and use a calibrated torque wrench.
Can a homeowner install HVAC flare fittings?
A homeowner can install flare fittings with the right tools, specifically an eccentric 45-degree flaring tool and a calibrated torque wrench. However, working with refrigerant requires an EPA Section 608 certification, so most homeowners should hire a licensed HVAC technician for the refrigerant portion of the work.
Recommended
Leo, Propietario y Técnico Principal en LC Heating & Air
Leo dirige LC Heating & Air como propietario-operador y tiene la licencia C-20 HVAC #1073586 de California. Sus guías se enfocan en diagnósticos prácticos, decisiones de reparación seguras y consejos claros para propietarios de Los Ángeles.