- What tools and safety steps do you need to fix a 1960s furnace AC combo unit?
- How do you troubleshoot a 1960s furnace AC combo unit step by step?
- What are the most common repairs for vintage 1960s HVAC combo units?
- When should you repair versus replace a vintage HVAC combo unit?
- Key takeaways
- What I’ve learned after two decades of working on vintage HVAC systems
- LC Heating and Air Conditioning: vintage HVAC repair done right
- FAQ
- Recommended
How to Fix a 1960s Furnace AC Combo Unit Safely

TL;DR:
- A 1960s furnace AC combo unit is a single system that provides heating and cooling using shared ductwork and an air handler. Repairing it involves safety precautions, proper tools, and diagnosing common issues like faulty thermostats, blown breakers, or refrigerant leaks, while refrigerant handling requires a licensed technician. Replacing such systems depends on age, repair costs, refrigerant type, and safety concerns, with retrofits often being a more practical solution for older, inefficient units.
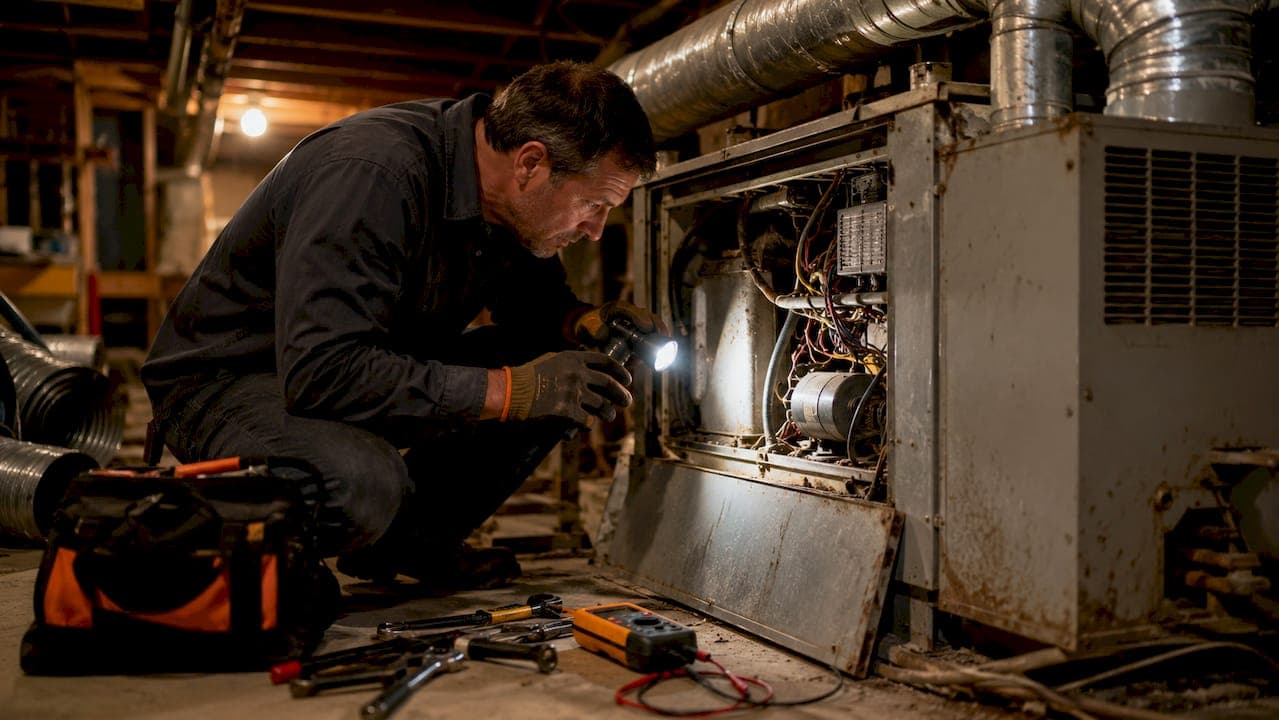
A 1960s furnace AC combo unit is a single integrated system that handles both heating and cooling through shared ductwork, a blower motor, and a central air handler. These systems, known in the industry as central forced-air HVAC combo units, were standard in American homes built between 1958 and 1972. Fixing one requires targeted diagnostics, safe handling of vintage components, and a clear understanding of what you can repair yourself versus what needs a licensed technician. This guide walks you through every step, from basic troubleshooting to knowing when a repair is no longer worth the cost.
What tools and safety steps do you need to fix a 1960s furnace AC combo unit?
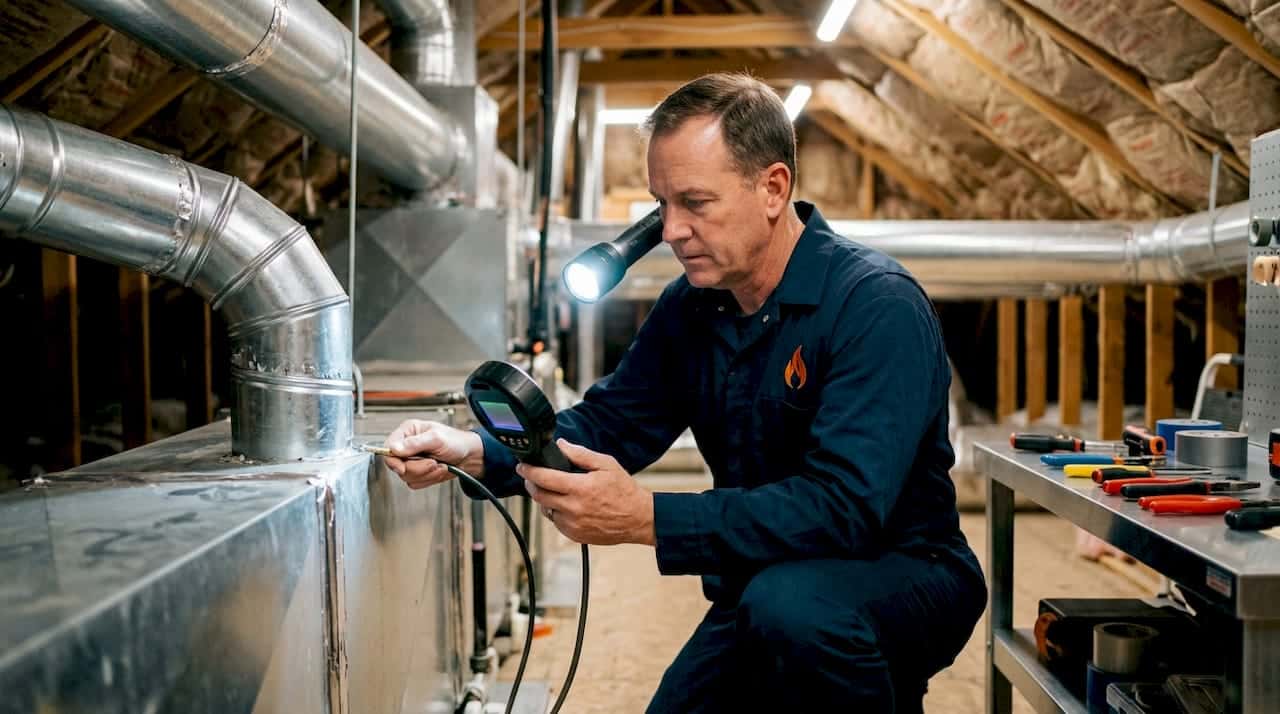
Safety is the first requirement before you touch any vintage HVAC system. Electrical panels in 1960s homes often carry 60-amp or 100-amp service, and older wiring insulation can be brittle. A shock from a capacitor can be fatal even after the power is off, because capacitors store charge independently of the breaker.
Gather these tools before starting any diagnostic or repair work:
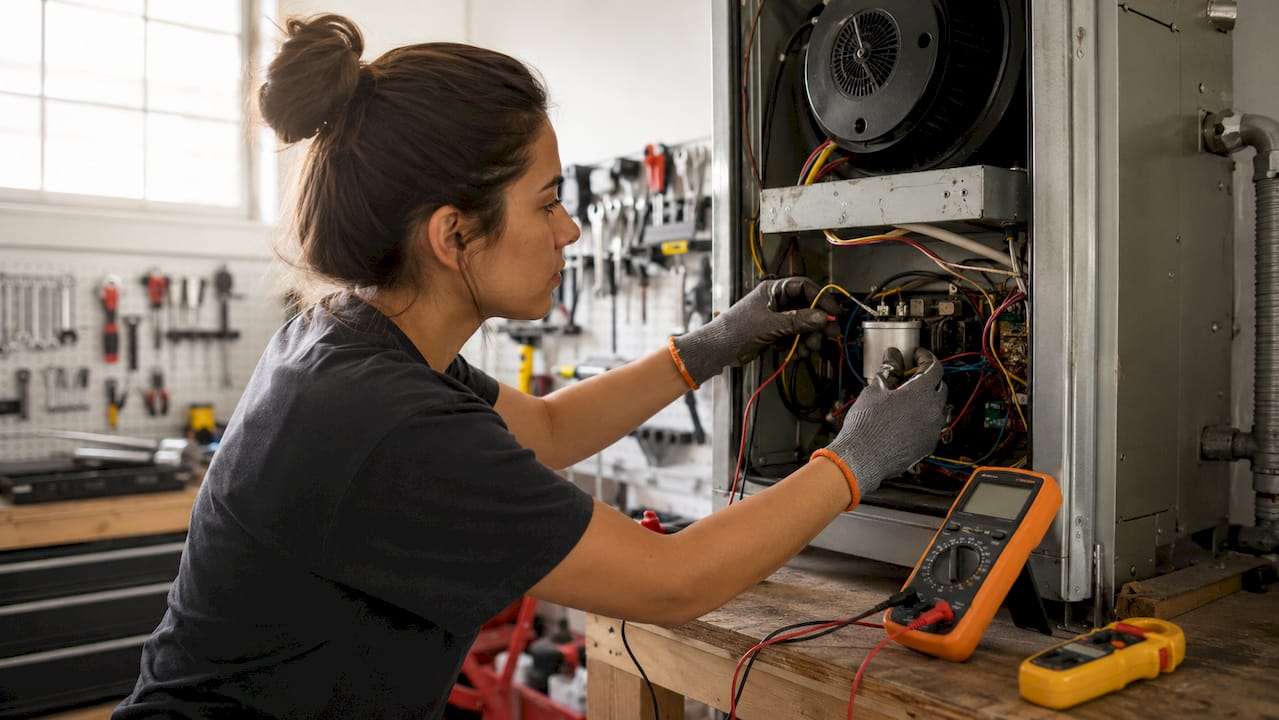
- Multimeter for testing voltage, continuity, and capacitor charge
- Non-contact voltage tester to confirm power is off before touching wires
- Screwdrivers (flathead and Phillips) for panel access
- Needle-nose pliers for disconnecting wire terminals safely
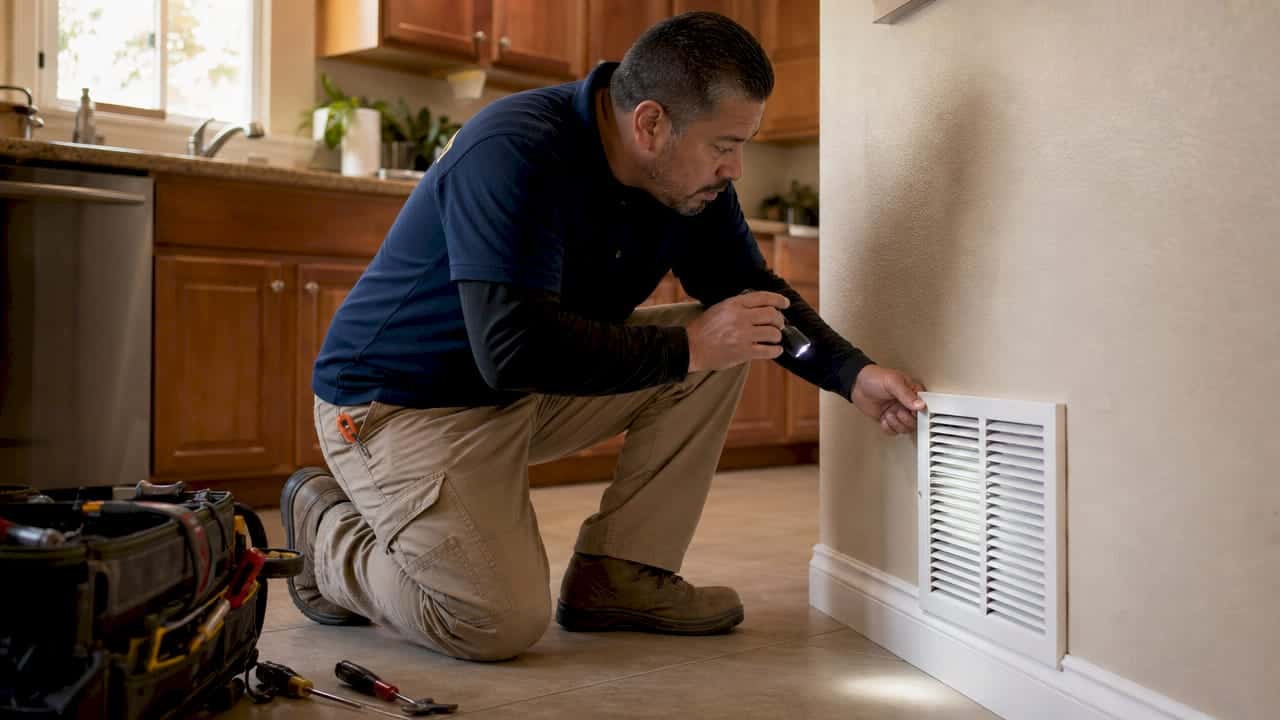
- Flashlight or headlamp for inspecting dark air handler compartments
- Replacement air filters sized to your unit’s specifications
- Capacitor discharge tool or a resistor to safely drain stored charge
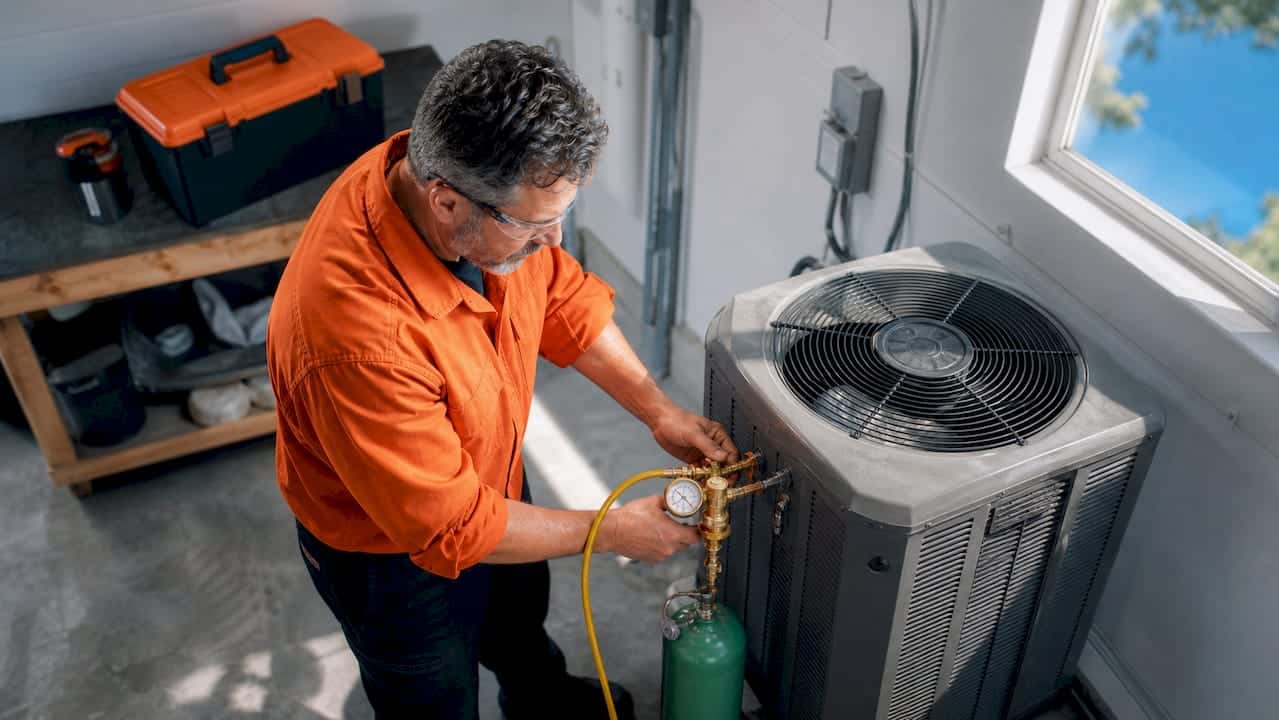
Refrigerant handling is a separate category entirely. EPA Section 608 prohibits homeowners from purchasing or handling refrigerants like R-22 without EPA certification. Older systems frequently use R-22, which is now restricted and expensive. Never attempt to recharge refrigerant yourself. That work belongs to a certified technician.
Pro Tip: Before opening any panel, discharge the capacitor by placing a resistor across its terminals. A healthy capacitor holds enough charge to cause serious injury even minutes after shutdown.
Gas safety applies to the furnace side. If you smell gas near the unit, do not flip any switches. Leave the house, call your gas utility from outside, and wait for clearance before returning. Pilot light issues are generally safe to address after confirming there is no active gas leak.
How do you troubleshoot a 1960s furnace AC combo unit step by step?
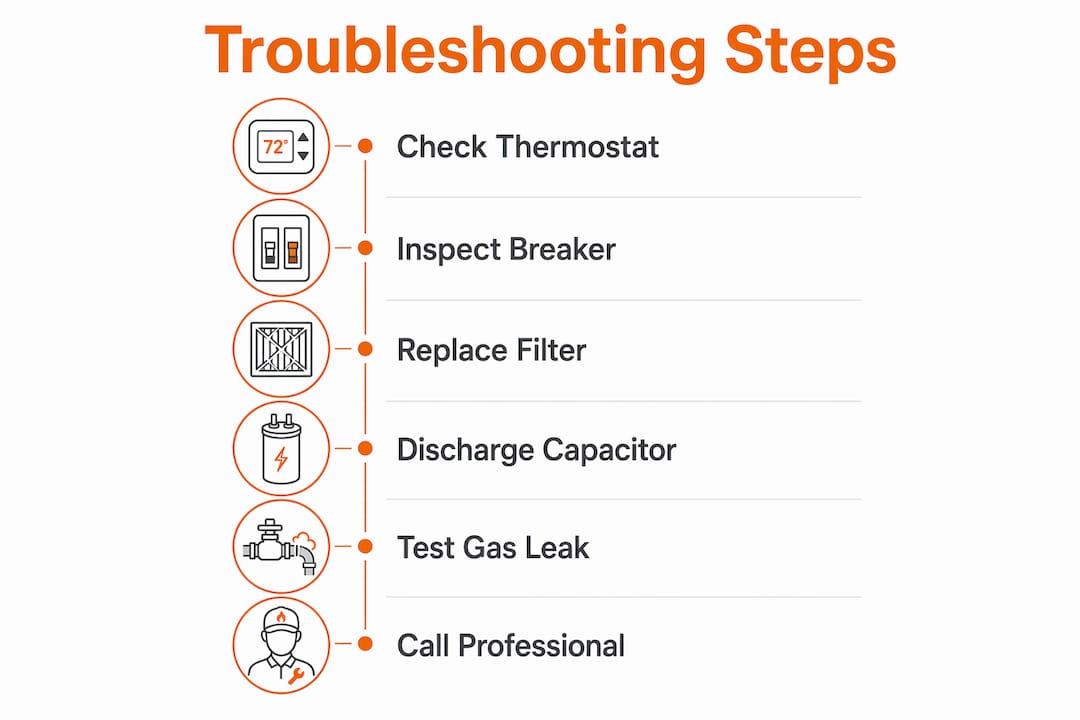
Systematic diagnostics save time and prevent unnecessary part replacements. Basic DIY troubleshooting starts at the simplest points and works toward the more complex. Follow this sequence before assuming a major component has failed.
-
Check the thermostat. Confirm it is set to the correct mode (heat or cool) and that the temperature setting is above or below the current room temperature. Replace the thermostat batteries if applicable.
-
Inspect the circuit breaker. A tripped breaker is one of the most common causes of a non-responsive unit. Reset it once. If it trips again immediately, stop and call a professional. A repeatedly tripping breaker signals a wiring fault or a failing component drawing excess current.
-
Replace the air filter. A clogged filter restricts airflow enough to shut down the system on thermal overload. Filters should be replaced every 1–3 months. Pull the filter and hold it up to light. If you cannot see light through it, replace it before any other diagnostic step.
-
Check the furnace door safety switch. Most 1960s units have a small plunger switch on the access panel. If the panel is not fully seated, this switch cuts power to the system. Press the panel firmly and test the unit again.
-
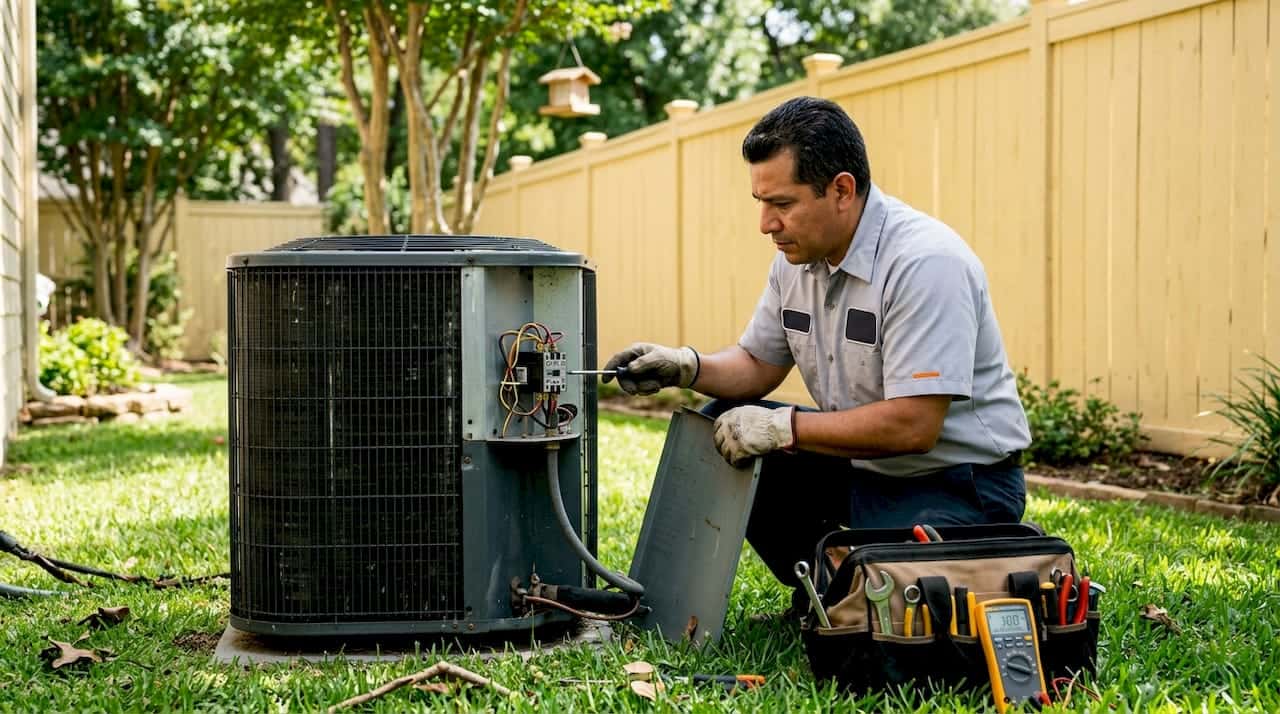
Inspect the capacitor and contactor. A swollen or leaking capacitor is a clear sign of failure. Contactors show wear as pitting or burning on the contact surfaces. Emergency repairs on historic HVAC units most often involve capacitors, contactors, refrigerant leaks, and frozen coils.
-
Look for refrigerant leaks. Ice buildup on the refrigerant lines or evaporator coil is a strong indicator. You can also use a soap bubble solution on accessible line connections to spot leaks. Electronic leak detection and nitrogen pressure testing require a licensed technician and must comply with EPA Section 608.
-
Measure the temperature differential. Place a thermometer in the supply and return air registers. A properly functioning AC side should produce a temperature drop of 14–22°F across the coil. A smaller differential points to improper coil sizing or refrigerant overcharge, both of which cause frozen coils and reduced cooling.
| Symptom | Likely cause | Recommended action |
|---|---|---|
| Unit does not start | Tripped breaker or bad thermostat | Reset breaker, replace batteries, check thermostat wiring |
| Warm air from AC | Low refrigerant or dirty evaporator coil | Call a technician for leak test and recharge |
| Short cycling | Clogged filter or failing capacitor | Replace filter, test and replace capacitor |
| Frozen coil | Refrigerant overcharge or low airflow | Replace filter, call technician for refrigerant check |
| Furnace won’t ignite | Pilot light out or faulty thermocouple | Relight pilot per manufacturer steps, replace thermocouple if needed |
What are the most common repairs for vintage 1960s HVAC combo units?
Most repairs on a 1960s heating cooling system fall into a handful of repeating categories. Knowing which ones you can handle yourself and which ones require a pro keeps you safe and saves money.
Capacitor replacement is one of the most common DIY-friendly repairs on older systems. Capacitors are small but mighty components that start and run the compressor and blower motors. A failed capacitor is cheap to replace, typically under $30 for the part, and the swap takes about 20 minutes if you photograph the wiring before disconnecting anything.
Contactor replacement follows a similar process. The contactor is a relay switch that sends power to the compressor. Pitting on the contact surfaces causes intermittent operation or complete failure. Always discharge the capacitor before touching the contactor.
Blower motor cleaning and servicing restores airflow efficiency. Dust buildup on blower wheel blades reduces air volume and forces the motor to work harder. Remove the blower assembly, clean the wheel with a stiff brush, and oil the motor bearings if the motor has oil ports. Many 1960s blower motors have lubrication ports that modern motors lack, which is actually an advantage for longevity.
- Filter maintenance: Replace every 1–3 months with a filter rated for your system’s airflow. Thicker high-MERV filters can restrict airflow in older systems not designed for them. A MERV 8 filter is usually the right balance for vintage units.
- Pilot light relighting: Turn the gas valve to “pilot,” press and hold the reset button, and light the pilot with a long lighter. Hold the button for 30 seconds after the flame catches to heat the thermocouple. If the pilot will not stay lit, the thermocouple needs replacement.
- Duct sealing: Leaky ductwork causes 15–25% cooling efficiency loss in vintage homes. Sealing joints with mastic sealant, not standard duct tape, recovers that lost efficiency without touching the equipment. This single repair often delivers more benefit than replacing a component.
Pro Tip: Never overcharge a vintage system with refrigerant. Refrigerant overcharge is a leading cause of frozen evaporator coils and compressor damage in older units. If the system needs refrigerant, have a technician measure the charge precisely rather than estimating.
Ductwork in 1960s homes presents a specific challenge. Many of these homes originally used evaporative cooling, and the ducts were later converted to forced-air AC without proper resizing. Resizing trunks, adding returns, and sealing with mastic should happen before any equipment upgrade. You can learn more about duct repair options if your system shows signs of airflow imbalance across rooms.
When should you repair versus replace a vintage HVAC combo unit?
The repair-versus-replace decision comes down to age, frequency of breakdowns, refrigerant type, and total cost. A system under 15 years old that breaks down occasionally is almost always worth repairing. A 1960s unit that has been running continuously is a different calculation entirely.
Older HVAC systems often use R-22, a refrigerant that is now restricted and expensive. A system that needs a significant R-22 recharge faces a steep parts cost on top of labor. That cost alone can tip the math toward replacement.
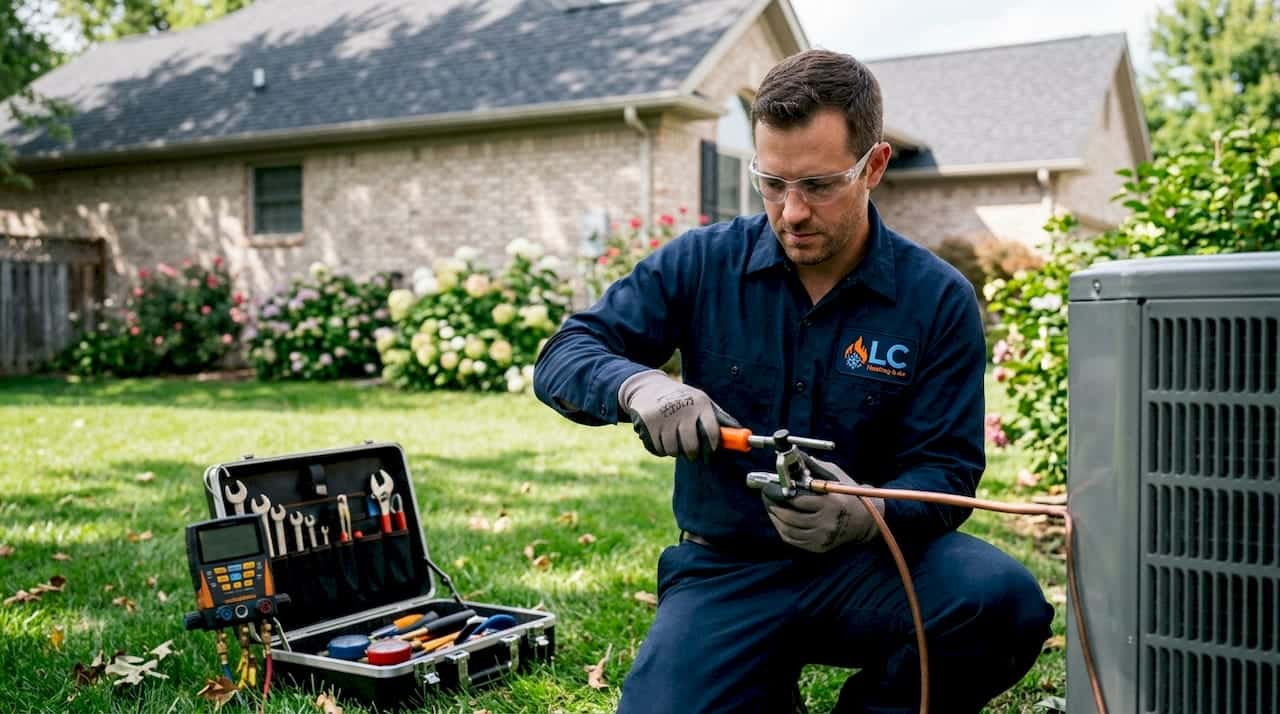
Vintage HVAC retrofits cost between $3,000 and $18,000, averaging $6,000–$9,000 for mid-range jobs. Labor alone runs 40–80 hours at $85–$120 per hour. That is a significant investment, and it makes sense only when the existing ductwork and structure are sound.
Older homes also need formal load calculations before any equipment replacement. A system sized for modern insulation standards will short-cycle in a 1960s home with original single-pane windows and minimal attic insulation. Getting the sizing wrong wastes money twice: once on the equipment and again on the energy bills.
Heat pumps provide an efficient combined heating and cooling solution that replaces a gas furnace and AC in one unit, particularly in mild climates like Los Angeles. Dual-fuel setups pairing a heat pump with a gas furnace are a common retrofit path that reduces strain on both systems.
| Factor | Repair | Replace |
|---|---|---|
| System age | Under 20 years, occasional faults | Over 20 years, frequent breakdowns |
| Refrigerant type | R-410A or minor R-22 top-off | Major R-22 recharge needed |
| Ductwork condition | Sealed and properly sized | Leaky, undersized, or unconverted |
| Repair cost | Under 50% of replacement cost | Approaching or exceeding replacement cost |
| Safety concerns | No carbon monoxide or wiring hazards | Active safety risks present |
Consolidating retrofit work into a single off-season visit and getting 3–5 detailed quotes can reduce total costs by 10–25%. Providing original parts when available also shortens the job and lowers the bill. If you are weighing your options, the repair vs. replacement breakdown at LC Heating and Air Conditioning covers the decision in practical terms.
Key takeaways
Fixing a 1960s furnace AC combo unit requires systematic diagnostics, safe component handling, and an honest cost assessment before committing to repair or replacement.
| Point | Details |
|---|---|
| Start with the basics | Check the thermostat, breaker, filter, and door switch before opening any panels. |
| Capacitors and contactors fail most often | These are the most common repair items and are DIY-friendly with proper discharge precautions. |
| Duct sealing delivers outsized results | Sealing leaky ducts with mastic can recover 15–25% of lost cooling efficiency in vintage homes. |
| R-22 refrigerant changes the math | Systems needing major R-22 recharges often cost more to repair than to replace with a modern unit. |
| Get multiple quotes for retrofits | Consolidating work and collecting 3–5 quotes can reduce retrofit costs by 10–25%. |
What I’ve learned after two decades of working on vintage HVAC systems
Homeowners consistently underestimate how much a dirty filter or a disconnected door switch can do. I have been called out for “complete system failures” that turned out to be a $4 filter replacement. That is not a knock on homeowners. These systems are old, and when something goes wrong, the instinct is to assume the worst.
The bigger misconception I see is that vintage means inferior. A well-maintained 1960s forced-air system with solid ductwork and a functioning blower can outperform a poorly installed modern unit. The equipment is simpler, which means fewer electronic failure points. The problem is usually deferred maintenance, not the age of the hardware.
What I tell every homeowner with a vintage combo unit is this: respect the ductwork. The duct system is the circulatory system of the whole setup. You can put a brand-new air handler on a leaky, undersized duct system and still get terrible performance. I have seen it happen more times than I can count. Fix the ducts first. Then evaluate the equipment.
The safety piece is non-negotiable. Vintage systems can have brittle wiring, corroded gas connections, and capacitors that hold dangerous charge. If you are not comfortable with electrical work, stop at the filter and thermostat check and call a professional. The diagnostic fee is always cheaper than an emergency room visit.
— Leo
LC Heating and Air Conditioning: vintage HVAC repair done right
LC Heating and Air Conditioning has spent over twenty years working on vintage and historic HVAC systems across Los Angeles, including 1960s combo units with original ductwork and obsolete refrigerants.

The team offers same-day emergency HVAC repair for homeowners dealing with sudden failures, and all diagnostics are flat-rate with no surprise fees. Whether your system needs a capacitor swap, a duct seal, or a full retrofit assessment, LC Heating and Air Conditioning handles it with EPA-compliant refrigerant practices and honest recommendations. Visit lahvaclc.com to book a same-day service call or get a detailed quote for your vintage system.
FAQ
What is a 1960s furnace AC combo unit?
A 1960s furnace AC combo unit is a central forced-air system that uses a single air handler and shared ductwork to deliver both heated and cooled air. The furnace provides heat while a separate evaporator coil and outdoor condenser handle cooling.
Can I fix my vintage furnace AC combo unit myself?
You can safely handle basic tasks like replacing filters, resetting breakers, relighting pilot lights, and swapping capacitors with proper discharge precautions. Refrigerant handling, gas line repairs, and electrical faults require a licensed HVAC technician under EPA Section 608 regulations.
How often should I replace the filter on a 1960s HVAC unit?
Filters on vintage combo units should be replaced every 1–3 months. A clogged filter is one of the most common causes of system shutdown and frozen coils in older systems.
How do I know if my 1960s HVAC unit needs refrigerant?
Signs include ice on the refrigerant lines, warm air from the supply registers, and a temperature differential below 14°F across the evaporator coil. Refrigerant diagnosis and recharging require a certified technician and must comply with EPA Section 608.
Is it worth repairing a 1960s furnace AC combo unit or replacing it?
Repair makes sense when the system breaks down infrequently, the ductwork is sound, and the repair cost stays under 50% of replacement cost. Systems requiring major R-22 recharges or showing active safety hazards are strong candidates for HVAC retrofit or full replacement.
Recommended
Leo, Owner & Lead Technician at LC Heating & Air
Leo leads LC Heating & Air as an owner-operator and holds California CSLB C-20 HVAC license #1073586. His guides focus on practical diagnostics, safe repair decisions, and clear advice for Los Angeles homeowners.