- What tools and safety steps do you need first?
- How do you clean your AC condenser fan step by step?
- Why is your AC condenser fan not spinning?
- How do you maintain your AC condenser fan year-round?
- Key Takeaways
- What I’ve learned from years of condenser fan calls
- LC Heating and Air Conditioning: professional AC care when you need it
- FAQ
- Recommended
How to Clean a Dirty AC Condenser Fan Safely
TL;DR:
- Cleaning a dirty AC condenser fan can boost system efficiency by up to 20% and extend equipment life. Regular maintenance, including safe cleaning and timely repairs, prevents costly issues like compressor damage caused by a non-spinning fan. Always turn off power before cleaning and call a professional if the fan malfunctions or the system shows signs of failure.
A dirty AC condenser fan is the leading cause of reduced cooling efficiency in residential air conditioning systems. Grime on fan blades can cut system efficiency by up to 20%, driving up your energy bill and shortening your equipment’s life. The good news is that you can clean a dirty AC condenser fan yourself with basic tools, a garden hose, and about an hour of your time. This guide walks you through every step, from safety prep to troubleshooting, so you get your cooling back without risking your system or your safety.
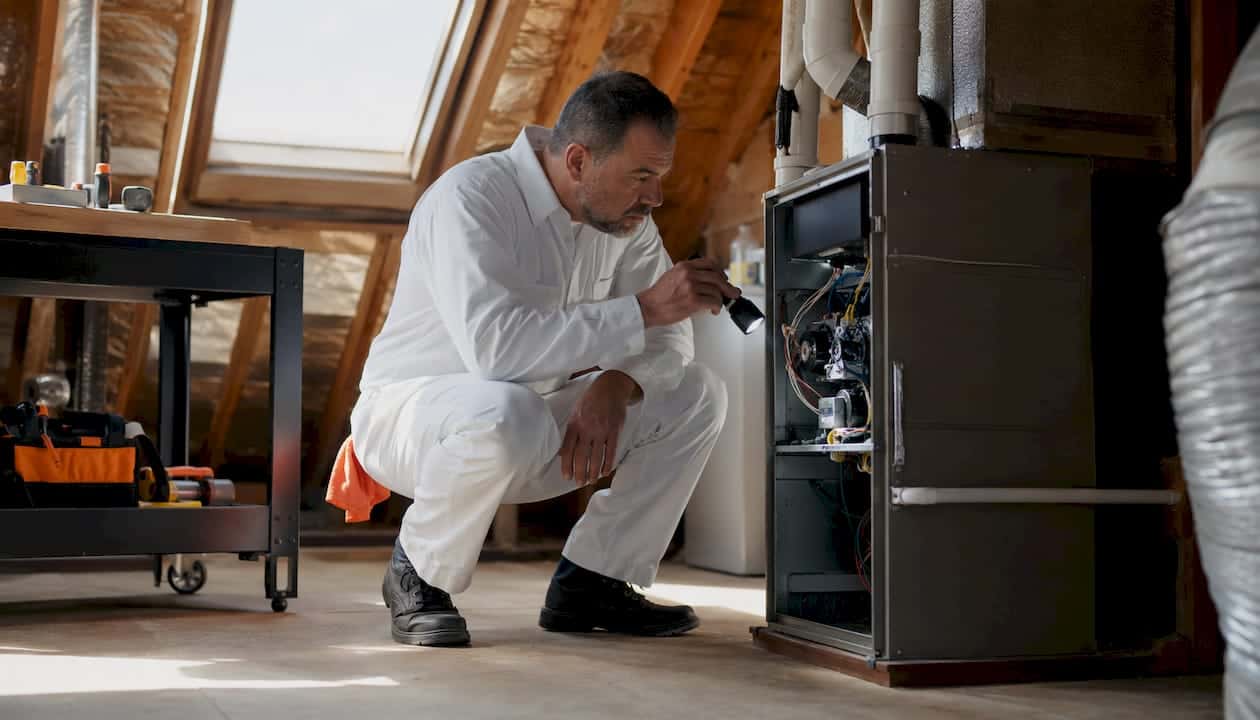
What tools and safety steps do you need first?
Before you touch the unit, gather the right tools. Going in unprepared is the fastest way to damage your AC or hurt yourself.
Essential tools for the job
- Garden hose with a gentle spray nozzle (never a pressure washer)
- Soft-bristle brush or fin comb
- Vacuum with a brush attachment
- Foaming coil cleaner (for greasy buildup)
- Work gloves and safety glasses
- Flathead and Phillips screwdrivers
- Fin comb for straightening bent aluminum fins
| Tool | Purpose |
|---|---|
| Garden hose with gentle nozzle | Rinses fins without bending them |
| Soft-bristle brush | Loosens dry debris from fins and blades |
| Foaming coil cleaner | Breaks down grease and heavy buildup |
| Vacuum with brush attachment | Removes loose debris before rinsing |
| Fin comb | Straightens bent fins to restore airflow |
Safety steps you cannot skip
Power off is the first and most critical step. Turn your thermostat to “off,” then locate the outdoor disconnect box near your condenser unit and flip it off as well. Do not rely on the thermostat alone.
Capacitors inside the unit hold a lethal electrical charge even after power is cut. This is why you must never open the electrical compartment during a DIY cleaning. Leave that panel sealed and call a licensed technician if you suspect an electrical issue.
Industry guidelines also require at least 2 feet of clearance around the outdoor unit at all times. Before you start, trim back any shrubs, vines, or grass that have crept too close. Restricted airflow around the unit defeats the purpose of cleaning the fan in the first place.
Check your manufacturer’s warranty documentation before you begin. Some warranties require professional servicing for certain maintenance tasks. A quick read now can save you a voided warranty later.
Pro Tip: Take a photo of your unit before removing any panels or screws. You will have a clear reference for reassembly, and it takes five seconds.
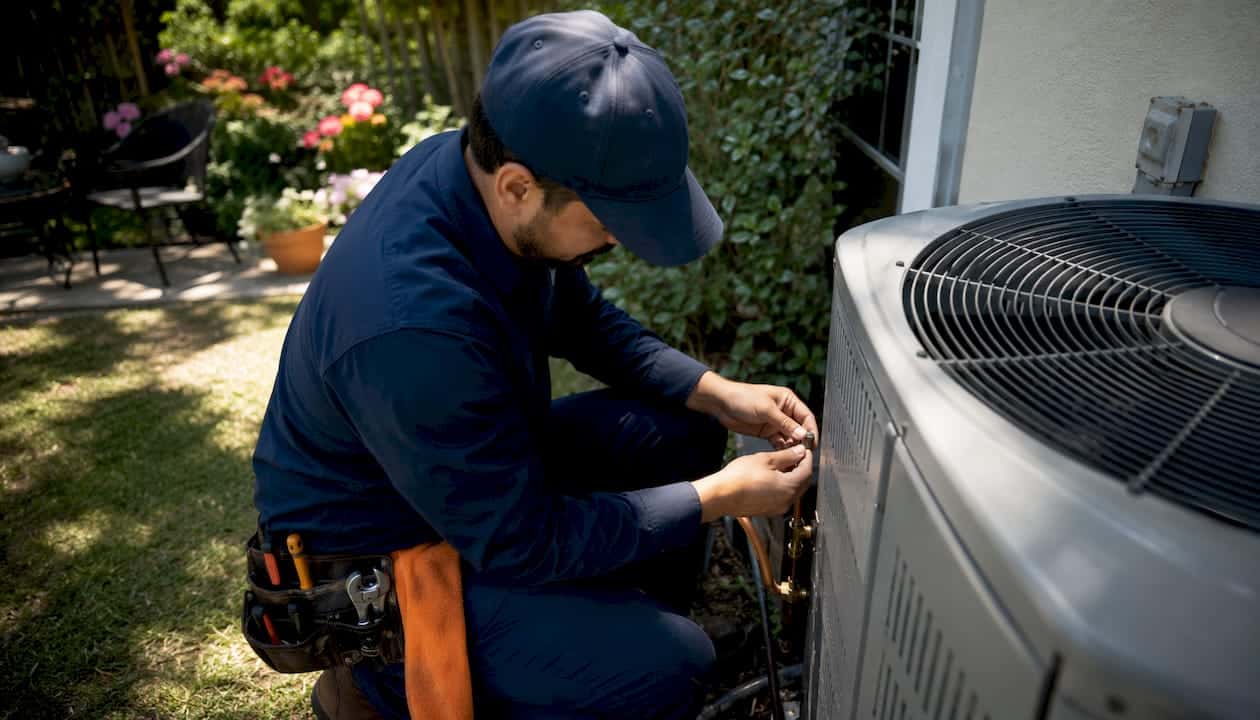
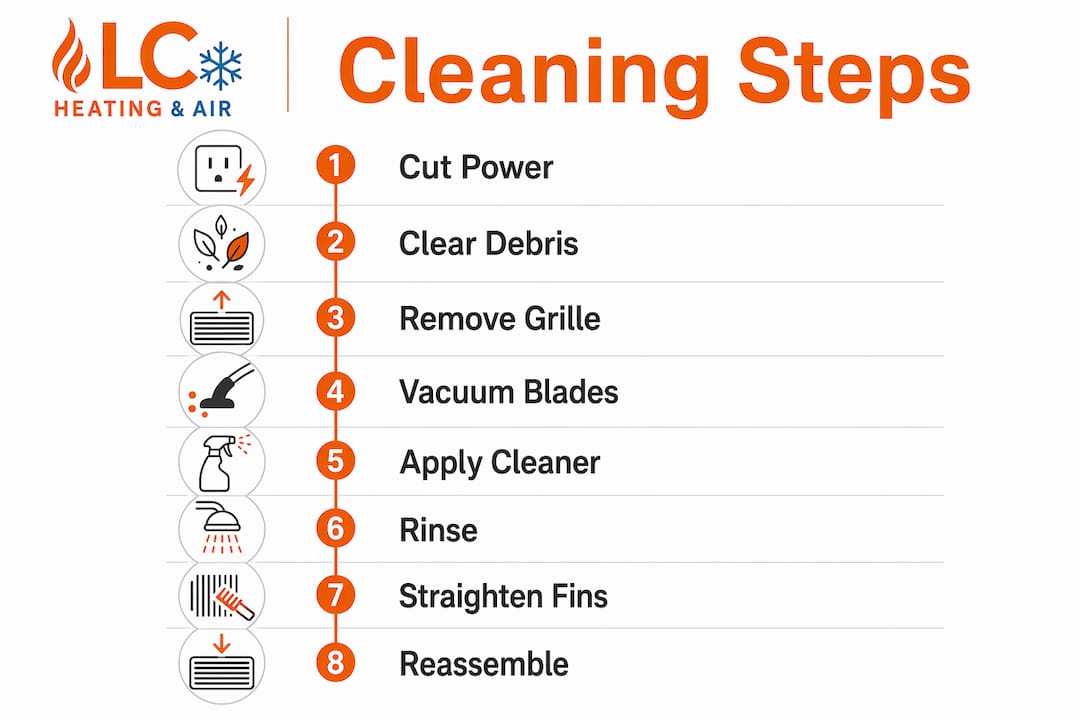
How do you clean your AC condenser fan step by step?
This process follows the correct sequence for safe, effective cleaning. Skipping steps or changing the order can push debris deeper into the unit or damage delicate components.
Step 1: Cut power completely
Turn the thermostat to “off” first. Then go to the outdoor disconnect box, usually mounted on the wall near the unit, and pull the disconnect or flip the breaker. Wait five minutes before touching anything. This pause lets any residual electrical charge dissipate from the system’s capacitors.
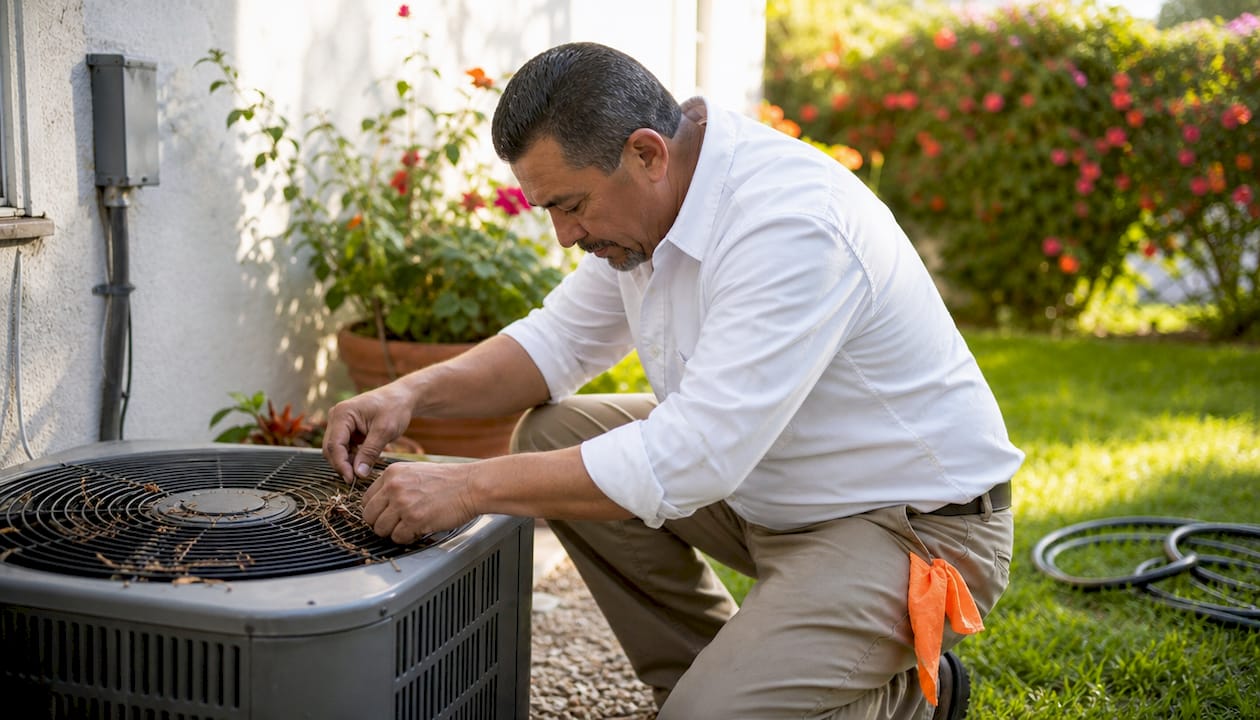
Step 2: Clear debris from around and on top of the unit
Remove leaves, twigs, and dirt from the top grille by hand or with a soft brush. Debris sitting on top of the unit falls directly onto the fan blades and coils every time the system runs. A quick clear-out before you open anything prevents you from pushing that debris inside.
Step 3: Remove the top grille and fan assembly
Unscrew the top grille panel using your screwdrivers. Lift it carefully. The fan motor is attached to this panel by wiring, so do not yank it free. Set the grille aside gently, keeping the wiring slack so you do not strain any connections. You now have clear access to the fan blades and the inside of the coil.
Step 4: Vacuum and brush the fan blades
Use your vacuum with the brush attachment to pull loose dirt off the fan blades. Follow up with a soft-bristle brush, wiping each blade from the center hub outward. Dirty blades create imbalance, which causes vibration and puts stress on the fan motor bearings over time. Clean blades spin freely and move air the way the manufacturer intended.
Pro Tip: Brush the condenser fins vertically, following the direction of the fin channels. Brushing across the fins bends them and reduces airflow.
Step 5: Apply foaming coil cleaner if needed
Foaming coil cleaners handle greasy or heavy buildup that a hose alone cannot remove. Spray the foam onto the coil fins, let it sit for the time listed on the product label (usually 5–10 minutes), and let it work. For light to moderate dirt, a plain water rinse is sufficient. You do not need a chemical cleaner every time.
Step 6: Rinse from the inside out
This step surprises most homeowners. Spray the coils from inside the unit outward, not from the outside in. Rinsing from outside pushes debris deeper into the fins. Rinsing from inside forces it out through the exterior surface, where it belongs. Use a gentle spray setting. A hard stream bends the aluminum fins and permanently reduces airflow.
Pressure washers damage condenser fins beyond repair. Bent aluminum fins are nearly impossible to fully straighten, and the damage is cumulative. A garden hose on a gentle setting is all you need.
Step 7: Straighten any bent fins
If you spot bent fins, use a fin comb to gently straighten them. Fin combs are inexpensive and designed specifically for this task. Straight fins allow air to pass through the coil evenly, which is the whole point of cleaning.
Step 8: Reassemble and allow the unit to dry
Reattach the fan assembly and top grille using your reference photo from earlier. Do not restore power until the unit is fully dry, which typically takes 20–30 minutes in warm weather. Powering up a wet unit risks a short circuit in the fan motor.
Once dry, restore power at the disconnect box, set your thermostat back to cooling, and check that the fan spins freely and the air coming from the top of the unit feels warm. Warm exhaust air means the system is rejecting heat properly.
Why is your AC condenser fan not spinning?
Cleaning solves a lot of problems, but a fan that will not spin at all points to something beyond dirt. Knowing the difference saves you time and protects your compressor.
Common causes of a non-spinning fan
- Failed run capacitor: Run capacitor failures cause approximately 60% of condenser fan failures. The capacitor is a small but critical component that gives the fan motor the electrical boost it needs to start and keep running. When it fails, the motor hums but the blades do not move.
- Seized fan motor: Motors can seize from age, overheating, or bearing failure. A seized motor will not respond to the stick test described below.
- Bad contactor: The contactor is an electrical switch that sends power to the fan and compressor. A worn contactor may fail to close, leaving the fan without power even when the thermostat calls for cooling.
- Wiring fault: Loose or corroded wiring connections interrupt power to the motor.
The stick test for capacitor diagnosis
If the fan is humming but not spinning, try the stick test. With the system running, use a long wooden stick or a non-conductive rod to gently nudge one of the fan blades through the top grille. If the fan starts spinning on its own after the nudge, the run capacitor has likely failed. The nudge provides the mechanical push the capacitor can no longer deliver electrically.
A fan that starts spinning after a nudge but stops again on its own is a clear sign of capacitor failure. This is one of the most reliable field diagnostics in HVAC service, and it costs you nothing to perform. Do not ignore it. A failed capacitor left unaddressed will eventually burn out the fan motor, turning a $200 repair into a much larger one.
Pro Tip: Never use a metal object for the stick test. A wooden dowel or a plastic ruler keeps you safely insulated from any electrical contact.
Why you must shut down immediately if the fan stops
Running your AC with a dead condenser fan causes the compressor to overheat rapidly. The compressor is the most expensive component in your outdoor unit, often costing more to replace than the entire system is worth. If you hear the system running but notice the fan is not spinning, turn everything off at the thermostat immediately and call a professional. You can learn more about protecting your compressor through proper maintenance practices.
Dirty coils can also mimic a fan problem. If the coils are heavily clogged, the system cannot reject heat even with a working fan, and the unit will short-cycle or freeze up. If cleaning the fan and coils does not restore cooling, the issue may be refrigerant level or a failing compressor, both of which require a licensed technician.
How do you maintain your AC condenser fan year-round?
Cleaning once fixes the immediate problem. A consistent maintenance routine prevents it from coming back.
Recommended maintenance schedule
- Once or twice per cooling season: Rinse the coil fins and wipe down the fan blades. This frequency prevents the buildup that causes up to 20% efficiency loss and keeps the system running at rated capacity.
- Monthly during peak season: Give the exterior of the unit a quick rinse with a garden hose to knock off surface dust and pollen. This takes less than five minutes and makes your seasonal deep clean much easier.
- Year-round: Keep at least 2 feet of clearance around the unit. Vegetation grows fast in warm climates. Check the clearance every month and trim as needed.
- Annually: Schedule a professional tune-up. Annual professional maintenance covers internal coil inspections, electrical component checks, refrigerant level verification, and motor testing. These are tasks that go beyond what any homeowner can safely do without specialized tools.
Mistakes that shorten your unit’s life
Avoid these common errors that undo the benefits of cleaning:
- Using a pressure washer on the fins
- Spraying water directly into the electrical compartment or disconnect box
- Ignoring unusual fan noises like grinding, rattling, or squealing
- Planting shrubs or stacking items within 2 feet of the unit
- Skipping the annual professional inspection because the unit “seems fine”
Pro Tip: Set a calendar reminder at the start of each cooling season to rinse your condenser unit. Pairing it with a routine task, like changing your air filter, makes it easy to remember.
You can also check LC Heating and Air Conditioning’s AC maintenance resources for additional guidance on keeping your full system in top shape between professional visits.
Key Takeaways
Cleaning your AC condenser fan regularly is the single most effective DIY action you can take to maintain cooling efficiency and avoid expensive repairs.
| Point | Details |
|---|---|
| Efficiency loss from dirt | Even light grime on fan blades can cut system efficiency by up to 20%. |
| Always cut power first | Shut off both the thermostat and the outdoor disconnect before touching the unit. |
| Rinse from inside out | Spraying coils from inside the unit pushes debris out instead of deeper in. |
| Never use a pressure washer | High-pressure water bends aluminum fins permanently, reducing airflow. |
| Fan not spinning needs a pro | A humming but stationary fan usually signals capacitor failure, which requires a licensed technician. |
What I’ve learned from years of condenser fan calls
After more than two decades working on AC systems across Los Angeles, I have seen the same pattern repeat itself. A homeowner notices their house is not cooling well in july. They call us out, and nine times out of ten, the outdoor unit is packed with cottonwood, pet hair, and a season’s worth of grime. A thorough cleaning fixes it. The homeowner is relieved, and then they ask why nobody told them this sooner.
The honest answer is that basic condenser fan maintenance is not complicated, but it does require respect for the equipment. The number one mistake I see is homeowners using a pressure washer because it seems faster. It is faster. It also bends fins, reduces airflow, and sometimes forces water into places it should never go. A garden hose and patience do the job correctly every time.
The second mistake is ignoring the stick test when a fan will not spin. Homeowners sometimes keep running the system hoping it will “work itself out.” It will not. A failed capacitor left running will burn out the motor, and a dead fan left running will destroy the compressor. Neither outcome is cheap. The AC troubleshooting guide we put together covers these scenarios in more detail if you want to dig deeper.
My honest advice: clean the fan and coils yourself at the start of each cooling season. It takes an hour and costs almost nothing. But the moment you hear grinding, notice the fan is not spinning, or find that cleaning did not restore your cooling, stop and call a professional. Knowing where DIY ends and professional work begins is not a limitation. It is good judgment.
— Leo
LC Heating and Air Conditioning: professional AC care when you need it
Sometimes a cleaning is not enough, and that is completely normal. Capacitors fail, motors wear out, and coils develop problems that no garden hose can fix.

LC Heating and Air Conditioning has served Los Angeles homeowners for over twenty years with flat-rate pricing and same-day service. There are no surprise diagnostic fees and no pressure to replace equipment that can be repaired. Whether you need a professional AC tune-up or a full system diagnosis, the team at LC Heating and Air Conditioning brings licensed expertise directly to your home. Call or visit lahvaclc.com to schedule service and get your cooling back on track.
FAQ
How often should I clean my AC condenser fan?
Clean the fan blades and coil fins once or twice per cooling season, with a quick monthly rinse during peak use. This schedule prevents the buildup that causes significant efficiency loss.
Can I clean the AC condenser fan without turning off power?
No. Always shut off power at both the thermostat and the outdoor disconnect box before touching the unit. Capacitors inside the unit hold a dangerous electrical charge even after power is cut.
Why is my AC condenser fan humming but not spinning?
A humming fan that will not spin almost always points to a failed run capacitor. Run capacitors cause approximately 60% of condenser fan failures, and replacement requires a licensed technician.
What happens if I run my AC with the condenser fan not working?
The compressor will overheat rapidly without the fan moving air across the coils. Shut the system off immediately and call a professional to avoid compressor damage.
Is foaming coil cleaner necessary every time I clean the unit?
No. Foaming coil cleaner is best for greasy or heavy buildup. For light to moderate dirt, a gentle rinse with a garden hose is sufficient and equally effective.
Recommended
Leo, Propietario y Técnico Principal en LC Heating & Air
Leo dirige LC Heating & Air como propietario-operador y tiene la licencia C-20 HVAC #1073586 de California. Sus guías se enfocan en diagnósticos prácticos, decisiones de reparación seguras y consejos claros para propietarios de Los Ángeles.