- Key Takeaways
- The Complete Step-by-Step AC Performance Checklist
- What Performance Benchmarks Should You Actually Measure?
- What Can You Safely Check Yourself vs. Leave to a Pro?
- What Should a Seasonal Tune-Up Actually Include?
- Which Symptoms Point to Which Problems?
- What Does This Actually Cost, and How Long Does It Take?
- What Do Technicians Check That Homeowners Usually Miss?
- How Can You Improve Airflow Beyond Sealing Ducts?
- Is Your System Using the Correct Refrigerant, and Is the Level Right?
- Are Your Refrigerant Lines Properly Insulated?
- Is Your System Louder Than It Should Be?
- What Do Worn Belts and Pulleys Look Like?
- How Do You Track Energy Use and Catch Problems Early?
- Author’s Field Perspective: How This Checklist Plays Out on Real Service Calls
- If You Want Help: Your Next Steps With LC Heating and Air Conditioning
- Sources
- FAQ
- Recommended
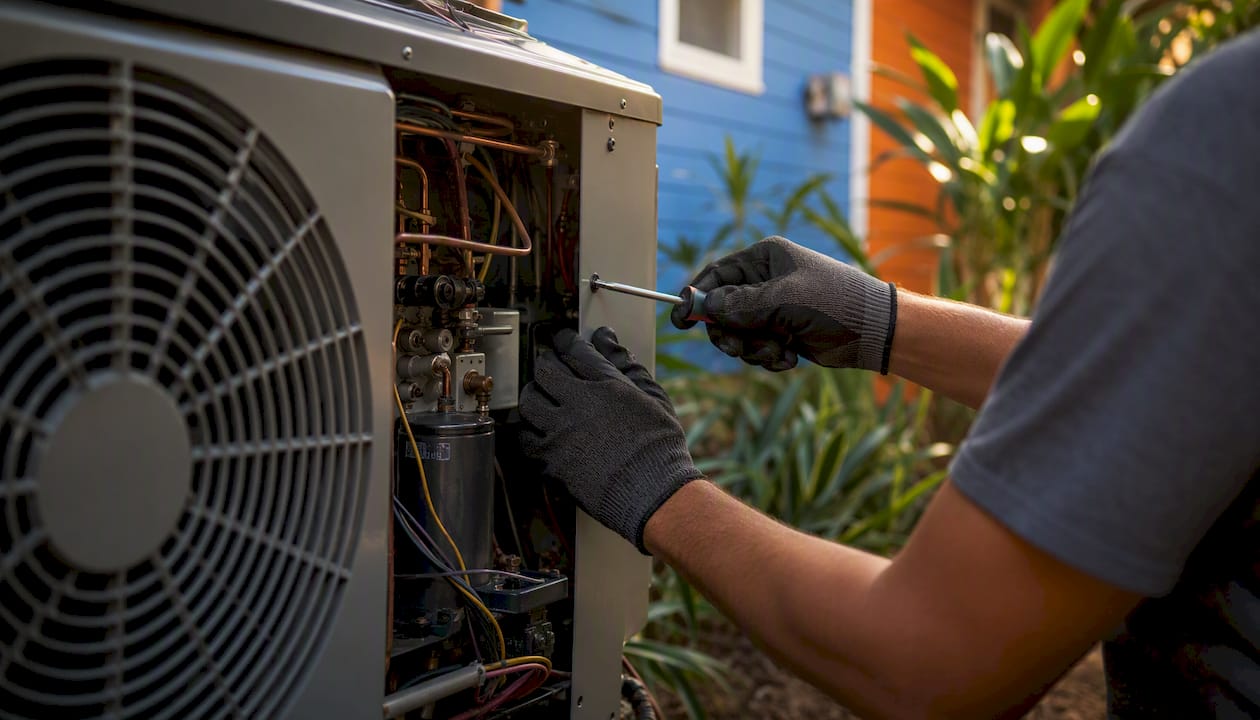
Six checks decide whether your air conditioner is actually working the way it should: the filter, airflow and temperature split, condenser and evaporator coil condition, refrigerant level, ducts and insulation, and electrical connections. Run through these before you assume you need a new system or call for emergency service, and you will know within twenty minutes whether the problem is minor or serious.
Here is the priority order:
- Filter first. A clogged filter is the single most common cause of weak airflow and can drag efficiency down by up to 15 percent.
- Temperature split second. Measure supply and return air temperature. A healthy split usually falls between 16 and 22 degrees Fahrenheit depending on humidity.
- Coils third. Look at both the outdoor condenser and the indoor evaporator coil for dirt, bent fins, or ice.
- Refrigerant fourth. Don’t touch the charge yourself, but note any hissing, frost on the lines, or a split reading that’s off.
- Ducts and insulation fifth. Check for disconnected runs, crushed flex duct, and bare refrigerant lines.
- Electrical sixth. Look (don’t touch) for scorched wiring, a humming contactor, or a breaker that trips repeatedly.
Pro Tip: If a technician tells you the system “checked out fine,” ask them to show you the actual temperature split numbers and snap a photo of the filter before and after service. A tech running real diagnostics will have these numbers on hand in under five minutes; one who doesn’t may have skipped the measurement step entirely.
This is the short version. The rest of this guide breaks each item into a full ac performance benchmarks checklist you can run yourself or hand directly to a contractor, along with the actual numbers a properly functioning system should hit.
Key Takeaways
A properly maintained AC system depends on monthly filter checks, a documented temperature split between 16 and 22 degrees Fahrenheit, clean coils, verified refrigerant charge, sealed ducts, and tight electrical connections working together.
| Point | Details |
|---|---|
| Filter cadence drives efficiency | Check monthly; a dirty filter alone can cut efficiency by up to 15%. |
| Temperature split is your fastest diagnostic | A 16 to 22°F split signals healthy operation; anything outside it warrants a pro visit. |
| Duct leakage is often invisible | Typical homes lose 20 to 30% of conditioned air to duct leaks you can’t see from the attic floor. |
| Know your DIY limits | Refrigerant and internal electrical work require EPA 608 certification, not a screwdriver. |
| LC Heating and Air Conditioning offers verified diagnostics | Flat-rate pricing and photographed measurement readouts mean you see the actual numbers behind any repair recommendation. |
The Complete Step-by-Step AC Performance Checklist
Most homeowners think “AC maintenance” means changing a filter twice a year. That gets you partway there. A real air conditioning evaluation checklist covers the whole system, from the thermostat on the wall to the coil buried in the outdoor unit, and it tells you not just what to check but how often and who should be doing it.
Work through these in order. Stop and call a licensed technician the moment you hit anything marked professional-only.
- Safety check first. Confirm the outdoor breaker and any disconnect switch near the condenser are accessible and not tripped. Frequency: before any other task. DIY.
- Filter inspection. Pull the filter and hold it to a light. If you can’t see light through it, replace it. Frequency: monthly during cooling season. DIY. Filters left too long choke airflow, and that shows up directly in your temperature split reading.
- Thermostat calibration. Confirm the thermostat reading matches a separate room thermometer within two degrees. Frequency: annually, or after any smart thermostat firmware update. DIY for battery and basic settings; a technician should handle sensor recalibration.
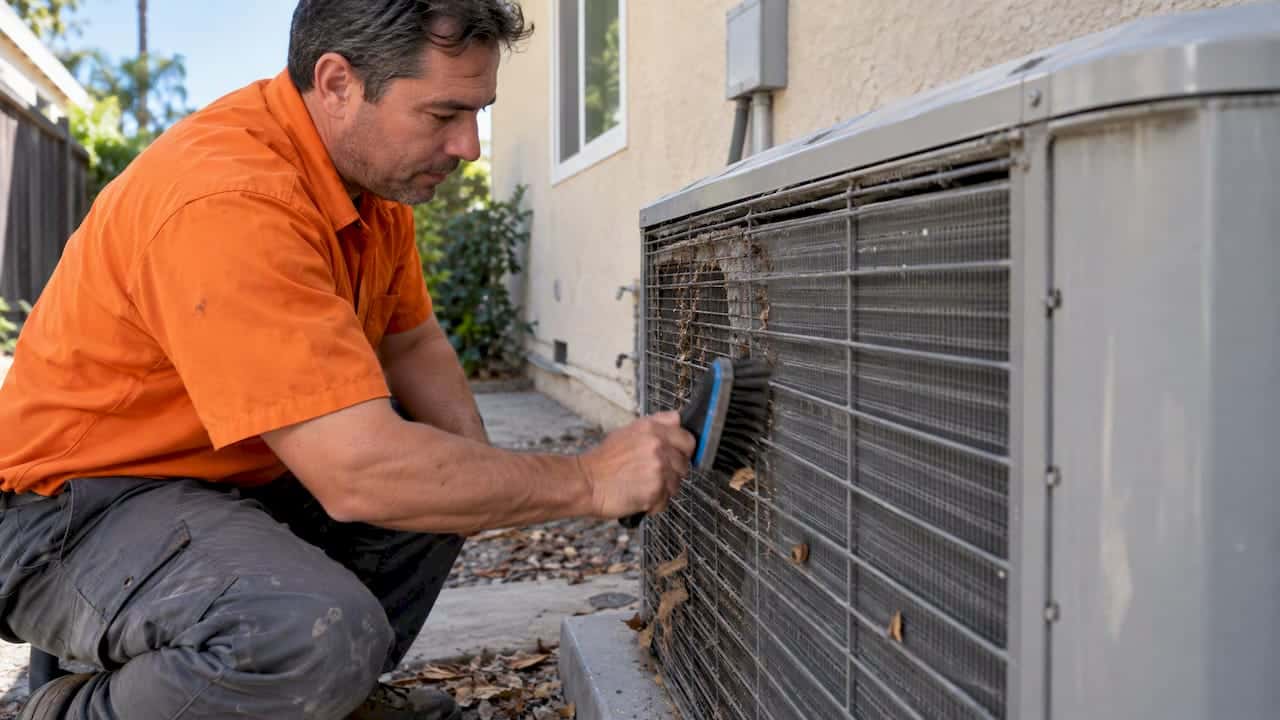
- Outdoor condenser check. Clear leaves, grass clippings, and mulch from within two feet of the unit on all sides. Look for bent fins and confirm the fan spins freely by hand when the unit is off. Frequency: monthly in season. DIY for clearing debris; fin straightening and fan motor work is professional-only.
- Indoor evaporator and air handler check. Look for ice buildup, standing water, or a moldy smell near the coil access panel. Frequency: seasonal. Mostly professional access, since opening the cabinet often means removing screws and handling refrigerant lines.
- Condensate drain check. Pour a cup of water down the drain line access point and confirm it flows freely with no backup at the pan. Frequency: seasonal, more often in humid months. DIY for simple line flushing with a wet/dry vac; persistent clogs are professional work.
- Ductwork visual inspection. Check accessible runs in the attic or basement for disconnected joints, crushed sections, and torn insulation. Frequency: annually. DIY for visible sections; sealing and pressurized-duct work is professional-only.
- Blower and fan check. Listen for grinding, squealing, or wobble in the indoor blower and outdoor fan. Frequency: seasonal. DIY for listening and observation; belt replacement and motor lubrication is professional-only on most residential systems.
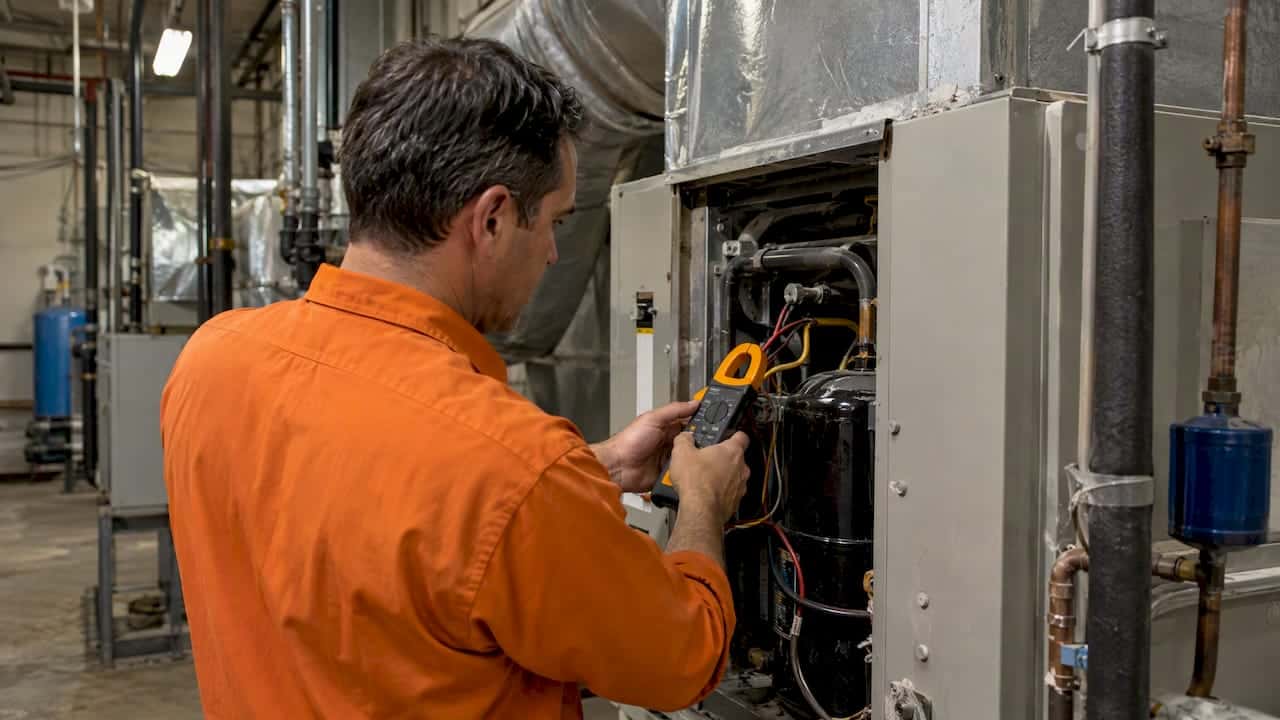
- Electrical connections. Visually check for scorch marks, melted insulation, or a burning smell near the disconnect box. Frequency: seasonal. Look-only for homeowners; tightening terminals and testing capacitors is professional-only and involves live current.
- Refrigerant observation. Note frost on the larger suction line, hissing sounds, or oily residue at fittings. Frequency: whenever performance drops. Observation only for homeowners; charging or recovering refrigerant requires EPA Section 608 certification and is professional-only.
You’ll need a flashlight, a spare filter of the correct size, a basic screwdriver, and a garden hose for outdoor coil rinsing. That’s the full homeowner tool kit. Anything involving a multimeter, refrigerant gauges, or opening a sealed electrical panel belongs to a licensed technician.
| Task | Frequency | Who Performs It |
|---|---|---|
| Filter inspection/replacement | Monthly | Homeowner |
| Outdoor unit clearing | Monthly (season) | Homeowner |
| Thermostat check | Annual | Homeowner |
| Condensate drain flush | Seasonal | Homeowner or pro |
| Coil cleaning | Annual | Professional |
| Electrical tightening & capacitor test | Annual | Professional |
| Refrigerant charge verification | Annual or on symptom | Professional |
| Duct sealing/leak repair | As needed | Professional |

ENERGY STAR’s own maintenance guidance backs the monthly filter cadence directly, and it’s worth taking seriously: poor maintenance and airflow restriction can cut efficiency by up to 15 percent, which on a typical Los Angeles summer electric bill is not a small number. For a more detailed printable version of this sequence, our step-by-step HVAC inspection checklist covers each stop point in more depth.
What Performance Benchmarks Should You Actually Measure?
A checklist tells you what to look at. Benchmarks tell you what “good” looks like once you’ve looked. This is where most DIY checklists fall apart, because “the air feels cold” isn’t a measurement, and “the tech said it’s fine” isn’t verification.
Five numbers matter more than anything else on a service visit:
- Temperature split. The difference between the air going into the return and the air coming out of the supply register nearest the air handler. A properly charged, properly sized system typically runs a 16 to 22 degree Fahrenheit split, though outdoor humidity shifts that range.
- Measured airflow (CFM per ton). Residential systems are generally designed around 350 to 400 CFM per ton of cooling capacity. Lower numbers point to duct restriction or a dirty coil; higher numbers can point to duct leakage pulling in unconditioned air.
- External static pressure (ESP). This measures resistance in the duct system itself, and it’s the number that tells you whether your ductwork is fighting the blower. Manufacturer nameplate ratings specify a target ESP, and readings well above that spec usually mean undersized or restrictive ductwork.
- Condensing temperature over ambient. Comparing the condenser’s operating temperature against outdoor air temperature helps confirm the system is rejecting heat properly.
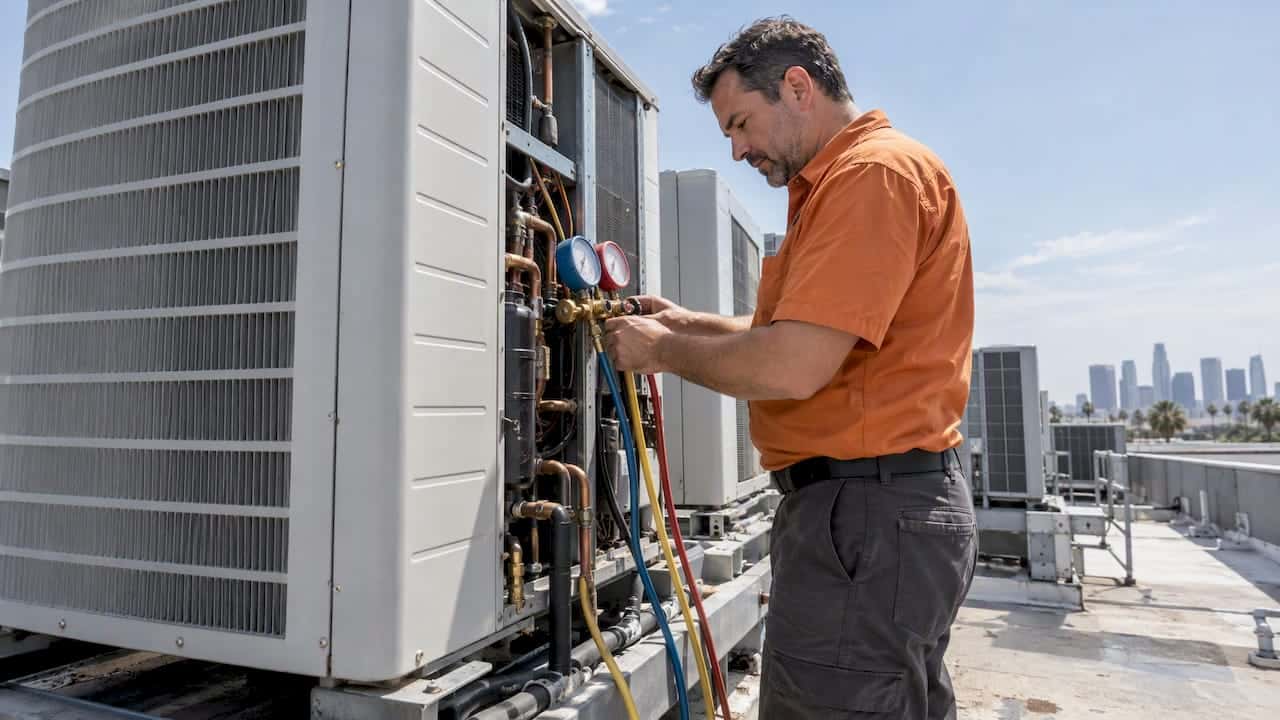
- Refrigerant charge indicators. Subcooling and superheat readings, taken with gauges, confirm whether the system has the correct refrigerant charge. This is not a DIY measurement.
| Metric | How It’s Measured | Typical Guidance | Homeowner or Pro |
|---|---|---|---|
| Temperature split | Dual-probe digital thermometer at supply/return | 16 to 22°F | Homeowner can attempt; pro for verification |
| Airflow (CFM/ton) | Balometer, flow hood, or duct blaster | 350 to 400 CFM/ton | Professional |
| External static pressure | Digital manometer at duct test ports | Per manufacturer nameplate | Professional |
| Condensing temp over ambient | Thermometer at condenser coil vs. outdoor reading | System-specific | Professional |
| Refrigerant charge | Gauges, subcooling/superheat calculation | Manufacturer spec | Professional only (EPA 608) |
Every one of these tests traces back to what’s known in the field as the Preliminary Diagnostic, or PD method, which starts with a quick temperature-split check and escalates into airflow and pressure testing only if that first number looks off. The Building America measure guideline documents this exact sequence, including the specific tools required: a digital manometer, a duct blaster or balometer, and dual-probe thermometers. Techs also carry psychrometric tools to account for humidity, since temperature split alone can look “normal” while masking an undercharged or airflow-restricted system, which is exactly why airflow and static pressure readings matter as a cross-check rather than a formality.
Newer equipment complicates this in a good way. ENERGY STAR’s Version 6.2 specification documents systems with self-verifying refrigerant charge, built-in airflow or static pressure estimation, and blower power draw reporting, meaning some modern heat pumps can display these benchmarks on a control board without a tech hooking up external gauges at all.
Pro Tip: Ask your technician to show you the temperature split reading taken upstream and downstream of the coil, along with a photo of the manometer display during the static pressure test. If they can’t produce either, they likely didn’t run the full diagnostic.
What Can You Safely Check Yourself vs. Leave to a Pro?
Drawing this line correctly protects both your system and your safety. Get it wrong in one direction and you void a warranty by fumbling with a sealed system; get it wrong in the other and you pay dispatch fees for a five-minute filter swap.
Homeowner-safe tasks:
- Replacing or cleaning the air filter on the manufacturer’s recommended schedule
- Changing thermostat batteries and adjusting basic schedule settings
- Keeping at least two feet of clearance around the outdoor condenser
- Flushing a simple condensate drain clog with a wet/dry vacuum at the cleanout tee
- Rinsing visible debris off the outdoor coil fins with a garden hose (power off first)
Professional-only tasks:
- Refrigerant charging, recovery, or leak repair, all of which require EPA Section 608 certification
- Compressor diagnostics or replacement
- Tightening internal electrical terminals, testing capacitors, or replacing contactors
- Sealed-system brazing or line replacement
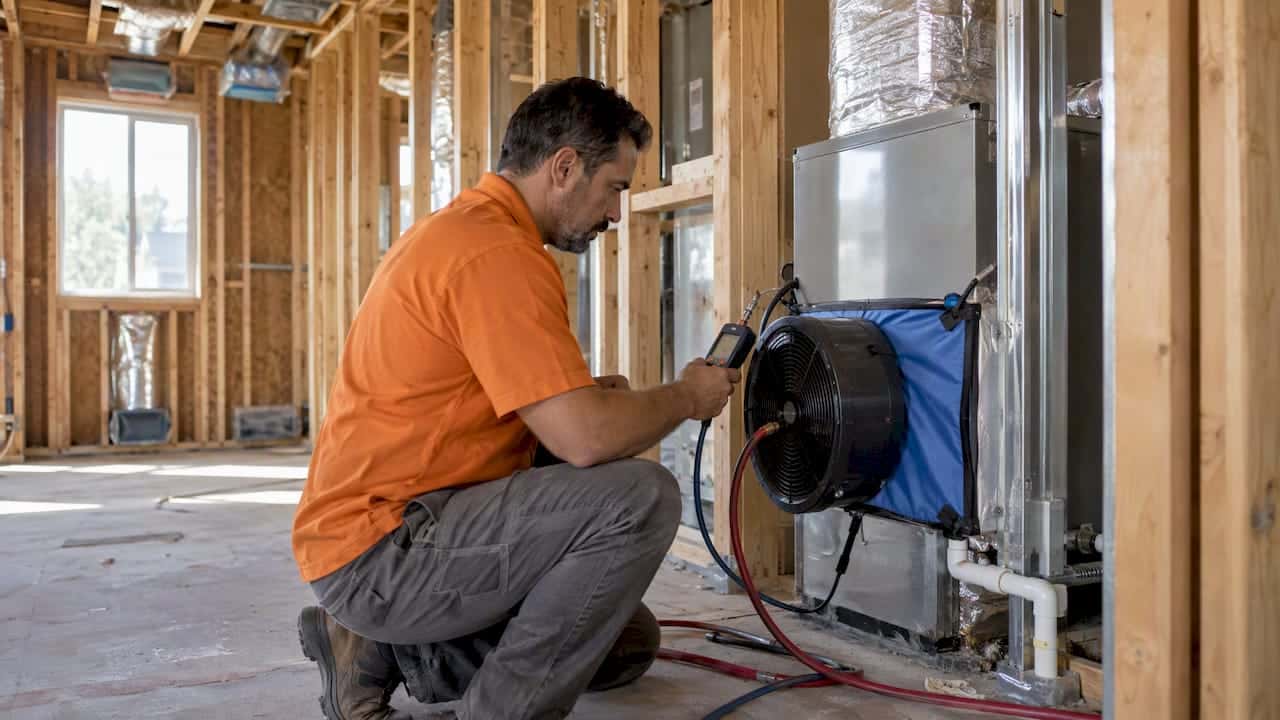
- Major duct sealing on a pressurized system, which requires pressure testing before and after
Refrigerant work carries legal weight, not just safety risk. Handling most refrigerants without EPA certification is a federal violation, separate from the very real risk of frostbite or chemical exposure from an open line. Electrical work inside the disconnect box carries a similar risk profile: contactors and capacitors can hold a charge even with the breaker off.
Before hiring anyone, ask for their contractor license number, proof of liability insurance, and confirmation of EPA 608 certification for refrigerant handling. If your job involves a heat pump rebate program, ask whether the technician is a certified ENERGY STAR partner or has completed manufacturer-specific training, since some rebate programs require documentation from a qualified installer.
What Should a Seasonal Tune-Up Actually Include?
Use this as your quote-comparison checklist. Contractors advertise “AC tune-up” packages that range wildly in scope, and the only way to compare two quotes fairly is knowing exactly what belongs in a complete visit.
A full seasonal tune-up should include:
- Tightening all accessible electrical connections
- Inspecting and testing capacitors and the contactor
- Measuring starting and running current on the compressor and fan motor
- Cleaning both the outdoor condenser coil and, when accessible, the indoor evaporator coil
- Checking refrigerant pressures and noting any signs of undercharge (without adding refrigerant unless a leak diagnostic confirms the need)
- Inspecting the blower assembly, belts (on older or commercial-style units), and lubricating any moving parts with oil ports
- Testing safety controls, including the high-pressure and low-pressure switches
- Verifying airflow and taking a final temperature split reading
ENERGY STAR recommends scheduling this in spring for cooling systems and fall for heating systems, timing that lets a technician catch problems before extreme temperatures put real stress on the equipment.
Some items add meaningful time and cost to a visit, and quotes that skip them are usually quotes that skip real diagnostics:
- Coil cleaning, especially when the evaporator coil requires cabinet disassembly
- Refrigerant trace leak testing with an electronic leak detector or UV dye
- Duct sealing, which needs pressure testing before an accurate scope can even be written
If a quote for a “full tune-up” comes in dramatically cheaper than others you’ve received, ask specifically whether coil cleaning and refrigerant checks are included, or whether you’re only getting a filter swap and a visual inspection. When comparing bids, hand the contractor a written list: tighten electrical, test capacitor, clean coils, check refrigerant pressures, inspect blower, test safety controls, verify airflow and temperature split. A reputable outfit will confirm each line item without hesitation. Our preventive AC maintenance guide goes deeper into why this cadence pays for itself over the life of the equipment.
Which Symptoms Point to Which Problems?
Matching a symptom to its likely cause before you call anyone saves time on the phone and helps you describe the problem accurately, which matters more than you’d think for getting an accurate first estimate.
| Symptom | Likely Cause | First Action |
|---|---|---|
| Rooms feel warm despite AC running | Dirty filter, low airflow, or low refrigerant | Check/replace filter, then measure temperature split |
| Short-cycling (on/off rapidly) | Oversized system, dirty coil, or thermostat placement | Check coil cleanliness and thermostat location |
| Unusually high electric bill | Airflow restriction or aging compressor | Check filter and duct condition; schedule diagnostic |
| Ice on the refrigerant line or coil | Low refrigerant charge or airflow blockage | Shut system off, call a technician immediately |
| Grinding or squealing noise | Worn blower bearing or belt | Stop system, call a technician |
| Water pooling near the air handler | Clogged condensate drain | Flush drain line; call a pro if it recurs |
| Burning smell near the outdoor unit or panel | Electrical fault | Shut off power at the breaker, call a technician immediately |
When more than one symptom shows up together, prioritize in this order:
- Safety first. Any burning smell, sparking, or visible ice on refrigerant lines means shut the system off and call for service immediately.
- Stop-gap fixes. Filter swaps and drain flushes you can do yourself while waiting for an appointment.
- Call a technician. Anything involving refrigerant, unusual mechanical noise, or repeated short-cycling needs a diagnostic visit, not a guess.
What Does This Actually Cost, and How Long Does It Take?
Pricing varies by region, equipment age, and access difficulty, so treat these as planning ranges rather than quotes. A basic seasonal tune-up generally runs one to two hours on-site. Coil cleaning adds another 30 to 60 minutes if the evaporator coil needs cabinet disassembly. A refrigerant leak test and repair can take anywhere from one hour for a simple fitting repair to a half-day or more if the leak is buried in the coil itself. A full refrigerant recharge, once a leak is fixed, typically adds another hour depending on system size. Duct sealing on an accessible system might run two to four hours; sealing a whole house with limited attic access can stretch into a full day.
| Service | Typical Time On-Site | Cost Driver |
|---|---|---|
| Basic tune-up | 1 to 2 hours | Equipment age, accessibility |
| Coil cleaning | 30 to 60 minutes added | Cabinet design, dirt buildup |
| Leak test & repair | 1 hour to half-day | Leak location, fitting vs. coil |
| Refrigerant recharge | 1 hour+ | Refrigerant type, system capacity |
| Duct sealing | 2 to 4 hours | Attic/crawlspace access, duct length |
| Diagnostic visit | 30 minutes | Symptom complexity |
Several factors push these numbers in either direction. Hard-to-reach equipment, whether that’s a condenser wedged behind landscaping or an attic air handler with no walkway, adds labor time regardless of the actual repair. Older systems using legacy refrigerant types can cost more to service since that refrigerant is being phased down and supply has tightened. Replacement parts on discontinued models sometimes require special ordering, which adds days rather than dollars but still affects your timeline.
Getting a written estimate before work begins isn’t optional caution, it’s the only way to compare quotes accurately. Verbal estimates change once a technician is already on the ladder.
Local labor rates vary meaningfully by market, and the ranges above are planning tools, not binding quotes. Ask for the estimate in writing before any repair beyond a basic filter swap. For a closer look at when a repair still makes financial sense versus when replacement wins out, see our guide on cost-effective AC repair solutions.
What Do Technicians Check That Homeowners Usually Miss?
The gap between a homeowner walkthrough and a professional diagnostic isn’t really about knowledge, it’s about instrumentation. You can see a dirty filter with your eyes. You cannot see 12 pounds per square inch of missing suction pressure, and you definitely can’t measure external static pressure without a manometer plugged into duct test ports.
The Preliminary Diagnostic method a trained technician runs typically layers three things homeowner checklists skip entirely:
- Pressure testing at duct test ports, using a digital manometer to catch restriction a visual inspection would never reveal
- Airflow balancing with a flow hood or balometer, confirming CFM at each register instead of guessing from how strong the air “feels”
- Refrigerant charge diagnostics using subcooling and superheat calculations, which require gauges, a psychrometric chart, and knowledge of the specific refrigerant’s pressure/temperature relationship
Techs who take this seriously carry a specific tool kit: dual-probe digital thermometers, a manometer, a balometer or flow hood, and refrigerant gauges matched to the system’s refrigerant type. Credentials matter here too. EPA Section 608 certification is legally required for anyone handling refrigerant, and manufacturer-specific training (particularly for heat pump and VRF systems) separates a tech who can diagnose a mini split correctly from one who’s only ever worked on a straightforward single-zone system.
[Author’s certifications, licenses, and specific case study details to be added here.]
Pro Tip: If your home has a mini split or a multi-zone heat pump, ask specifically whether the technician has manufacturer training on that system. VRF and multi-zone systems distribute refrigerant differently than a single conventional condenser, and a tech without that specific background can misdiagnose a zone-control issue as a refrigerant problem.
How Can You Improve Airflow Beyond Sealing Ducts?
Duct sealing gets most of the attention, and for good reason since typical homes lose 20 to 30 percent of conditioned air to duct leakage. But airflow problems often survive duct sealing entirely, because the restriction isn’t in the ducts at all.
Register and grille placement matters more than most homeowners realize. Furniture pushed against a return grille, rugs covering floor registers, or closed doors on rooms with no dedicated return path all choke airflow just as effectively as a dirty filter. Walk your home and confirm every supply register and return grille has at least a foot of clearance.

Blower speed settings on variable-speed systems are frequently left at factory defaults that don’t match your actual duct design. A technician using a balometer can confirm whether the blower needs a speed adjustment to hit the target CFM per ton for your specific tonnage.
Filter restriction is worth a second mention here specifically because of MERV ratings. A high-MERV filter captures more particulate but also restricts airflow more; if your system was designed around a MERV 8 filter and someone swaps in a MERV 13 without checking static pressure, airflow can drop even with a brand-new filter installed. And return duct sizing, often undersized in older homes retrofitted with central air, can bottleneck the whole system regardless of how clean everything else is.
Is Your System Using the Correct Refrigerant, and Is the Level Right?
Refrigerant type isn’t a settings choice, it’s a hardware constraint. Every system is designed for one specific refrigerant, and using anything else, even briefly, risks compressor damage and voids most manufacturer warranties outright.
Older systems, particularly anything installed before the mid 2010s, may use a refrigerant that’s being phased down under federal environmental rules, which has made it more expensive and, in some regions, harder to source. If your system needs a top-off and it’s using an older refrigerant type, ask your technician directly about supply and cost before authorizing the work, since a full recharge on a legacy refrigerant can run notably higher than one using current refrigerant blends.
Checking the level correctly means measuring subcooling and superheat, not just “topping off until it feels cold.” A system can run with noticeably low refrigerant and still blow cool air, just less efficiently and with more strain on the compressor. This is exactly why the temperature split test matters as a first flag: a split that’s outside the normal 16 to 22 degree range on a system with no airflow restriction often points toward a charge problem worth having a technician verify with gauges.
Never let anyone add refrigerant without first checking for a leak. Refrigerant systems are sealed and don’t consume refrigerant through normal operation; a low charge almost always means a leak somewhere, and recharging without finding it just means paying for the same service again in a year.
Are Your Refrigerant Lines Properly Insulated?
The insulation wrapped around your refrigerant lines, usually a foam sleeve on the larger suction line running between the outdoor unit and the indoor coil, does more work than most homeowners give it credit for. Uninsulated or poorly insulated sections force the system to work harder maintaining the correct refrigerant temperature, and in Los Angeles attics that regularly exceed 120 degrees Fahrenheit in summer, that inefficiency compounds fast.
Walk the accessible length of your line set, typically where it runs along an exterior wall or through the attic, and look for cracked, sun-damaged, or missing insulation. UV exposure breaks down foam insulation over years, leaving bare copper exposed. You’ll also want to check for condensation dripping off an uninsulated section, which signals the line is cold enough to sweat and is losing efficiency to the surrounding air.
This is a task most homeowners can inspect visually but shouldn’t repair themselves if it involves disconnecting anything near the line set fittings. Re-wrapping exposed sections with new foam sleeve insulation is straightforward for a handy homeowner as long as the lines themselves aren’t disturbed; anything closer to the flare fittings or the condenser connection point is best left to a technician who can confirm there’s no leak hiding under that insulation in the first place.
Is Your System Louder Than It Should Be?
Every AC system makes some noise. The question is whether what you’re hearing is normal operating sound or an early warning sign, and the difference usually comes down to what kind of noise it is, not just how loud.
A steady hum from the outdoor condenser is normal. A rattle usually means loose panel screws, an easy fix. A grinding or squealing sound points toward a failing motor bearing or a belt issue, something that needs attention before it becomes a full motor replacement. Clicking on startup and shutdown is typically just the contactor engaging, completely normal. But a loud bang on startup can indicate a compressor issue, and that’s worth an immediate service call rather than a wait-and-see approach.
Indoors, a whistling sound at registers usually means airflow restriction, often tied back to that same MERV filter or blocked register issue covered earlier. A rhythmic thumping from the air handler closet can point to a blower wheel that’s come loose or unbalanced.
If a noise appeared suddenly rather than developing gradually, treat that as more urgent. Gradual noise increases over months usually mean normal wear; a noise that wasn’t there yesterday and is there today often means something shifted, loosened, or failed outright.
What Do Worn Belts and Pulleys Look Like?
Most modern residential split systems use direct-drive blower motors with no belt at all, but belt-drive blowers are still common on older residential air handlers and on many commercial and light-commercial rooftop units. If your system has one, belt condition directly affects airflow, and a slipping belt shows up as reduced CFM long before it shows up as a visible problem.
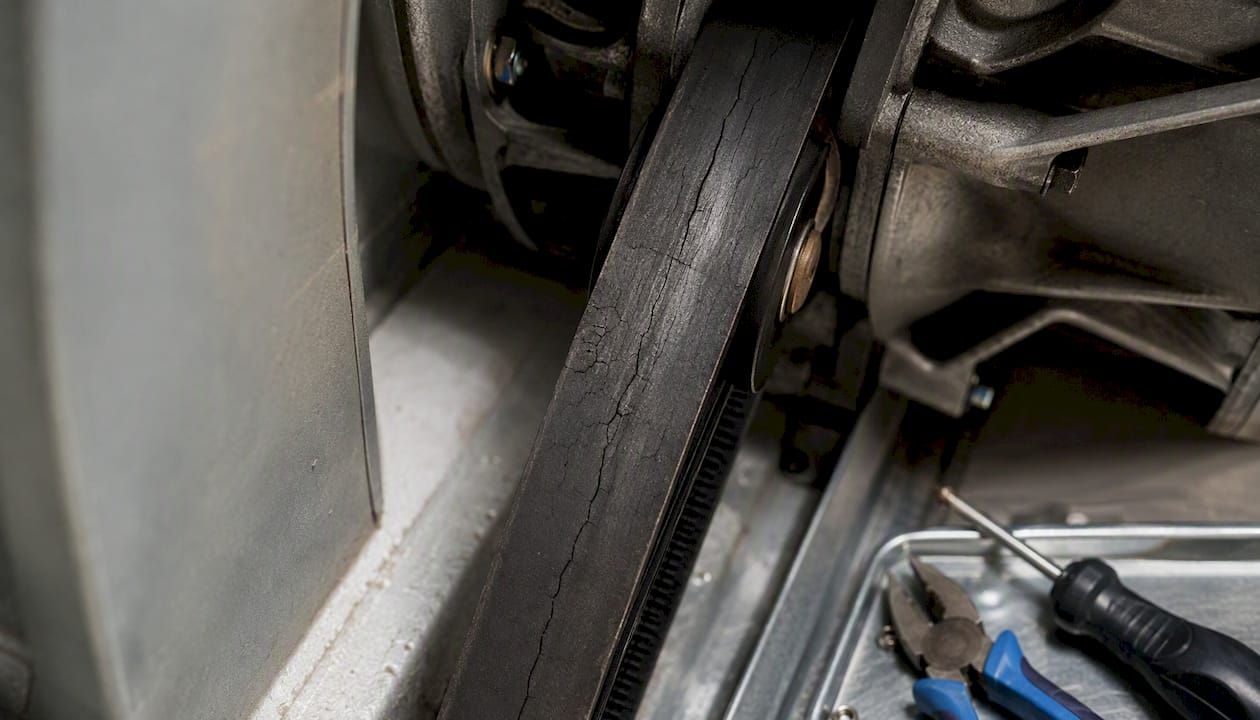
Look for cracking, glazing (a shiny, slick surface on the belt), or fraying along the edges. A belt that’s visibly loose, sagging more than about half an inch when pressed, has stretched past its useful tension and needs replacement or re-tensioning. Pulleys should spin freely with no wobble; a wobbling pulley usually means a bearing issue that will eventually take the belt down with it.
Squealing on startup, especially in humid weather, is a classic sign of a belt that’s slipping on the pulley rather than gripping and turning cleanly. Left alone, a slipping belt reduces blower speed, which reduces airflow, which shows up downstream as a wider temperature split and reduced cooling capacity, even though the refrigerant side of the system is working perfectly.
Belt inspection is homeowner-safe as a visual check with the system off. Replacement and tensioning, though, involves working inside the blower compartment near a motor that can be under spring tension, and that’s professional-only work on most systems.
How Do You Track Energy Use and Catch Problems Early?
Your electric bill is a lagging indicator. By the time a spike shows up on your statement, the inefficiency has already been running for weeks. A smarter approach is tracking energy use in something closer to real time.
A smart thermostat with usage reporting gives you a rolling view of runtime hours, letting you spot when the system suddenly needs to run longer to hit the same setpoint, often the earliest sign of an airflow or refrigerant problem. Some utility providers also offer free or low-cost home energy monitors that track whole-house or circuit-level consumption, which can isolate whether a spike is coming from the AC specifically or something else entirely.
Compare your summer electric bills year over year rather than month to month, since month-to-month swings are mostly driven by weather. A summer that runs meaningfully higher than the prior year at similar outdoor temperatures is a real signal worth investigating, not just California electricity rates creeping up again.
A few efficiency habits compound over a full cooling season: keep supply registers unobstructed, seal obvious duct leaks, replace filters on schedule, and set your thermostat a few degrees higher when you’re away rather than turning the system off entirely, since restarting a hot house from scratch often uses more energy than maintaining a slightly elevated setpoint throughout the day.
Author’s Field Perspective: How This Checklist Plays Out on Real Service Calls
When I walk into a home on a service call, I’m running through a version of this exact checklist before I ever touch a tool. The first five minutes tell me more than most homeowners expect: I’m listening to the system, checking the thermostat setting against the actual room temperature, and glancing at the filter before I even open the outdoor unit.
Here’s the sequence on a typical visit:
- Arrival and safety check. Confirm the system is off or safe to access, check the breaker and disconnect.
- Preliminary diagnostics. Temperature split first, always. It tells me whether I’m dealing with an airflow problem, a refrigerant problem, or nothing at all.
- Measurement steps. If the split is off, I move to static pressure and airflow measurements before I ever touch the refrigerant charge. Too many techs jump straight to “it needs refrigerant” without confirming the charge is actually the issue.
- Customer review. I walk the homeowner through the actual numbers, not just a verbal “it’s running fine now.”
- Written recommendations. Anything beyond the immediate fix goes into a written estimate, no verbal-only quotes.
On the repair-versus-replace question, I won’t give a blanket rule, because it genuinely depends on the system’s age, the specific failure, and what the homeowner’s plans are for the property. What I will say is this: a system under ten years old with a single component failure is almost always worth repairing. A system past fifteen years with a compressor or coil failure deserves a serious replacement conversation, especially with current heat pump rebate programs making the upgrade math more favorable than it used to be.
If You Want Help: Your Next Steps With LC Heating and Air Conditioning
Running through this checklist yourself is the right first move, and if everything checks out, you may not need to call anyone at all. If something doesn’t add up, whether that’s a temperature split outside the normal range or a noise you can’t identify, LC Heating and Air Conditioning is the alternative to guesswork pricing and vague diagnostics for Los Angeles homeowners: flat-rate pricing on repairs means you know the cost before work starts, with no surprise fees tacked on after a tech opens the panel.

Before you book, have three things ready: your system’s model number (usually on a nameplate on the outdoor unit), the date of your last service, and a written note of what symptoms you’re seeing and when they started. That information alone can cut a diagnostic visit significantly shorter.
When our technicians arrive, expect same-day availability in most cases, flat-rate pricing options instead of hourly guesswork, and photos of the actual measurements taken, including temperature split readings and filter condition, before we recommend any repair. If you’re due for a seasonal check, our seasonal tune-up service covers the full scope outlined earlier in this guide, electrical tightening, coil cleaning, and refrigerant verification included. And if your system is a heat pump, mini split, or commercial VRF setup, that’s specifically where our team has spent the most years building expertise across both historic Los Angeles homes and modern multi-zone installations.
Ready to get a real diagnostic instead of a guess? Book a service visit with LC Heating and Air Conditioning and get a written estimate before any work begins.
Sources
For readers who want to verify the standards and methods behind this checklist directly, or hand them to a contractor for reference:
- Maintenance checklist | ENERGY STAR
- Measure Guideline: Air Conditioner Diagnostics, Maintenance, and Replacement (Building America)
FAQ
What is a good temperature split for a home AC system?
A healthy temperature split between the return and supply air is typically 16 to 22 degrees Fahrenheit, though outdoor humidity affects the exact target.
How often should I change my AC filter?
Check your filter monthly during cooling season and replace it whenever you can’t see light through it; ENERGY STAR notes that neglecting this can reduce efficiency by up to 15%.
Can I check my own refrigerant level?
You can observe warning signs like frost on the lines or hissing sounds, but measuring and adjusting refrigerant charge requires EPA 608 certified equipment and training, making it professional-only work.
How much duct leakage is normal in a house?
None is truly “normal,” but typical homes lose 20 to 30 percent of conditioned air to duct leaks, which is a meaningful efficiency loss worth having sealed.
How do I know if my AC needs a professional tune-up versus a full repair?
If your basic checklist items (filter, clearance, thermostat, drain) check out fine but you still see a poor temperature split or unusual noise, that points to a tune-up or diagnostic visit; a system with a confirmed component failure like a bad capacitor or compressor needs a repair visit instead. LC Heating and Air Conditioning offers same-day diagnostic visits with flat-rate pricing to sort out which situation you’re in.
Recommended
Leo, Owner & Lead Technician at LC Heating & Air
Leo leads LC Heating & Air as an owner-operator and holds California CSLB C-20 HVAC license #1073586. His guides focus on practical diagnostics, safe repair decisions, and clear advice for Los Angeles homeowners.