- What Rooms and Walls Give the Most Accurate Reading?
- Where You Should Never Put a Thermostat
- The Exact Height and Clearance Numbers That Matter
- Remote Sensors, Extra Thermostats, or Zoning: Which Fixes What?
- When Should You Call an HVAC Professional?
- Why Placement Is the First Thing I Check on Every Service Call
- Get Your Thermostat Relocated or Zoned the Right Way
- Sources
- FAQ
- Recommended

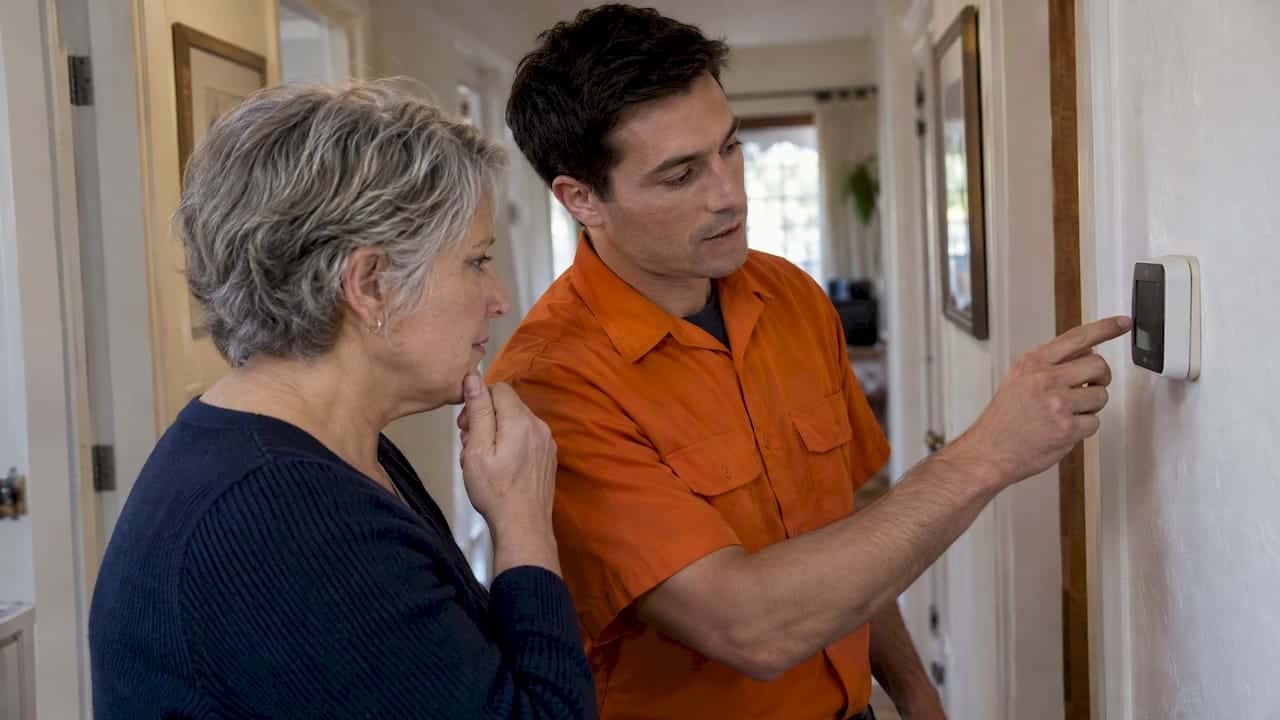
Put your thermostat on an interior wall in a central, frequently used room, mounted 52 to 60 inches above the finished floor. That chest-height spot on a hallway or living room wall samples the air your family actually feels, away from sun, vents, and exterior walls. Get thermostat placement wrong and your HVAC system chases false readings all day, wasting energy and wearing itself out faster than it should.
TL;DR:
- Proper thermostat placement on an interior wall at chest height ensures accurate readings, typically 52 to 60 inches above the floor, and avoids cold drafts and sunlight.
- Central living areas away from exterior walls, vents, and heat sources provide the most representative temperature, but multi-story homes may require additional zones or sensors for accuracy.
- Locations near windows, doors, vents, or heat-producing appliances are the worst spots, as they cause false readings and short cycling, leading to wasted energy.
- Poor placement can increase household energy use by 10 to 20 percent and cause temperature swings of 5 to 10 degrees Fahrenheit.
- When placement isn’t feasible, remote sensors, additional thermostats, or zoning systems help improve comfort and system efficiency without extensive rewiring.
What Rooms and Walls Give the Most Accurate Reading?
Central living areas beat every other spot because they average out the temperature swings that happen closer to windows, doors, and appliances. A main-floor hallway or living room wall sits far enough from heat sources and cold spots to reflect what the whole house is actually experiencing, not just one corner of it.
In a single-story home, this is usually straightforward: pick the wall shared by the living room and a main hallway, away from the front door. Multi-story homes get trickier. A thermostat on the ground floor will almost always misread the upstairs bedrooms, since heat rises and upper floors run warmer in the evening and colder in the morning during winter. That mismatch is exactly why the Department of Energy recommends interior walls in central, frequently used rooms and flags the rooms to avoid entirely.
When one thermostat can’t reasonably represent a whole house, that’s your signal to stop optimizing placement and start thinking about coverage. Homeowners in these situations typically choose one of these paths:
- Single thermostat, best-compromise wall: works fine for ranch homes or small two-story houses with an open floor plan.
- Additional thermostats per zone: makes sense once a home has distinct temperature zones, like a converted attic bedroom or a sunroom addition.
- Ducted zoning system: dampers split the ductwork so each zone gets its own thermostat and its own call for heat or cooling.
- Remote sensors paired with a smart thermostat: a lower-cost way to represent multiple rooms without new wiring or dampers.
If your house has a room that’s always too hot or too cold no matter where the main thermostat sits, that’s rarely a placement problem you can fix by moving the unit six inches. It’s usually a zoning gap.
Where You Should Never Put a Thermostat
A handful of locations show up over and over as the source of homeowner complaints about uneven heating and short cycling. Here’s the ranked list of what to avoid and why each one throws off your readings:
- Exterior walls, near windows or exterior doors. Outdoor temperature bleeds through the wall or drafts sneak in around the frame, so the sensor reads outside conditions instead of your living space.
- Near supply vents or return ducts. A thermostat too close to airflow reads the conditioned air blast itself, not the room, which triggers false highs or lows and sends the system into short cycling.
- Above radiators, baseboard heaters, lamps, or other heat-generating appliances. Rising heat fools the sensor into thinking the room is warmer than it is, so the system shuts off too early.
- In direct sunlight. A sunbeam hitting the thermostat face for even twenty minutes can spike the reading several degrees above the actual room temperature.
- Kitchens and bathrooms. Cooking heat and shower steam create temporary spikes that have nothing to do with whole-house comfort.
- Isolated hallways or unused rooms. These spaces run cooler or hotter than the rooms people actually occupy, so the thermostat “protects” a space nobody’s sitting in.
CNET’s rundown of the worst thermostat spots backs up what most experienced installers already see on service calls: the same three or four bad habits keep showing up in older homes where the thermostat was placed for convenience during original construction, not accuracy.
The Exact Height and Clearance Numbers That Matter

Mount the thermostat 52 to 60 inches above the finished floor. That range sits at roughly chest height for most adults, which keeps the sensor out of two problem zones: the cold air pooling near the floor and the warmer, stratified air that collects near the ceiling.
Pro Tip: Measure from the finished floor, not the subfloor, especially if you’re relocating a thermostat during a flooring upgrade. An inch or two of new hardwood or tile changes the math more than people expect.
Clearance matters just as much as height. Field guidance from trade sources and consumer publications converges on a few practical numbers:
- Keep at least a few feet of horizontal distance from supply vents or return grilles.
- Leave a moderate distance from exterior walls wherever the floor plan allows it.
- Stay 3 feet away from major airflow sources like floor fans or open stairwells, per clearance guidance from Homes & Gardens.
Placement this far off can cost you. Homes with poorly placed thermostats see energy use climb by 10% to 20%, with room-to-room swings of 5 to 10°F, according to ENERGY STAR. When you mount the replacement or new unit, level it, seal the backbox against wall drafts, and skip recessed alcoves or spots behind curtains where airflow barely reaches the sensor.
Remote Sensors, Extra Thermostats, or Zoning: Which Fixes What?
Not every home can move its thermostat to the ideal wall. Old wiring, plaster walls, or an open floor plan with no obvious center point all get in the way. That’s where smart-thermostat sensors earn their keep.
Compatible remote sensors measure temperature in two or three rooms and let the thermostat average those readings instead of relying on one fixed spot. Consumer Reports notes this is a low-cost workaround when rewiring the main unit isn’t practical, and most major smart thermostat brands sell sensors compatible with their own hubs.
- Sensors work best for uneven comfort between two or three rooms on the same system.
- Additional thermostats make sense when you’re already running separate HVAC equipment for different areas.
- Zoning is the right call when one central system serves clearly distinct areas, like a converted garage or a second-story addition.
Pro Tip: If you have a heat pump, resist the urge to program aggressive nighttime setbacks. Big temperature swings force the system to call on backup electric heat to catch up, which is far more expensive than maintaining a steadier temperature.
When Should You Call an HVAC Professional?
Some placement fixes are simple wall-plate swaps. Others involve wiring, dampers, or heat pump controls that punish guesswork.
Call a pro when you’re dealing with any of the following:
- A hard-wired thermostat that needs to move to a different wall or room, since that usually means running new low-voltage wire through finished walls.
- Zoning or damper installation, which requires matching duct capacity to each zone correctly.
- Heat pump systems, where incorrect staging settings can quietly run auxiliary heat far more than necessary.
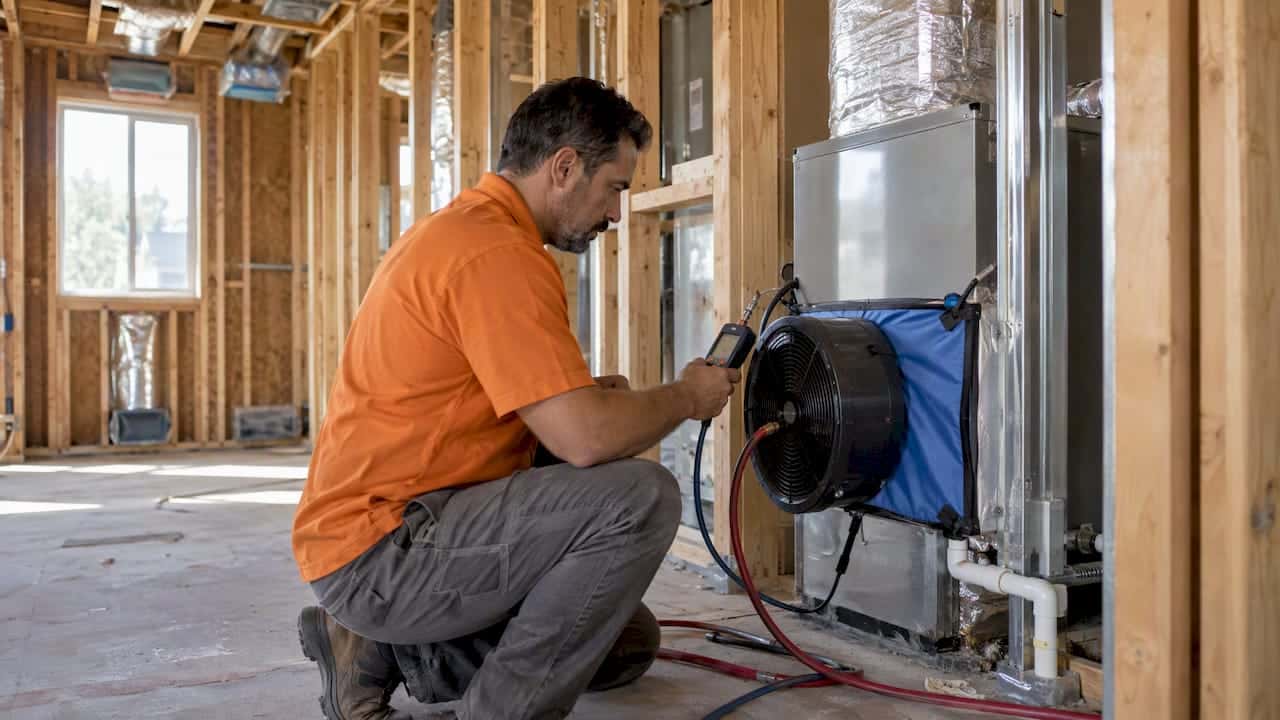
Before you book anyone, ask about their experience with relocating thermostats in homes similar to yours, request a flat-rate estimate before work starts, and confirm they’ll test and calibrate the system after installation. A technician should check wiring against code, verify the new location holds a stable reading over a heating and cooling cycle, and walk you through the settings before they leave.
Why Placement Is the First Thing I Check on Every Service Call
Bad thermostat placement doesn’t just waste energy. It shortens compressor life by forcing constant short cycling, and on heat pumps, it can quietly drive up auxiliary heat use for months before anyone notices the bill. Every relocation job comes down to weighing rewiring cost against real energy savings, and sometimes zoning solves the problem better than moving a single sensor ever could. That balance is something you learn from years on the job, not from a manual. LC Heating and Air Conditioning has spent more than twenty years diagnosing exactly this kind of issue across Los Angeles homes, from century-old bungalows to new multi-zone heat pump installs.
— Leo
Get Your Thermostat Relocated or Zoned the Right Way
We provide pricing upfront on thermostat relocation, wiring, and zoning work, so you know the cost before anyone touches a wall. That’s the difference between a quick guess and a job done by someone who’s diagnosed thousands of Los Angeles homes over twenty-plus years, including historic properties with wiring quirks that trip up less experienced crews.

Whether you need a hard-wired thermostat moved to a better wall, a smart thermostat with remote sensors set up correctly, or a full zoning system designed around your home’s layout, our technicians handle the wiring, the calibration, and the heat-pump-specific settings that keep auxiliary heat from running when it shouldn’t. If your home has rooms that never feel right no matter where the thermostat sits, that’s often a sign your ductwork or wiring needs a second look, not just a new thermostat.
Homeowners who want to try a few basic checks first can start with our HVAC troubleshooting guides. If you’re ready for a same-day estimate on relocation, wiring, or a multi-zone setup, visit our HVAC services page or head to LC Heating and Air Conditioning to book a technician.
Sources
FAQ
Where Is the Best Placement for a Thermostat?
An interior wall in a central, frequently used room, like a living room or main hallway, mounted 52 to 60 inches above the finished floor, away from vents, sunlight, and exterior walls.
Where Should You Not Place a Thermostat?
Avoid exterior walls, direct sunlight, spots near supply vents or heat-generating appliances, and rooms prone to temperature spikes like kitchens, bathrooms, and isolated hallways.
Should the Thermostat Be in the Coldest Room?
No. Placing it in the coldest room causes the system to overheat the rest of the house trying to satisfy that one space; a central, average-temperature room gives a far more balanced result.
What Is the Best Temperature to Keep Your Thermostat Set At?
There’s no single universal number, since comfort and efficiency depend on your climate, insulation, and system type, but keeping temperatures steady rather than swinging widely matters more for heat pumps than hitting a specific degree.
Can a Smart Thermostat Fix a Bad Location?
Often, yes. Adding compatible remote sensors lets a smart thermostat average temperatures from multiple rooms, which can correct for a less than ideal mounting spot without any rewiring.
Recommended
Leo, Owner & Lead Technician at LC Heating & Air
Leo leads LC Heating & Air as an owner-operator and holds California CSLB C-20 HVAC license #1073586. His guides focus on practical diagnostics, safe repair decisions, and clear advice for Los Angeles homeowners.