- How to Check Your Smart Thermostat Compatibility Before You Buy
- What Compatibility Checkers Ask For and How to Read the Results
- The C-Wire Explained: Why Power Is the Real Compatibility Test
- Systems That Need Special Handling
- Troubleshooting First, Then Knowing When to Call a Pro
- What a Pro Actually Checks on a Compatibility Visit
- Why the “Just Buy It and See” Approach Backfires
- Sources
- FAQ
- Recommended
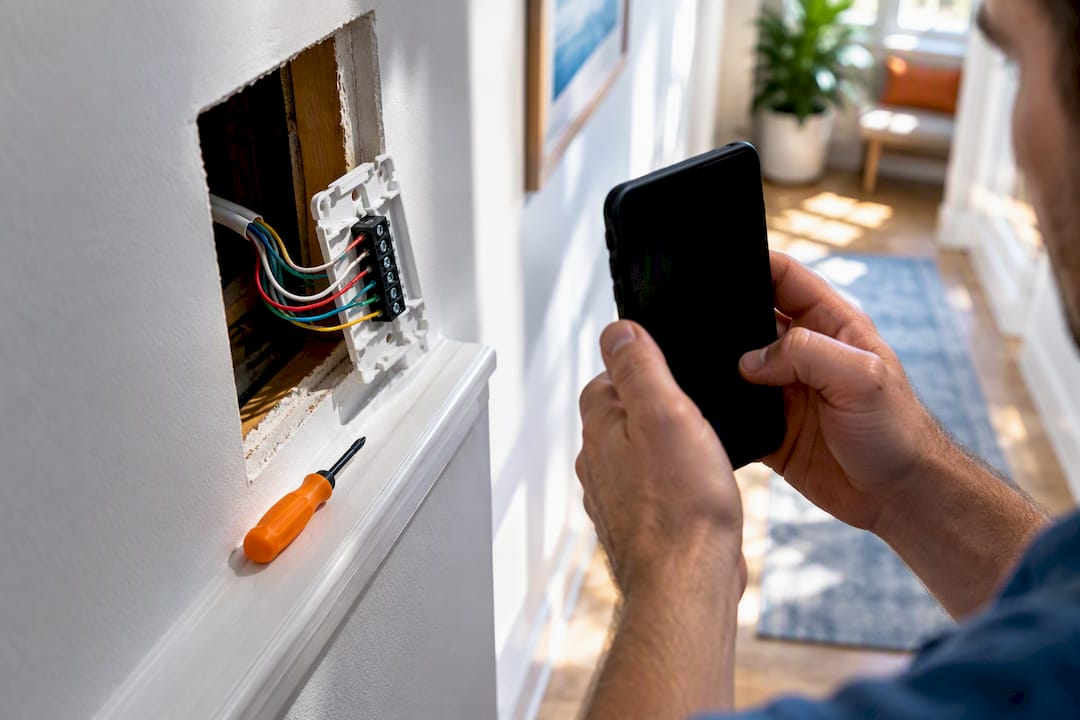
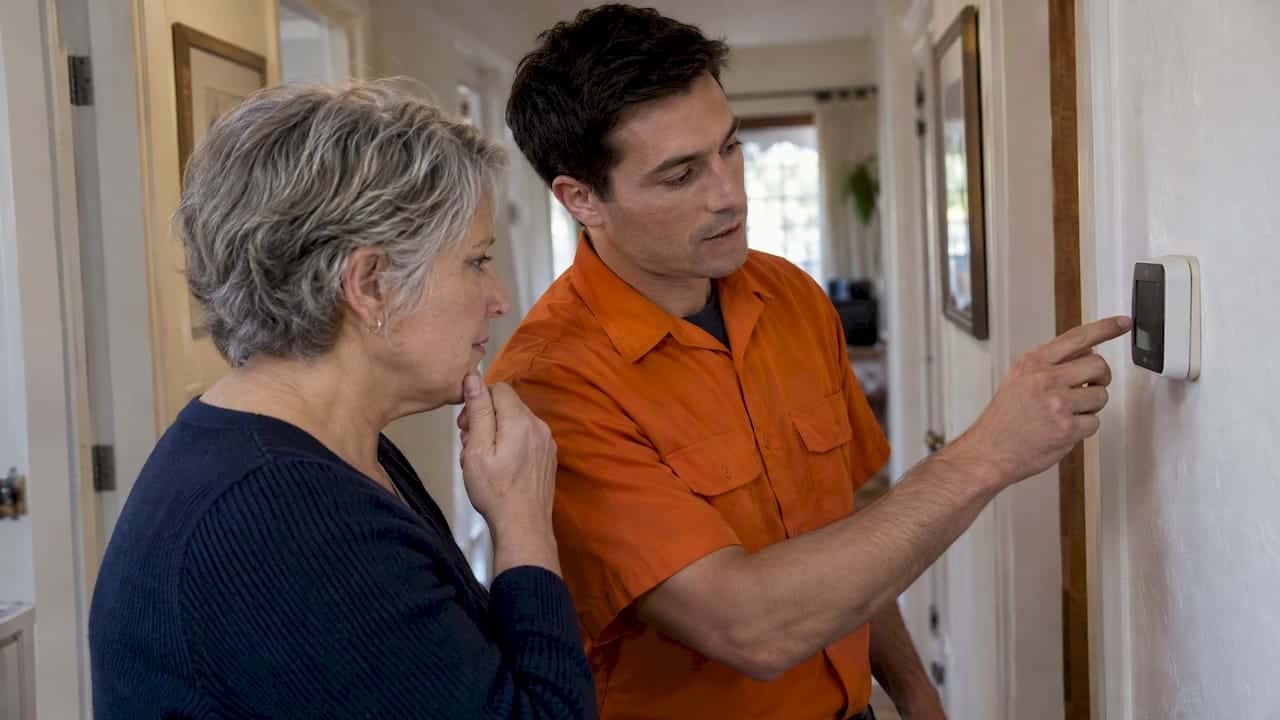
Most 24-volt forced-air and heat-pump systems work fine with a smart thermostat. The real blockers are line-voltage baseboard heat, proprietary control boards, and a missing common wire (the “C-wire”) that leaves the thermostat without steady power. Before you buy anything, snap a clear photo of your current wiring and run it through a manufacturer’s compatibility checker, or use the wiring checklist below.
TL;DR:
- Most standard 24-volt systems are compatible with smart thermostats if they have a common wire (C-wire) and standard wiring configurations; high-voltage and proprietary control systems usually require professional setup.
- Checking wiring involves photographing terminal labels and wire types, with red flags like thick wires or high-voltage labels indicating incompatible or complex systems beyond DIY scope.
- Missing C-wires can often be remedied using power accessories like the Nest Power Connector or ecobee’s Power Extender Kit, which borrow power from existing wires without new wiring.
- Heat pumps, dual-fuel setups, and zoned homes need careful wiring checks and professional configuration to avoid mode errors and other issues; ductless mini-splits generally require specialized controllers.
- Treat compatibility checkers as initial guides; voltage under load and transformer capacity are critical, and persistent low-power errors or unfamiliar wiring should trigger professional diagnostics.
How to Check Your Smart Thermostat Compatibility Before You Buy
You don’t need an electrician’s license to gather the information a compatibility checker or an HVAC tech will ask for. You just need ten minutes, your phone, and the breaker panel.
- Shut off power to your HVAC system at the breaker or the furnace’s disconnect switch, then confirm the thermostat screen is dark before touching anything.
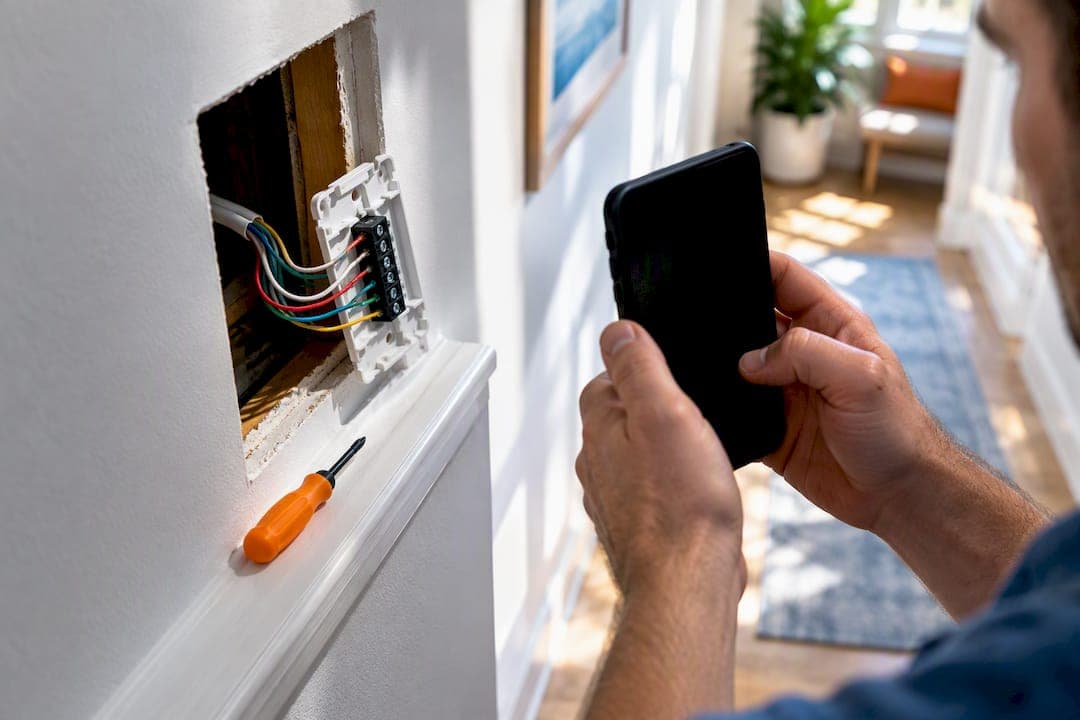
- Remove the faceplate carefully and photograph the wiring exactly as it sits, terminal labels included, before you disconnect a single wire.
- Read each terminal letter. You’re looking for R or Rc/Rh (power), C (common), W (heat), Y (cooling), G (fan), and O/B (heat pump reversing valve). Some systems add W2/Y2 for a second stage.
- Check the wire type and gauge. Solid-core wire is stiffer and holds its shape; stranded wire is more flexible. Most residential systems use 18 to 22 AWG thermostat wire, per Resideo’s wiring compatibility guidance.
- Look for red flags. Thick wires, labels like L1/L2, or anything marked 110V or 240V mean you’re looking at a line-voltage system, not standard low-voltage thermostat wiring. Labels like 1, 2, A, or B instead of the standard letters usually point to a proprietary control board.
Keep that labeled photo on your phone, along with a quick note of any symptoms you’ve noticed, low-battery warnings, a thermostat that keeps dropping Wi-Fi, or an HVAC system that doesn’t respond to schedule changes. If you already suspect a rewiring is coming, our guide on thermostat wiring tips walks through what a proper C-wire run involves.
Pro Tip: Photograph the wiring from two angles: straight on, and at a slight angle showing the wire path into the wall. Techs often catch a mislabeled terminal or a hidden splice in the second photo that the first one misses.
What Compatibility Checkers Ask For and How to Read the Results
Every major manufacturer’s compatibility checker runs on the same basic logic: tell it which terminals are occupied, and it tells you what your system can support. The Google Home compatibility checker and ecobee’s own tool both ask which wires you have, then map those wires against the features each thermostat model supports, like multi-stage heat or a heat pump’s O/B terminal.
You’ll typically land in one of four buckets:
- Compatible — your wiring matches standard 24V configuration with a C-wire present.
- Compatible with an adapter — you have everything except steady power, and a Power Extender Kit or similar accessory solves it.
- Professional install recommended — the checker sees multi-stage, zoned, or dual-fuel wiring that needs expert configuration.
- Not compatible — line-voltage, millivolt, or proprietary signals are present.
If a checker flags high-voltage wiring or a proprietary label it can’t identify, stop there. Nest’s own compatibility spec explicitly routes multi-transformer and zoned setups toward professional installation rather than a DIY attempt, and that’s good advice to follow even if you’re handy.
The C-Wire Explained: Why Power Is the Real Compatibility Test
The C-wire, short for “common,” completes the circuit that gives your thermostat continuous 24-volt power. Older mechanical thermostats didn’t need it because they ran on a tiny battery and simply opened or closed a switch. Smart thermostats run a screen, a Wi-Fi radio, and a small computer, and that draws more power than a battery can reliably sustain.
Watch for these symptoms if you already have a smart thermostat installed and suspect a power problem:
- Frequent “low power” or “check wiring” error messages
- Random reboots or a blank screen that flickers back on
- Wi-Fi that drops repeatedly even with a strong home network signal
If you don’t have a spare wire, you have real options short of tearing into drywall. Both Google Nest and ecobee ship power accessories, the Nest Power Connector and ecobee’s Power Extender Kit, that borrow power from an unused wire rather than requiring a brand-new run. According to ecobee’s own compatibility documentation, the PEK resolves the missing-C-wire problem in most single-furnace and single-air-handler homes without any new wiring at all.
If your system genuinely has no spare conductor, the remaining options are running a new low-voltage wire through the wall (a job most homeowners hand off to a pro) or, for legacy high-voltage systems, installing a step-down transformer. A straightforward C-wire add typically runs one to three hours of labor. Anything involving a transformer swap or wall fishing takes longer and costs more, which is exactly the kind of job where a flat-rate quote upfront protects you from surprise charges.
Systems That Need Special Handling
Not every HVAC setup fits the standard wiring picture, and knowing which category yours falls into saves you from buying the wrong thermostat entirely.
- Heat pumps and dual-fuel systems rely on the O/B terminal to control the reversing valve, plus an AUX terminal for backup heat. Getting this wrong can trigger the wrong mode at the wrong outdoor temperature, so professional setup is worth the cost here, according to Nest’s pro install guide.
- Zoned homes often need either one smart thermostat per zone or wiring routed through a central zone control board, which a standard compatibility checker won’t fully evaluate on its own.
- Ductless mini-splits almost always require a manufacturer-specific controller or an infrared bridge accessory rather than a standard wall thermostat, since they don’t use conventional R/C/W/Y wiring at all.
- Line-voltage baseboard heat and millivolt systems aren’t compatible with standard low-voltage smart thermostats. You need a dedicated line-voltage smart thermostat or a transformer conversion, and industry guidance from Goodman’s HVAC learning center is clear that this isn’t a DIY wiring project.
- Proprietary control boards labeled with numbers or A/B codes instead of standard letters often can’t be adapted safely. Check with the equipment manufacturer or a qualified HVAC pro before assuming any smart thermostat will work.
Troubleshooting First, Then Knowing When to Call a Pro
A few checks take five minutes and solve a surprising number of “incompatible” thermostat problems.
- Confirm the breaker feeding your furnace or air handler hasn’t tripped.
- Power down, reseat every wire firmly into its terminal, and power back up.
- Run the thermostat’s built-in power test if the app offers one.
- Inspect wire ends for corrosion or a loose crimp, especially in older homes.
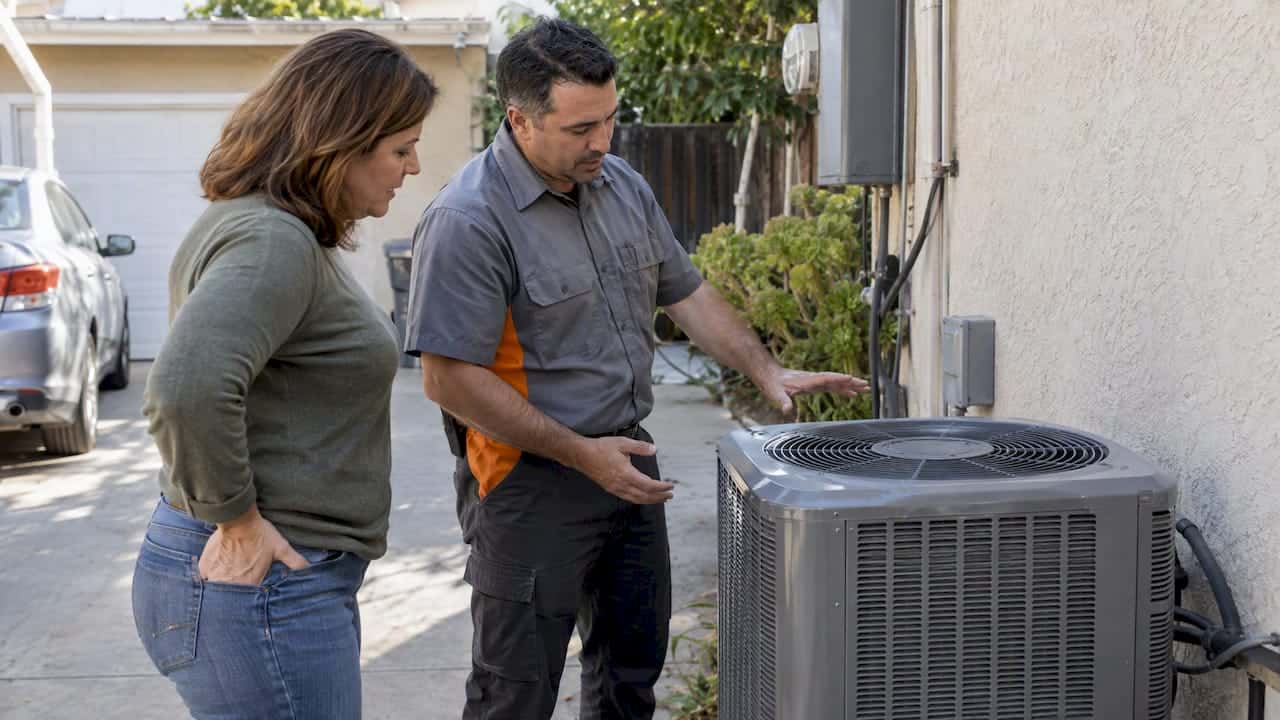
If those checks don’t clear the error, or if you’re staring at unfamiliar terminal labels, thick high-voltage wiring, or a zone control board with multiple transformers, stop troubleshooting and call a professional. Persistent low-power warnings after a basic reseat almost always point to a wiring issue beyond a quick fix, a pattern confirmed by field reports on common compatibility failures.
A typical service visit runs one to three hours and covers wiring diagnosis, a control-board check, and installing whatever power accessory your system needs. Our common wiring mistakes guide covers a few of the errors we see most often on service calls.
Pro Tip: If your thermostat worked fine for months and suddenly started throwing power errors, check for a recent HVAC repair first. A newly replaced control board or transformer sometimes changes the available current even when the wiring itself hasn’t moved.
What a Pro Actually Checks on a Compatibility Visit
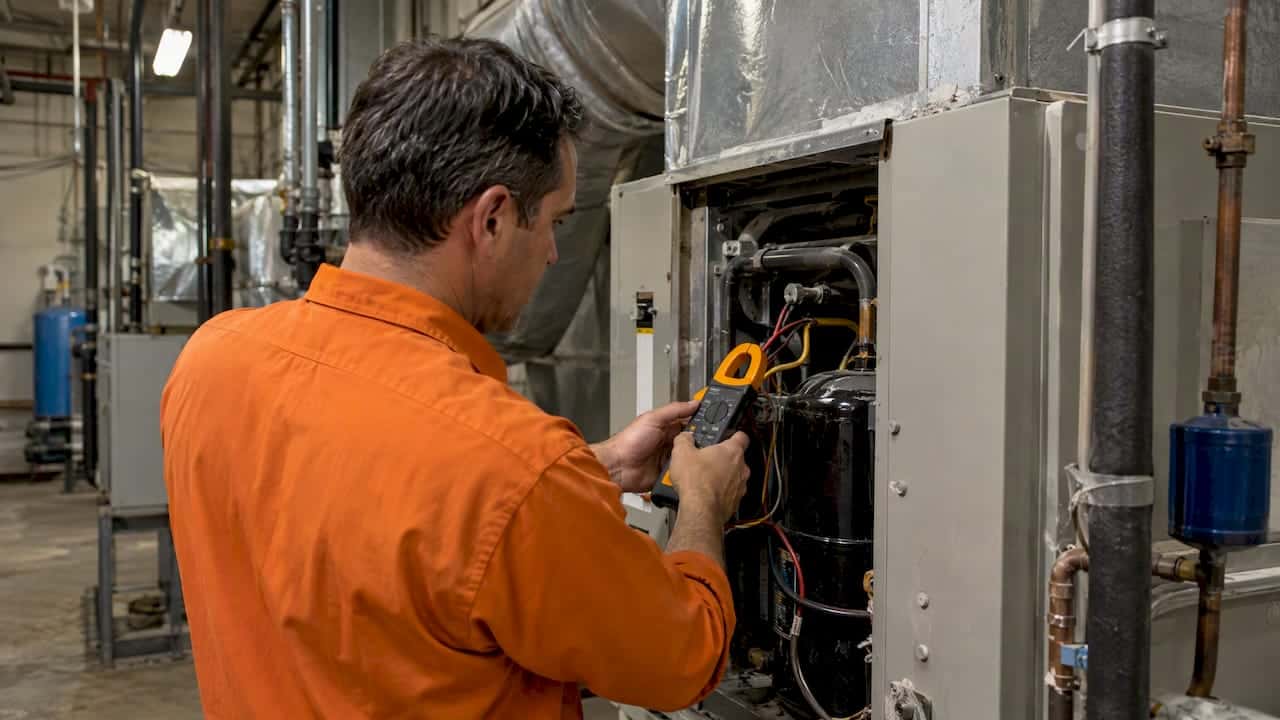
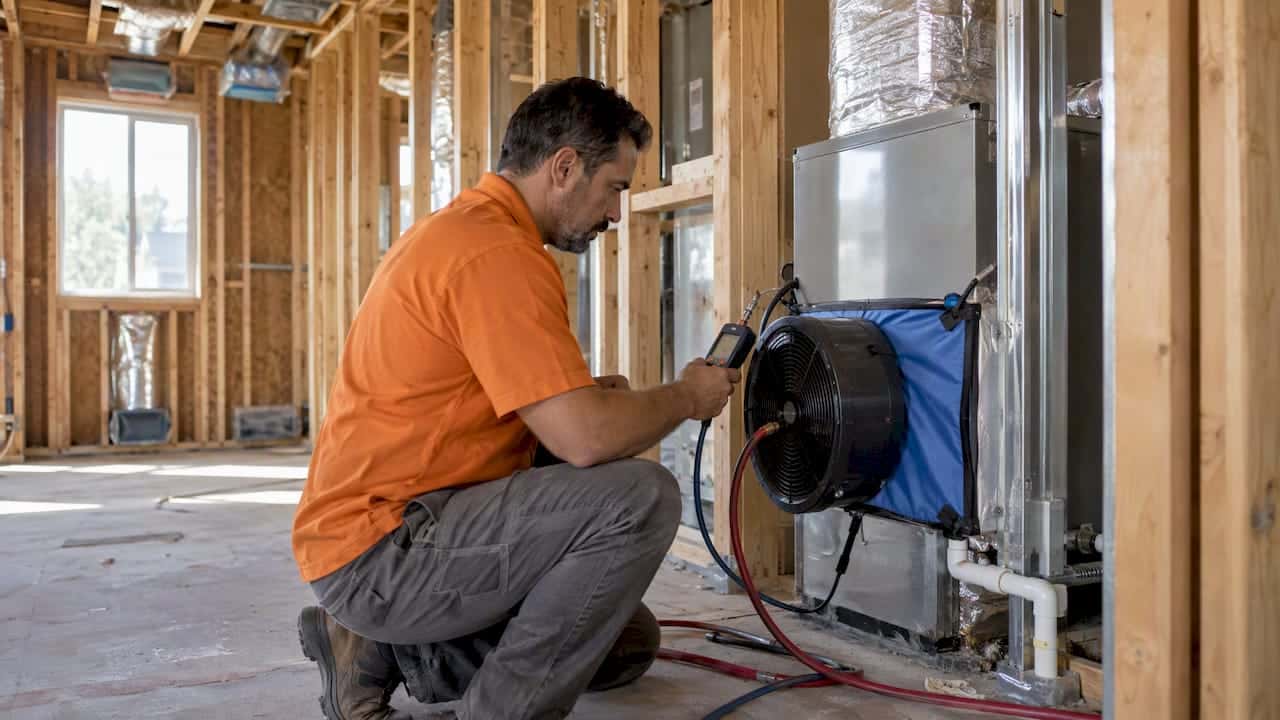
When one of our technicians arrives for a thermostat compatibility visit, the process follows a consistent sequence: review your wiring photos, inspect the control board directly, test transformer voltage under load, verify every terminal against the manufacturer’s wiring diagram, and check any zone panels tied into the system. That voltage-under-load test matters more than most homeowners realize, since a transformer can read fine at rest and still sag once the blower motor kicks on.

We’ve run new C-wires through finished walls, installed Power Extender Kits and proprietary power connectors, swapped out failing transformers in homes with decades-old high-voltage systems, and configured dual-fuel controls so the heat pump and gas backup hand off correctly. If you’re preparing for a visit, have your equipment’s model numbers, your wiring photos, and a written list of symptoms ready. It cuts diagnostic time significantly and helps us quote you a flat rate before any work starts. Book a service call if you’d rather skip the guesswork, or ask about our heat pump installation work if a compatibility check reveals your current heat pump setup needs an upgrade rather than just a thermostat swap.
Why the “Just Buy It and See” Approach Backfires
The biggest mistake I see homeowners make isn’t skipping the wiring check, it’s trusting a compatibility checker’s green checkmark as the final word. These tools are built to filter out the easy cases, not to certify every install as DIY-safe. A checker can tell you the terminals present match a supported configuration; it can’t tell you whether your transformer will hold voltage once the blower motor kicks on, or whether that “spare” wire behind your wall is actually spare.
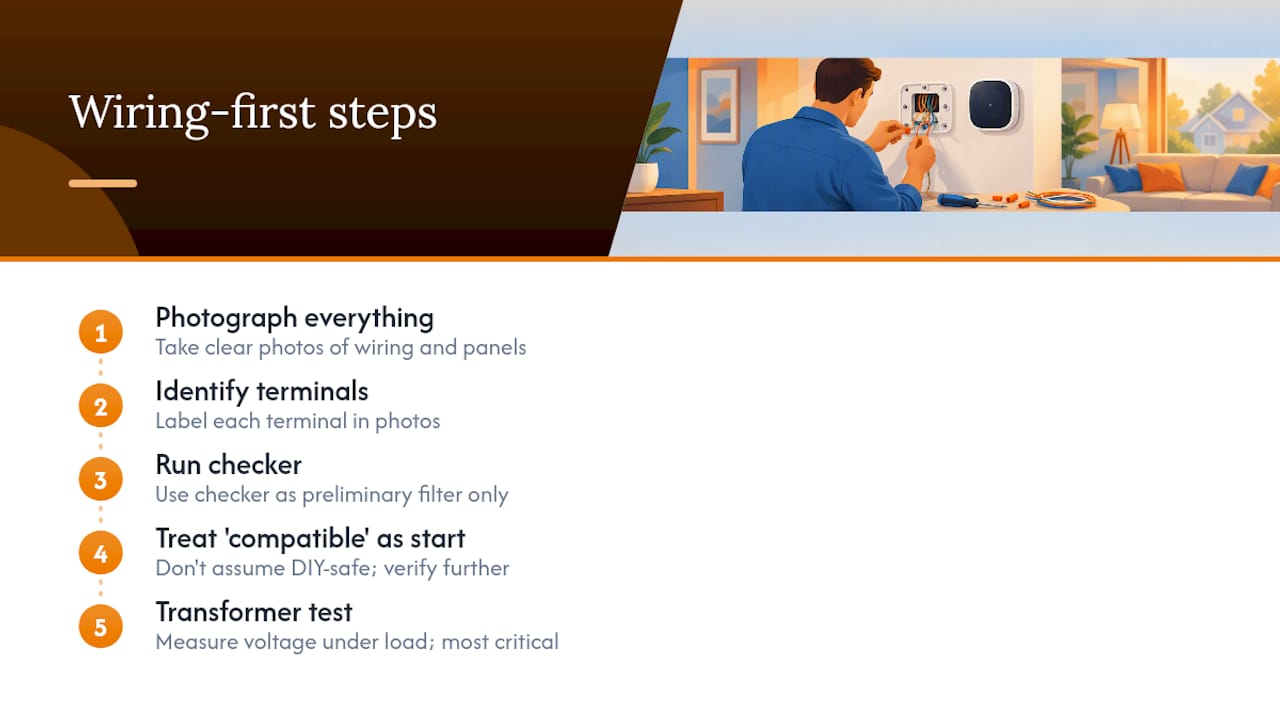
That gap matters most on the systems homeowners are least equipped to judge on their own: heat pumps, dual-fuel setups, and anything with a zone board. These aren’t places to save an hour of labor cost by guessing. The wiring-first approach in this guide, photograph everything, identify your terminals, run the checker, then treat “compatible” as a starting point rather than a guarantee, is the difference between a fifteen-minute install and a return visit two weeks later to fix low-power errors nobody diagnosed the first time.
If there’s one thing worth prioritizing above all else, it’s the transformer test. Everything else on this list is something a homeowner can reasonably assess. Voltage under load isn’t.
— Leo
Sources
- Nest thermostat compatibility - Google Home and Nest Help
- What types of HVAC systems are ecobee thermostats compatible with
- Everything you need to know about a C-wire - Honeywell Home support
- Nest Thermostat Pro Install Guide (Q1 2026)
FAQ
Can You Put a Smart Thermostat on Any Thermostat System?
No. Smart thermostats are built for standard 24-volt low-voltage systems, which cover most forced-air furnaces, air handlers, and heat pumps. Line-voltage baseboard heat, millivolt systems, and proprietary control boards typically need a different device class or a professional conversion.
What Are the Downsides of Using a Smart Thermostat?
The main downside is the power requirement: without a C-wire or a power accessory like a Power Extender Kit, smart thermostats can throw low-power errors, reboot randomly, or lose Wi-Fi connectivity. Complex systems like zoned homes or dual-fuel heat pumps also often need professional setup rather than a simple swap.
Do Smart Thermostats Work With Any HVAC System?
Most 24V forced-air and heat-pump systems are compatible, according to Nest’s compatibility documentation and ecobee’s system compatibility list. Line-voltage, millivolt, and proprietary controller systems generally are not compatible with standard smart thermostats.
What Does It Mean if My Thermostat Isn’t Compatible With My Wiring?
An “incompatible” result usually means one of two things: your system lacks a common wire for steady power, or your wiring uses a proprietary or high-voltage configuration the thermostat wasn’t designed for. A C-wire adapter solves the first case in most homes; the second usually calls for a professional evaluation.
Recommended
Leo, Owner & Lead Technician at LC Heating & Air
Leo leads LC Heating & Air as an owner-operator and holds California CSLB C-20 HVAC license #1073586. His guides focus on practical diagnostics, safe repair decisions, and clear advice for Los Angeles homeowners.