- Mini Split Not Cooling? Homeowners’ 5-Minute Fixes and When to Call
- Five-Minute Homeowner Checklist for a Mini Split Not Cooling
- What’s Actually Causing Your Mini Split To Blow Warm Air?
- If You See Ice: How To Stop, Thaw, and Protect the System
- Safe DIY Cleaning Steps That Fix Most Cooling Problems
- Power Checks and Safe Reset Steps
- When To Call a Licensed HVAC Technician
- Maintenance Schedule That Prevents Most Cooling Failures
- Who’s Behind This Guide
- Why the “Just Call Someone” Advice Misses the Point
- Get a Straight Answer From a Licensed Technician Today
- Sources
- FAQ
- Recommended
Mini Split Not Cooling? Homeowners’ 5-Minute Fixes and When to Call

Most of the time, a mini split not cooling comes down to two things: the wrong mode or setpoint, or restricted airflow from a dirty filter or a blocked outdoor unit. Run through a five-minute check before you touch anything else. But if you see ice on the indoor coil, hear hissing or bubbling, or notice the outdoor compressor isn’t running at all, stop immediately and call a licensed technician. Pushing a struggling system can turn a cheap fix into a compressor replacement.
TL;DR:
- Restricted airflow from dirty filters or outdoor debris causes the majority of mini split cooling failures; regular cleaning can prevent most issues.
- Ice buildup on the indoor coil signals airflow problems or refrigerant leaks, which require immediate system shutdown and professional assessment.
- Electrical faults or compressor failures often mimic “not cooling” symptoms and need diagnosis by a licensed technician, especially if breakers trip repeatedly.
- Properly resetting the system involves a power cycle at the breaker; repeated trips indicate underlying electrical or refrigerant problems.
- Routine maintenance, including annual tune-ups and ensuring clear outdoor units, can significantly reduce the risk of system failures and poor cooling performance.
Five-Minute Homeowner Checklist for a Mini Split Not Cooling
Before you assume the worst, work through this list. It takes less time than a coffee break, and it resolves the majority of “not cooling” calls without a tool in your hand.
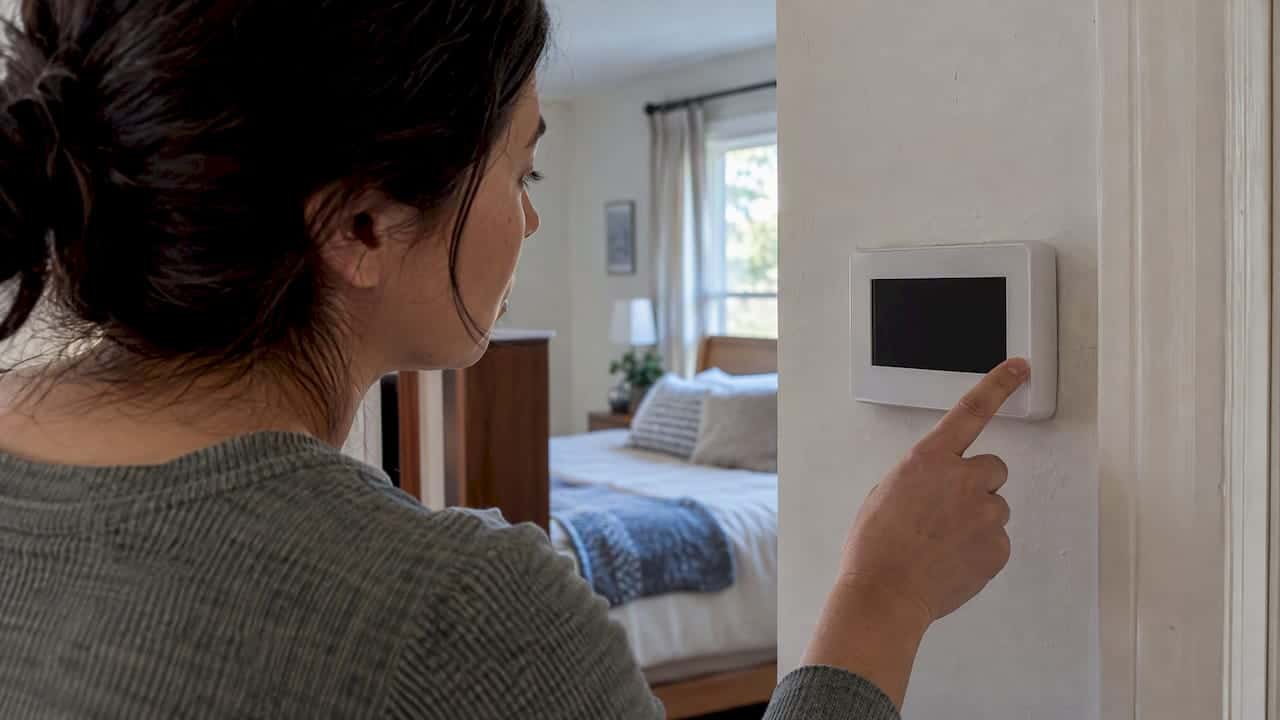
- Check the mode and setpoint. Grab the remote and confirm it’s set to Cool, not Fan or Dry, and that the temperature is set at least a few degrees below the current room temperature. This single step resolves a surprising share of service calls on its own.
- Pull the indoor filters. Slide out the mesh filters behind the front panel, rinse them under lukewarm water, shake off the excess, and let them air-dry fully before reinstalling.
- Look at the outdoor unit. Walk outside and clear leaves, mulch, or debris from around the condenser. You want the fan spinning freely and no visible obstruction pressed against the coil.
- Check the breaker and outdoor disconnect. If either has tripped, reset it once. If it trips again, stop resetting it.
- Listen closely. If you hear hissing, bubbling, or gurgling near the lines, do not run the unit. That sound usually points to refrigerant escaping, and it’s not a DIY fix.
If those five checks don’t restore cooling within about 30 minutes, you’re likely dealing with something mechanical or electrical rather than a settings issue, and it’s time to look deeper or call for help.
What’s Actually Causing Your Mini Split To Blow Warm Air?
Once the quick checks are out of the way, the real diagnostic work starts. Here’s what tends to be behind a mini split blowing warm air, ranked roughly by how often it shows up.
Wrong mode or setpoint is the simplest explanation and the easiest to overlook, especially if someone else in the house grabbed the remote and switched modes without telling you. Fix: set Cool mode, drop the temperature, wait ten minutes.
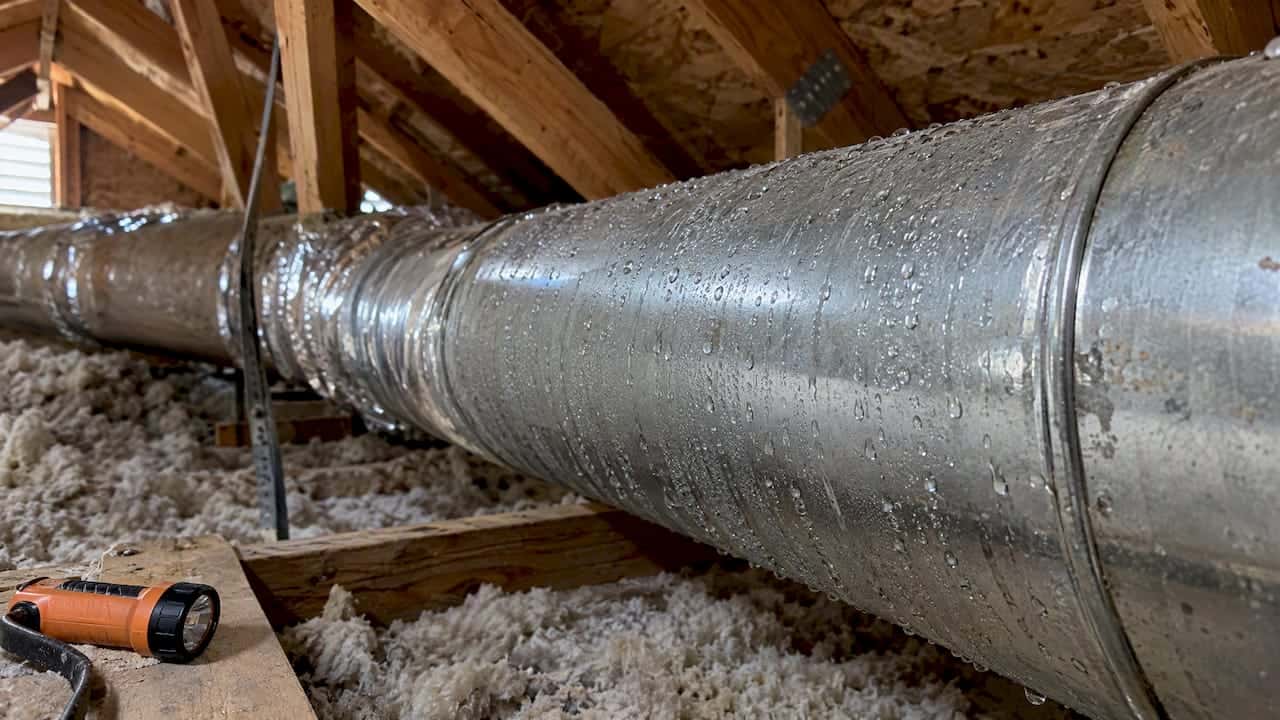
Clogged filters and restricted airflow rank as the single most common reason a mini split stops cooling properly. A dirty filter chokes airflow across the indoor coil, which drops the coil’s temperature low enough to freeze condensation into ice. Once that ice builds, cooling drops even further. It’s a feedback loop that starts with something as simple as dust.
A blocked or dirty outdoor condenser struggles to reject heat, and a unit that can’t dump heat outside can’t pull heat out of your room either. Watch for:
- Leaves, cottonwood fluff, or mulch packed against the coil fins
- Furniture, storage bins, or a fence panel crowding the unit
- Visible dirt or grime coating the fins themselves
Outdoor units need 18 to 24 inches of clear space on all sides to breathe properly. Anything closer forces the compressor to work harder for less output.
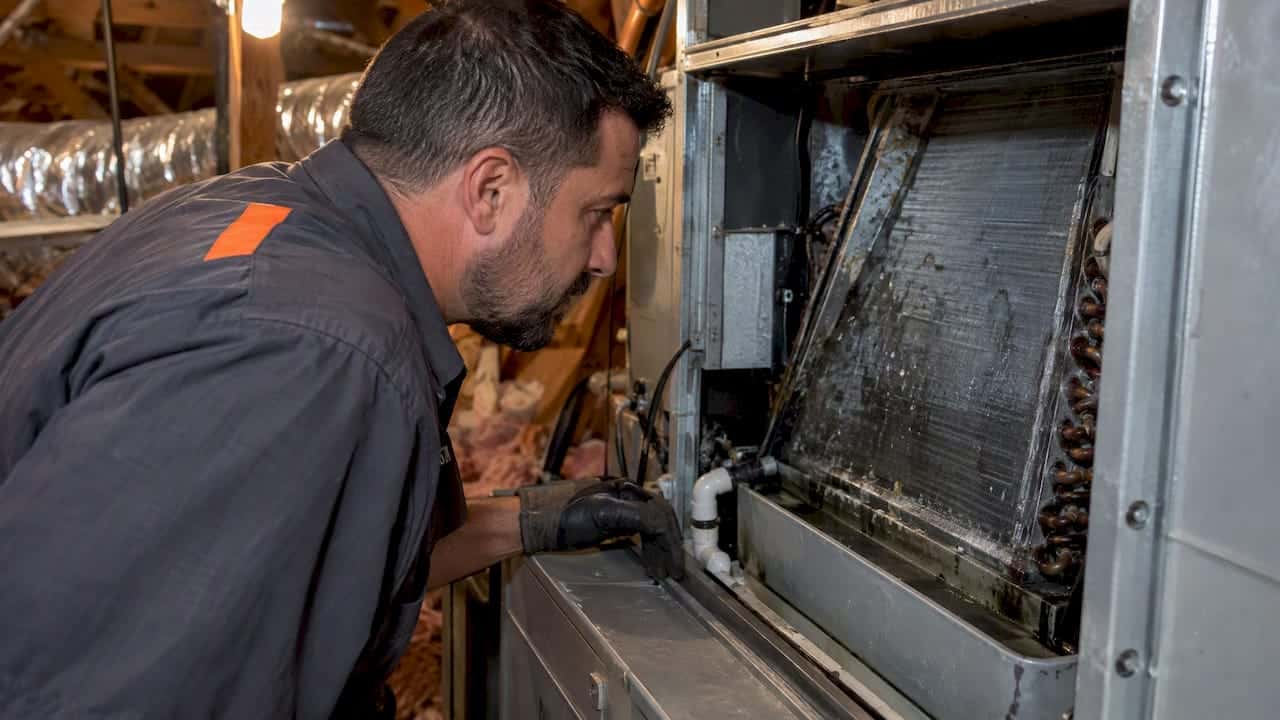
A frozen evaporator coil is almost always a symptom, not the root cause. It shows up after airflow gets restricted or refrigerant runs low, and once ice forms, it blocks even more airflow, making the whole problem worse. You’ll usually spot frost or a visible ice sheet on the indoor unit’s coil when you remove the front cover.
Low refrigerant is a different animal entirely, and it’s where DIY troubleshooting has to end. A mini split runs on a sealed refrigerant charge that shouldn’t drop over time unless there’s a leak somewhere in the lines or coil. Signs include ice on the indoor coil or outdoor line set, unusually long run times without the room actually cooling, and that hissing sound mentioned earlier. Refrigerant work isn’t optional DIY territory. Federal rules require an EPA Section 608-certified technician to handle it, and simply adding refrigerant without fixing the leak is both illegal and pointless. It’ll just leak out again.
Electrical faults and compressor failure round out the list. A failing capacitor, a bad contactor, or a compressor on its way out can all mimic a “not cooling” complaint even when airflow and refrigerant are fine. If the outdoor unit is silent, or the fan spins but you hear no compressor hum at all, that’s an electrical or mechanical issue beyond a filter rinse.
If You See Ice: How To Stop, Thaw, and Protect the System
Ice on the coil means stop, not push through. Running a frozen unit risks damaging the compressor, and that repair costs a lot more than a filter change.
- Turn the system off, or switch it to Fan-only mode, so the ice can melt naturally. This can take anywhere from 30 minutes to a few hours depending on how much ice built up.
- Never use a heat gun or a hairdryer on high heat to speed things along. Rapid, uneven heating can crack the coil fins or damage nearby wiring.
- Once the coil is fully thawed and dry, clean or replace the filters, then restart the unit normally.
Pro Tip: If ice comes back within a day or two of thawing, don’t repeat the cycle. Recurring freezing almost always signals a refrigerant leak or a failing part underneath, and every thaw-and-run cycle you attempt puts more strain on a compressor that’s already struggling.
Safe DIY Cleaning Steps That Fix Most Cooling Problems
A little routine cleaning solves more mini split problems than people expect, and none of it requires special tools.
- Remove and rinse the indoor filters. Slide them out from behind the front panel, rinse under lukewarm running water, and let them air-dry completely before sliding them back in. Depending on your household (pets, dust, wildfire smoke season), plan on doing this anywhere from every two weeks to every three months.
- Clear and rinse the outdoor coil. Remove leaves and debris by hand, then rinse the fins gently with a garden hose from the inside out. Skip the pressure washer entirely. It’s strong enough to bend the delicate aluminum fins and actually reduce airflow.
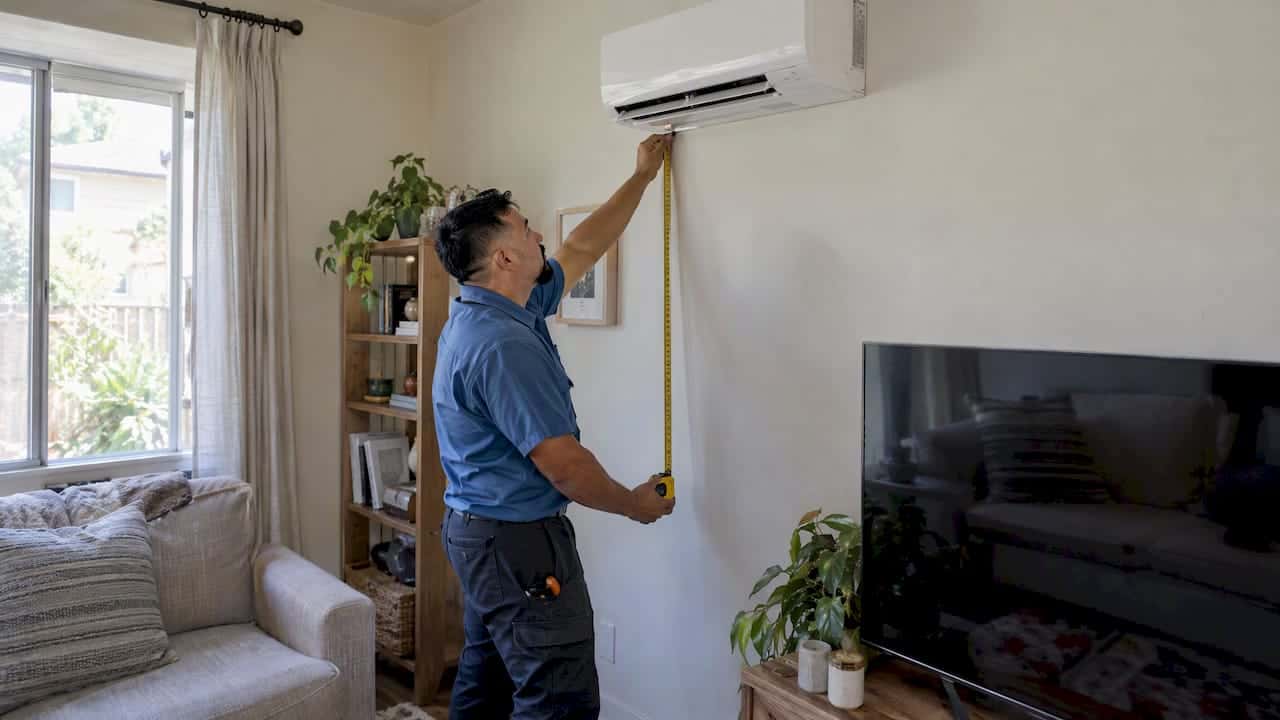
- Check the indoor unit’s surroundings. Make sure the louvers open and close freely, and confirm nothing (curtains, furniture, shelving) blocks airflow across the front of the unit.
- Glance at the condensate line. If you notice water dripping somewhere it shouldn’t, or no water draining at all during a cooling cycle, the line may be clogged. That’s worth a mention when you call a technician, even if it’s not causing the “not cooling” issue directly.
What you shouldn’t attempt yourself: opening the indoor unit’s housing to clean the blower wheel. That part sits close to sensitive electronics and refrigerant lines, and a wrong move there turns a $150 service call into a much bigger repair bill. If you want a broader walkthrough before deciding what’s safe to tackle, LC Heating and Air Conditioning’s guide on repairing a mini split yourself lays out those boundaries in more detail.
Power Checks and Safe Reset Steps
Before assuming anything electrical is seriously wrong, run through a clean power cycle.
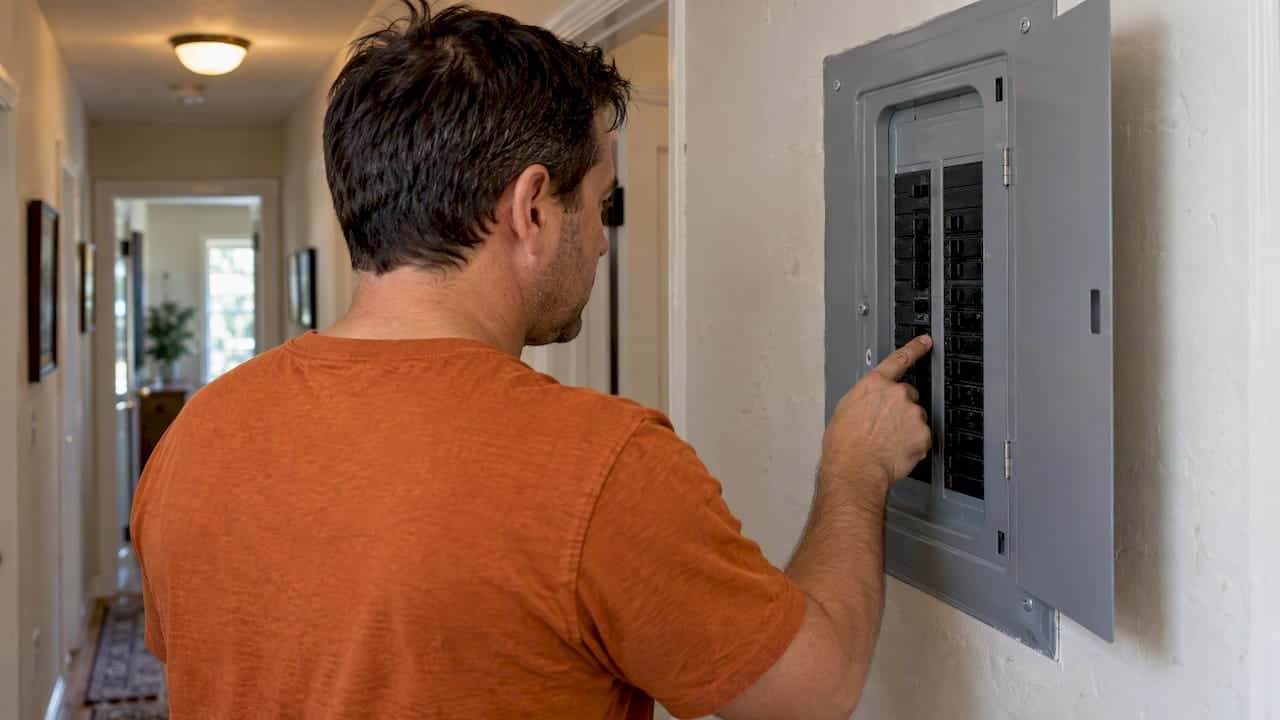
- Find the breaker panel and the outdoor disconnect box near the condenser.
- Turn the remote off, flip the breaker off for about 30 seconds, then turn it back on and wait roughly three minutes before restarting the system. That pause lets internal components reset properly instead of forcing a cold restart.
- If the breaker trips again right after resetting, or you smell anything burning near the indoor or outdoor unit, stop. That’s a job for a licensed electrician or HVAC technician, not another reset attempt.
When To Call a Licensed HVAC Technician
Some signs mean the five-minute checklist and basic cleaning have done all they can, and it’s time to bring in a professional.
- Hissing or bubbling sounds near the refrigerant lines
- Ice that keeps coming back after a full thaw
- An outdoor compressor that won’t run even though the fan spins
- Breakers that trip repeatedly after a single reset
- Any burning smell from either the indoor or outdoor unit
- No improvement at all after completing the full five-minute check and a basic filter clean
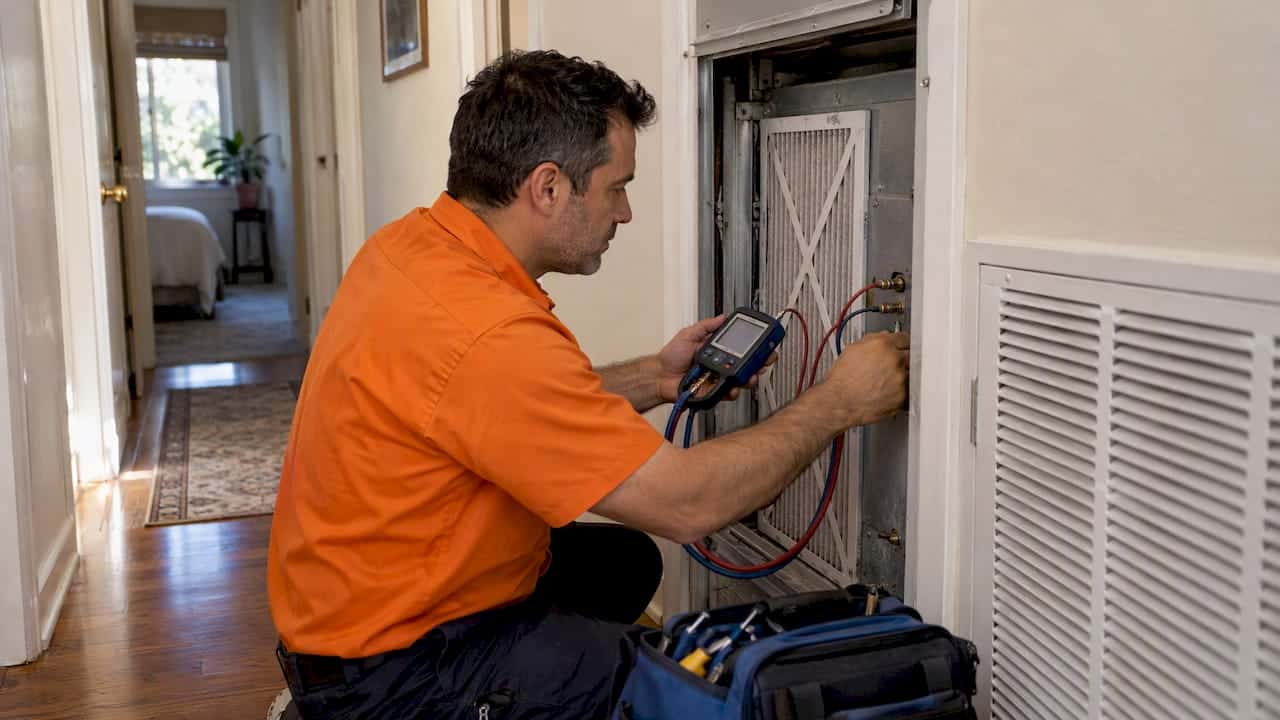
A proper diagnostic visit typically covers refrigerant pressure readings, supply air temperature measurements, electrical testing, and pulling any stored error codes from the unit’s control board. Most of that work takes about 45 to 75 minutes for an experienced technician. Refrigerant repairs specifically require an EPA Section 608-certified technician by law, so if a leak is suspected, that’s not a corner anyone can legally cut. For a deeper look at what refrigerant leak repair actually involves, LC Heating and Air Conditioning’s guide to AC refrigerant leak repair covers the process and current rules.
Maintenance Schedule That Prevents Most Cooling Failures
A little routine upkeep keeps most of these problems from happening in the first place.
- Clean filters regularly. Regularly, depending on your household’s dust, pets, and system usage.
- Schedule a professional tune-up annually. Cooling-only systems need one visit per year; heat pumps that run in both heating and cooling seasons benefit from two.
- Keep the outdoor unit clear. Maintain that 18 to 24 inch buffer around the condenser year-round, not just when you notice a problem.
- Check the condensate line each season. A slow drip or standing water near the indoor unit is an early warning sign worth catching before it becomes a bigger issue.
- Confirm remote settings before each cooling season. A setting left on Dry or Fan from last winter is an easy thing to miss.
For a broader home cooling troubleshooting walkthrough that goes beyond mini splits specifically, LC Heating and Air Conditioning’s guide to diagnosing AC that won’t cool is worth bookmarking.
Who’s Behind This Guide
This guide comes from LC Heating and Air Conditioning, a Los Angeles HVAC company built on over twenty years of hands-on local experience with everything from historic home systems to modern multi-zone heat pumps. Leo, the company’s owner, wrote this piece drawing on that field experience with mini split diagnostics across Los Angeles. LC Heating and Air Conditioning runs on flat-rate, honest diagnostics and same-day service, so homeowners get a straight answer instead of a surprise bill.

Why the “Just Call Someone” Advice Misses the Point
Most articles on this topic skip straight to “call a professional,” and that advice isn’t wrong, but it’s incomplete. The research on mini split failures is clear: airflow problems and settings mistakes cause the bulk of cooling complaints, and both are fixable in minutes without a service call. Sending every homeowner straight to a technician wastes their money and adds an unnecessary visit for something a filter rinse would have solved.

The conventional wisdom also undersells how much damage comes from running a struggling unit. Homeowners see reduced cooling and assume “it’s just working harder.” In reality, a system fighting restricted airflow or a refrigerant leak can silently overheat its compressor, and that’s the single most expensive part to replace in the whole system.
What actually matters is sequencing: try the settings and filter check first, respect the stop signs (ice, hissing, repeated breaker trips) without exception, and treat a diagnostic visit as a targeted step, not a last resort. That’s the flow that saves both money and equipment.
— Leo
Get a Straight Answer From a Licensed Technician Today
If you’ve run the checklist and your mini split still won’t cool, LC Heating and Air Conditioning offers something most HVAC companies in Los Angeles don’t: flat-rate, honest diagnostics with no surprise fees tacked on after the fact. Whether the issue turns out to be a refrigerant leak, a failing compressor, or something electrical, our technicians handle the diagnosis and repair with transparent pricing set before any work begins.

Booking is simple, by phone or online, and same-day service means you’re not sweating through a heat wave while waiting on a callback. At the appointment, expect a full diagnostic checklist covering refrigerant pressure, airflow, and electrical components, with clear pricing explained before any repair starts. If your system also needs a filter or part replacement, we handle that in the same visit whenever possible. Start with our ductless mini split repair services in Los Angeles to check availability, or head to our main service page to book a diagnostic visit now.
Sources
The safety and technical claims in this guide draw on EPA refrigerant safety guidance for refrigerant handling rules, along with manufacturer and industry troubleshooting resources covering common mini split failure points. These sources back the legal limits on refrigerant repair and the safe thawing steps outlined above.
FAQ
Why Is My Mini Split Blowing Air but Not Cooling?
The fan runs even when the compressor isn’t cooling properly, so airflow alone doesn’t mean the system is working. Check the mode and setpoint first, then look for a dirty filter or a blocked outdoor unit, since restricted airflow is a leading cause.
Why Did My Mini Split Suddenly Stop Cooling?
A sudden drop in cooling usually points to a tripped breaker, a settings change, or the start of ice buildup on the coil rather than a gradual mechanical failure. Run the five-minute checklist first; if there’s hissing or visible ice, stop the unit and call a licensed technician.
How Do I Reset My Mini Split Air Conditioner?
Turn the remote off, switch the breaker off for about 30 seconds, then turn it back on and wait roughly three minutes before restarting the unit. If the breaker trips again after this, don’t keep resetting it. Call an electrician or HVAC technician instead.
What Is the Average Lifespan of a Mini Split?
Most mini split systems lasts many years with regular filter cleaning and an annual professional tune-up. Neglected airflow and refrigerant issues, left unaddressed, tend to shorten that lifespan considerably by straining the compressor.
Recommended
Leo, Owner & Lead Technician at LC Heating & Air
Leo leads LC Heating & Air as an owner-operator and holds California CSLB C-20 HVAC license #1073586. His guides focus on practical diagnostics, safe repair decisions, and clear advice for Los Angeles homeowners.