- What Is an Indoor Air Quality Assessment?
- Practical Walk-Through Checklist for a Phase I Assessment
- What Do Common IAQ Tests Actually Measure?
- DIY Screening vs. Professional Testing: How to Decide
- Turning Test Results Into Action
- How to Improve Indoor Air Quality: Ventilation, Filtration, and Moisture Control
- When to Hire a Professional: Scope, Timeline, and Cost
- Field Lessons: What Technicians See on IAQ Service Calls
- Why the Standard IAQ Advice Falls Short
- Get a Professional IAQ Assessment From LC Heating and Air Conditioning
- Primary Sources and Further Reading
- Sources
- FAQ
- Recommended
Get an indoor air quality assessment now if you notice unexplained headaches, stuffy noses, or allergy flare-ups indoors, spot mold or recent water damage, smell something off, or plan major weatherization work. Start with a Phase I walkthrough and basic screening tools. Escalate to certified professional testing, following EPA and ASTM D7297 protocols, only when symptoms persist or results demand it.
TL;DR:
- A phased approach to indoor air quality assessment helps build a hypothesis before costly lab testing, saving money and increasing accuracy.
- Basic walkthroughs with a CO2 meter and moisture checks can identify ventilation issues, moisture sources, or HVAC problems within an hour.
- Professional testing is necessary when symptoms persist, mold exceeds small patches, or documentation is needed for legal or real estate reasons.
- Fixing source issues like leaks or duct disconnections is generally more effective and affordable than relying solely on air filtration devices.
- Follow-up testing should use the same method to verify that remediation actually improved indoor air quality.
What Is an Indoor Air Quality Assessment?
An indoor air quality assessment is a structured investigation, not a single test with a pass or fail number. The workflow that industrial hygienists and building scientists rely on, codified in ASTM D7297 and echoed in the University of California’s IAQ investigation protocol, moves through three phases. Skipping straight to sampling without this groundwork is the most common mistake homeowners and even some contractors make.
Here’s how the phases build on each other:
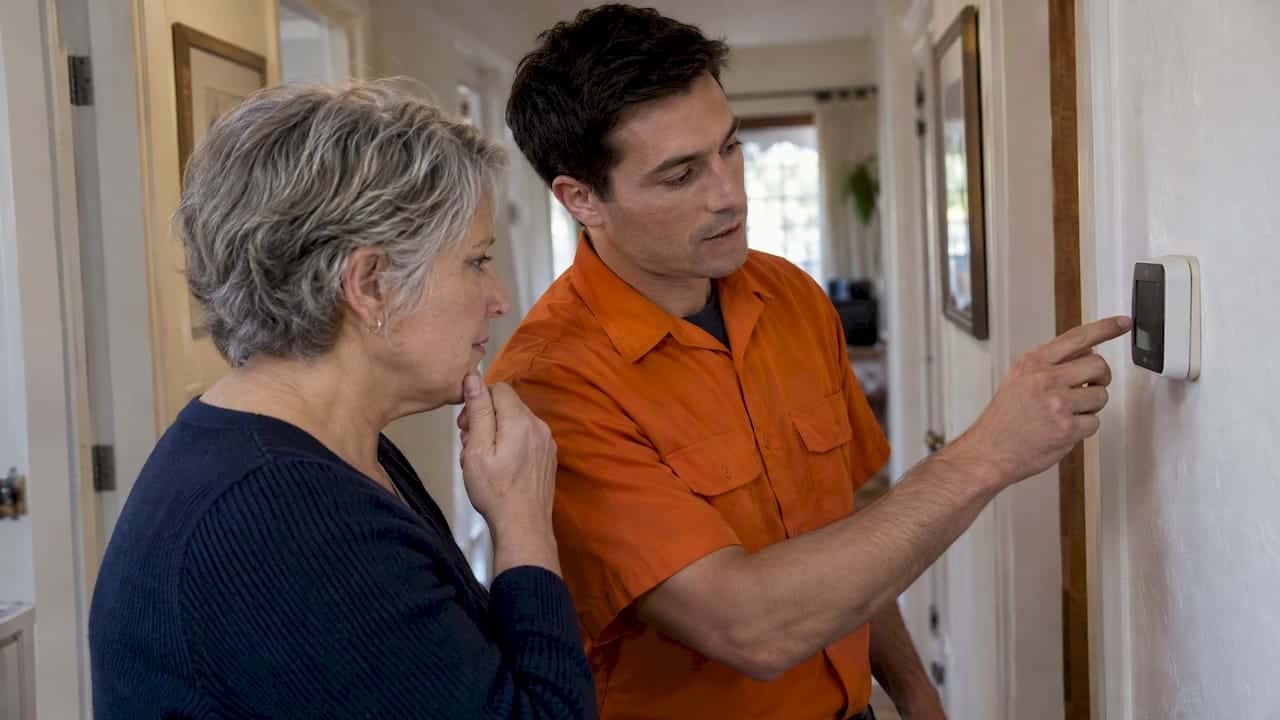
- Phase I: Complaint characterization and walkthrough. You or a technician interview occupants about symptoms, timing, and recent changes (new furniture, a leak, a renovation), then walk the property looking at HVAC equipment, visible moisture, ventilation paths, and combustion appliances. No instruments are strictly required yet. This phase generates a working hypothesis, such as “musty odor near the north wall likely traces to a slow plumbing leak.”
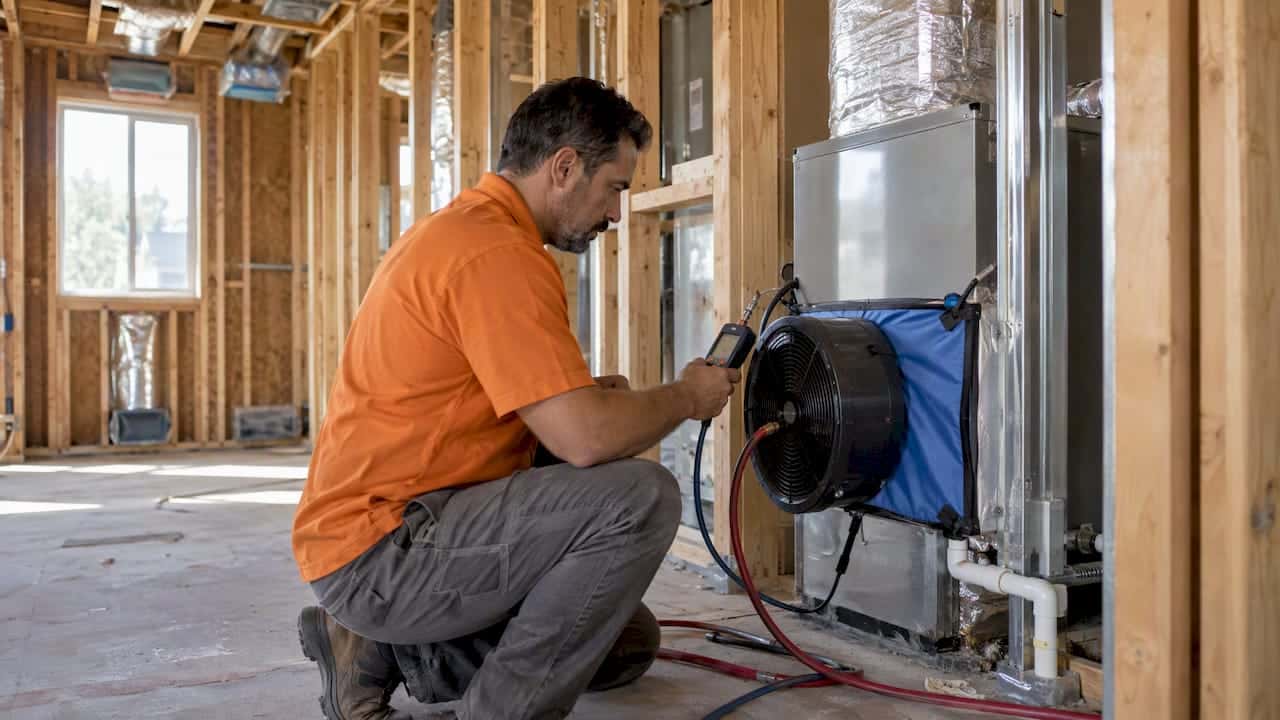
- Phase II: Semi-quantitative checks. Basic handheld instruments, a CO2 meter, a moisture meter, a temperature/humidity logger, test whether the Phase I hypothesis holds up. If the north wall reads 68% relative humidity against 45% elsewhere in the house, that supports the leak theory and tells you where to focus.
- Phase III: Quantitative sampling and lab analysis. Targeted air or surface samples go to an accredited lab for pollutants that need precise identification, such as mold species or specific VOCs. This phase matters most for legal disputes, real estate transactions, or post-remediation verification, where a documented, defensible number is required.
The reason this order matters: sampling without context produces numbers nobody can interpret. A single VOC reading means little if you don’t know whether the homeowner just painted a room or ran a new gas range. ASTM D7297 explicitly warns investigators not to expect perfect correlation between measurements and symptoms. Field technicians build a hypothesis first, test it cheaply in Phase II, then reserve expensive lab work for Phase III questions that actually need it. That sequencing saves homeowners money and prevents a false sense of certainty from an isolated data point.
If you’re evaluating a historic Los Angeles bungalow with an aging duct system versus a newer build with a multi-zone heat pump, the phases stay the same, but what you look for in the walkthrough changes. Older homes tend to reveal duct leakage and combustion venting issues; newer heat pump systems more often surface filtration and humidity control questions tied to equipment sizing.
Practical Walk-Through Checklist for a Phase I Assessment
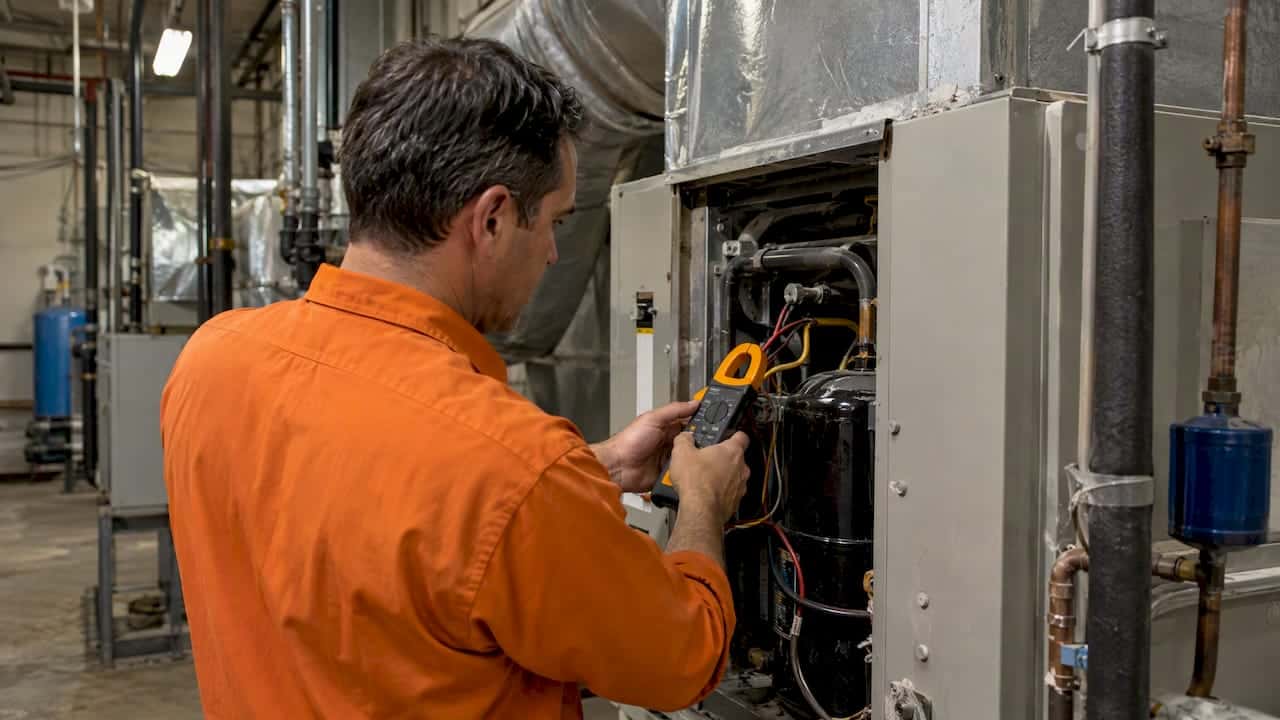
A Phase I walkthrough takes most homeowners under an hour and needs no special equipment beyond a flashlight and an affordable CO2 meter.
Work through these areas systematically:
- Ventilation: Check whether bathroom and kitchen exhaust fans actually vent outside (not just into the attic) and run them during and after showers or cooking. A sustained elevated CO2 reading in an occupied room signals inadequate fresh air exchange, a practical proxy technicians use during walkthroughs because it correlates with occupancy and ventilation rate.
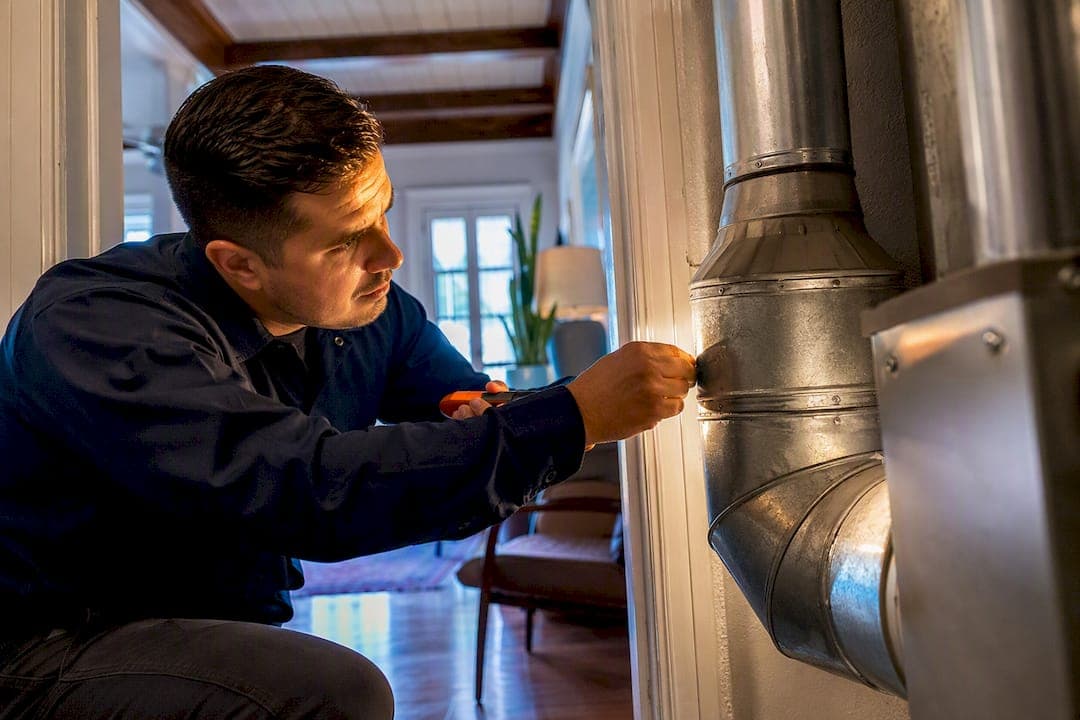
- HVAC system: Pull the filter and check for buildup, look at duct connections for gaps or disconnection, and inspect the condensate drain line for standing water or slow drips, a classic hidden mold source.
- Moisture: Look in the attic for roof leaks and inadequate insulation, in crawlspaces for standing water or ground moisture, and around window frames and exterior walls for staining or soft drywall.
- Combustion appliances: Confirm gas furnaces, water heaters, and stoves vent properly, and check that flue connections aren’t rusted, disconnected, or blocked.
- CO detectors: Verify every level of the home has a working carbon monoxide alarm, tested within the last six months, near sleeping areas.
- Occupant activity log: Note recent renovations, new furniture or flooring (both common formaldehyde sources), pest issues, or a pet added to the household.
A step-by-step HVAC inspection checklist can walk you through the equipment-specific items in more depth if your system is older or you’re unsure what you’re looking at.
Pro Tip: Take photos and jot down the date, time, and weather conditions during your walkthrough. If you end up calling a professional, that context turns a vague “it smells musty sometimes” into a documented pattern they can actually act on.
The EPA’s guidance on maintaining fuel-burning appliances and controlling indoor humidity below 50% lines up directly with this checklist, since many homes run under-ventilated compared with recommended standards.
What Do Common IAQ Tests Actually Measure?
Every indoor air test has a specific job and a specific blind spot. Knowing both keeps you from over-trusting a number that wasn’t designed to answer your question.
- Radon: Short-term kits (2 to 90 days) work fine for initial screening. The EPA recommends testing every house for radon, and if results land between 2 and 10 pCi/L, a long-term test of 90 days or more gives a far more reliable annual exposure estimate than a single short-term reading, since radon levels swing with weather, season, and even the time of day.
- Carbon monoxide: Spot checks with a handheld meter show a moment in time. Continuous CO alarms matter more because they catch dangerous spikes during equipment malfunction, not just steady-state background levels.
- Particulate matter (PM2.5): Consumer monitors vary widely in accuracy, and outdoor wildfire smoke can swamp indoor readings, making it hard to isolate indoor sources like cooking or candles without also tracking outdoor conditions for comparison.
- VOCs and formaldehyde: Sorbent tube sampling sent to a lab identifies specific compounds with real precision. Handheld PID meters give a fast total VOC number but can’t tell you which chemical you’re smelling, so a high reading tells you “something’s off” without telling you what.
- Mold and biological sampling: Air or surface sampling only makes sense alongside visual and moisture evidence. A lab report showing mold spore counts means little without knowing whether there’s an active moisture source feeding the growth.
A three-day CO2 elevation above typical outdoor background levels (roughly 400 ppm) inside an occupied bedroom is one of the clearest, cheapest early signals that mechanical ventilation isn’t keeping pace with occupancy, according to the UC investigation protocol.
None of these tests replace the phased investigation described earlier. They’re inputs to it. A radon number without knowing your foundation type, or a VOC reading without knowing what got painted last week, is data without a story.
DIY Screening vs. Professional Testing: How to Decide
DIY monitors and test kits earn their keep as a first pass, not a final answer. If you noticed a musty smell after a small leak, want ongoing tracking of humidity and particulates, or want a baseline reading before deciding whether to worry further, a consumer kit is a good starting tool. Choosing the right IAQ kit matters here since accuracy varies a lot between budget sensors and better-calibrated units.
Certain situations call for professional testing without much debate:
- Persistent health symptoms that don’t resolve after obvious fixes like improved ventilation or a clean filter.
- Visible mold covering more than roughly 10 square feet, or mold recurring after a previous cleanup.
- Real estate transactions, insurance claims, or landlord/tenant disputes where documented, defensible results matter legally.
- Complex HVAC or building science questions, like a multi-zone system with uneven comfort complaints across floors.
- Post-remediation verification, confirming a mold or contamination job actually worked.
The gap between DIY and professional testing comes down to calibration, chain-of-custody, and accreditation. A consumer monitor gives you a trend line; an accredited lab test gives you a defensible, documented result with species-level identification for biological samples, something no $50 sensor can do.
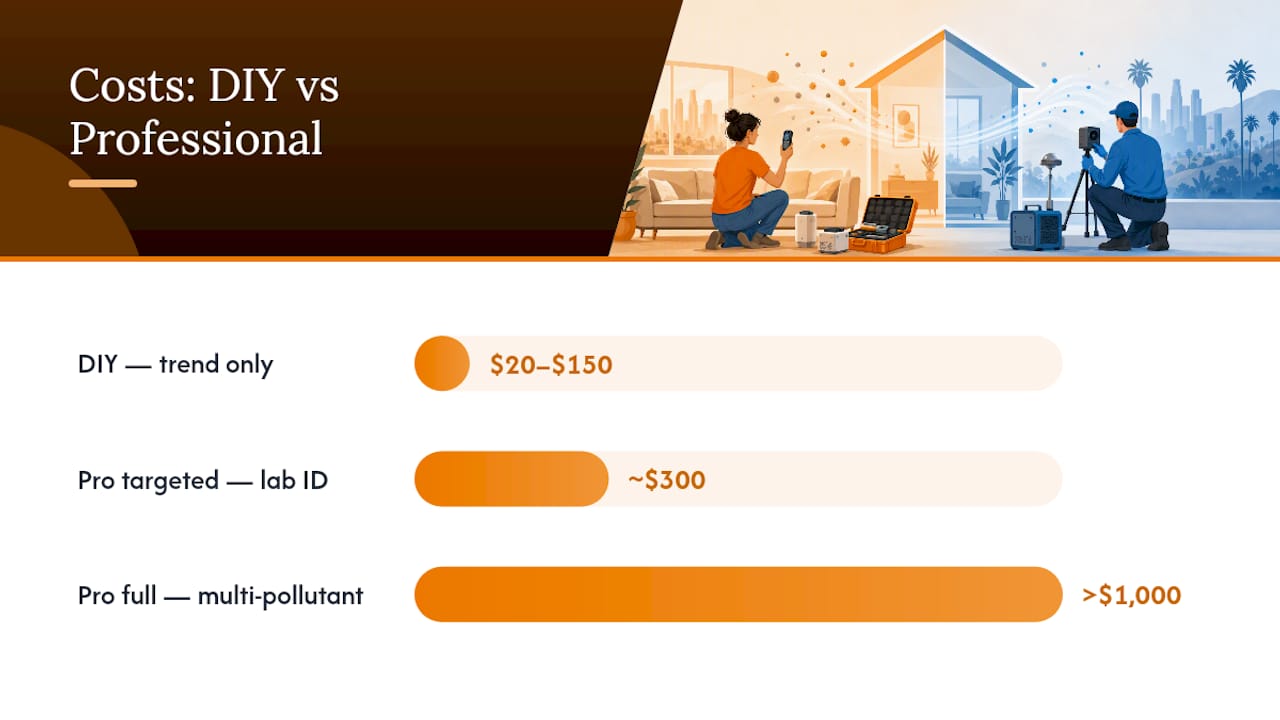
Cost is the other real tradeoff. Consumer kits run roughly $20 to $150. Professional targeted sampling for a specific pollutant typically runs several hundred dollars, and a full multi-pollutant professional assessment can run into four figures depending on scope and lab turnaround. Both DIY and professional tests carry false-positive and false-negative risk, an uncalibrated sensor can read high or low depending on humidity and temperature, and even lab samples can miss intermittent sources if timing is off. Neither approach is infallible, which is exactly why the phased method matters more than any single number.
Turning Test Results Into Action
A number on a report only matters if you know what to do with it. The priority order that experienced technicians use is simple: address immediate safety first, then chronic exposures, then comfort and efficiency.
- Immediate safety response. A CO alarm triggering, or spot CO readings above 35 ppm sustained, means evacuate and call your gas utility or fire department before anything else. This isn’t a wait-and-schedule-a-technician situation.
- Chronic exposure sources. Elevated radon, ongoing mold growth, or consistently high humidity need planned remediation, source control first, then ventilation improvements, on a timeline of days to weeks, not hours.
- Comfort and efficiency issues. Stuffy rooms, minor odor complaints, or slightly elevated VOCs after new furniture often resolve with better ventilation habits or filter upgrades and don’t require emergency action.
Source control beats ventilation alone in most cases. The EPA and Consumer Product Safety Commission both note that removing or reducing a pollutant source is usually more effective and cheaper than simply moving more air through the house. Fixing a leaking duct or servicing a poorly combusting furnace addresses the root cause; running a bigger exhaust fan just dilutes the problem.
Pro Tip: Whatever instrument or test method you use for your first assessment, use the exact same one for verification after a fix. Comparing a cheap sensor’s “before” reading to a lab’s “after” reading tells you nothing reliable, since the two tools rarely agree even measuring the same air.
Document everything: the original reading, the corrective action taken, and the verification reading using matched methodology. That record is what turns a repair into proof the problem is actually solved, which matters enormously if you ever sell the property or file an insurance claim.
How to Improve Indoor Air Quality: Ventilation, Filtration, and Moisture Control
Once you know what’s driving a problem, the fix usually falls into one of four categories: move more (clean) air, filter what’s already there, manage moisture, or make combustion appliances safer. Most homes need some combination of all four.
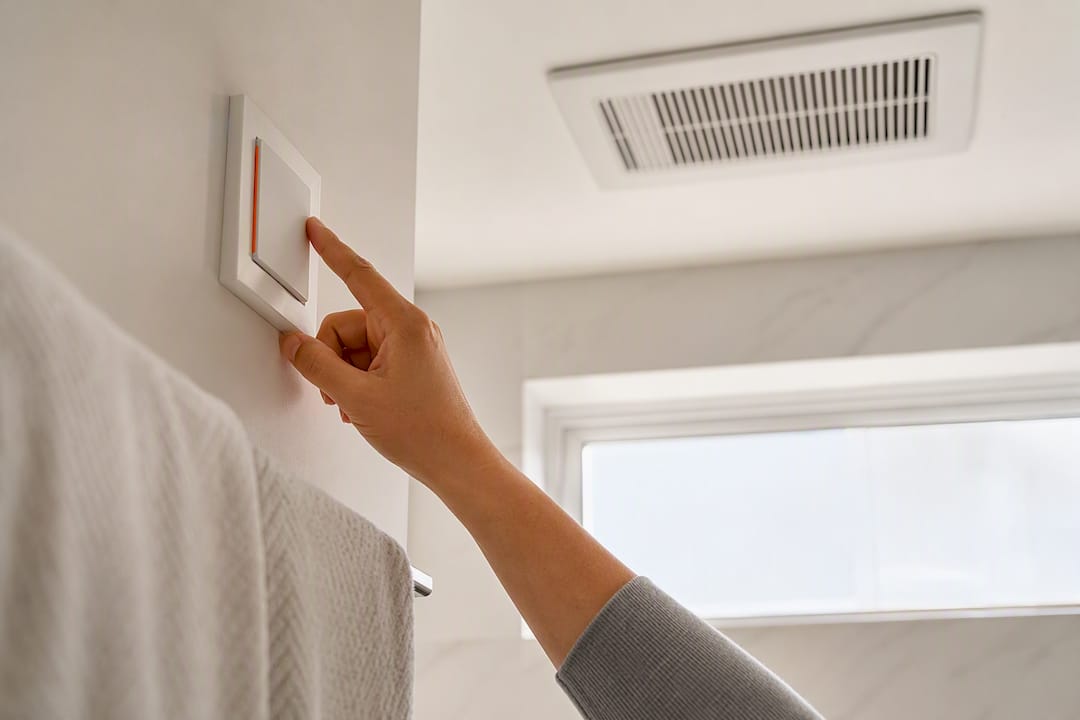
Ventilation is the foundation. Run bathroom and kitchen exhaust fans during and after use, and consider a timer switch if occupants forget. For homes with persistently elevated CO2 readings, mechanical ventilation, an energy recovery ventilator, or simply an upgraded exhaust system address the under-ventilation the EPA finds common in most homes compared with recommended standards. CO2-guided ventilation, adjusting airflow based on actual occupancy readings rather than a fixed schedule, is increasingly common in facility management because it avoids over-ventilating (wasting energy) or under-ventilating (letting pollutants build up).
Filtration matters most for particulate matter and allergens. MERV 8 filters handle basic dust; MERV 11 to 13 catch finer particles like pollen and some bacteria, and most residential HVAC systems can handle MERV 13 without airflow problems, though it’s worth checking your equipment’s rating first. Portable HEPA units make sense for a specific problem room, a nursery, a home office near a busy street, rather than trying to filter an entire house through undersized portable units. Change filters on the schedule your equipment manufacturer recommends, typically every 60 to 90 days for standard filters, more often during wildfire season or heavy pet shedding.
Moisture control targets the EPA’s recommended threshold of keeping relative humidity under 50% to prevent mold growth. Fix active leaks first, that’s source control. Then evaluate whether a whole-house dehumidifier tied into your HVAC system makes sense versus a portable unit for a single damp room. HVAC-integrated dehumidification tends to work better for whole-home humidity problems, especially in coastal Los Angeles neighborhoods where marine layer humidity swings noticeably by season.
Combustion appliance safety rounds out the list. Have gas furnaces and water heaters serviced annually, check flue and vent connections for corrosion or disconnection, and replace CO alarm batteries on the same schedule as smoke detectors. A poorly maintained furnace is one of the more common sources technicians find during routine service calls, often invisible until someone runs a combustion analysis.
| Improvement Area | Primary Action | Typical Trigger |
|---|---|---|
| Ventilation | Run exhaust fans, consider mechanical ventilation | CO2 above 1,000 ppm indoors |
| Filtration | Upgrade to MERV 11 to 13, add portable HEPA where needed | Elevated PM2.5, allergy symptoms |
| Moisture | Dehumidify, fix leaks, target under 50% RH | Musty odor, visible condensation |
| Combustion safety | Annual servicing, flue inspection, CO alarm checks | Any CO alarm activity or aging equipment |
One more point worth flagging before you weatherize: the EPA’s Energy Savings Plus Health guidance recommends testing IAQ before and after major retrofit work, because sealing a house tighter for efficiency can trap pollutants that used to escape through drafts. Skipping that check is how well-intentioned energy upgrades create new humidity or ventilation problems nobody notices until the following winter.
When to Hire a Professional: Scope, Timeline, and Cost
A professional IAQ investigation typically starts with a phone consultation to characterize the complaint, exactly the Phase I interview described earlier, followed by an on-site walkthrough. Expect the technician to check HVAC equipment, ductwork, moisture sources, and combustion appliances before recommending any sampling at all. A thorough proposal should explain why specific tests are recommended, not just list a menu of options.
Deliverables from a complete assessment should include a written report, prioritized recommendations (safety first, as covered above), and, when remediation is required, a verification plan for confirming the fix worked. Timelines vary: a Phase I walkthrough often happens same-day or within a few days of scheduling; targeted Phase II measurements add another visit; Phase III lab samples typically need 5 to 10 business days for results, sometimes longer for specialized mold species identification.
Representative cost ranges vary by region and scope but generally, a basic screening visit may cost a few hundred dollars, targeted single-pollutant sampling commonly ranges in the several hundred dollars, and a comprehensive multi-pollutant assessment with lab analysis can be more costly. Radon testing with a short-term kit processed through a lab is generally less expensive.
Vet any provider by asking:
- What lab do you use, and is it accredited for the specific pollutant being tested?
- How and when was your field equipment last calibrated?
- Are you insured, and do you carry documentation for any remediation oversight work?
- Will the final report include raw data, not just a summary conclusion?
Red flags include a vendor who wants to sell remediation before completing any assessment, a report with no raw data or methodology section, or pressure to replace HVAC equipment before diagnostics confirm it’s actually the problem. A professional HVAC inspection should always separate diagnosis from the sales pitch for repair work.
Field Lessons: What Technicians See on IAQ Service Calls
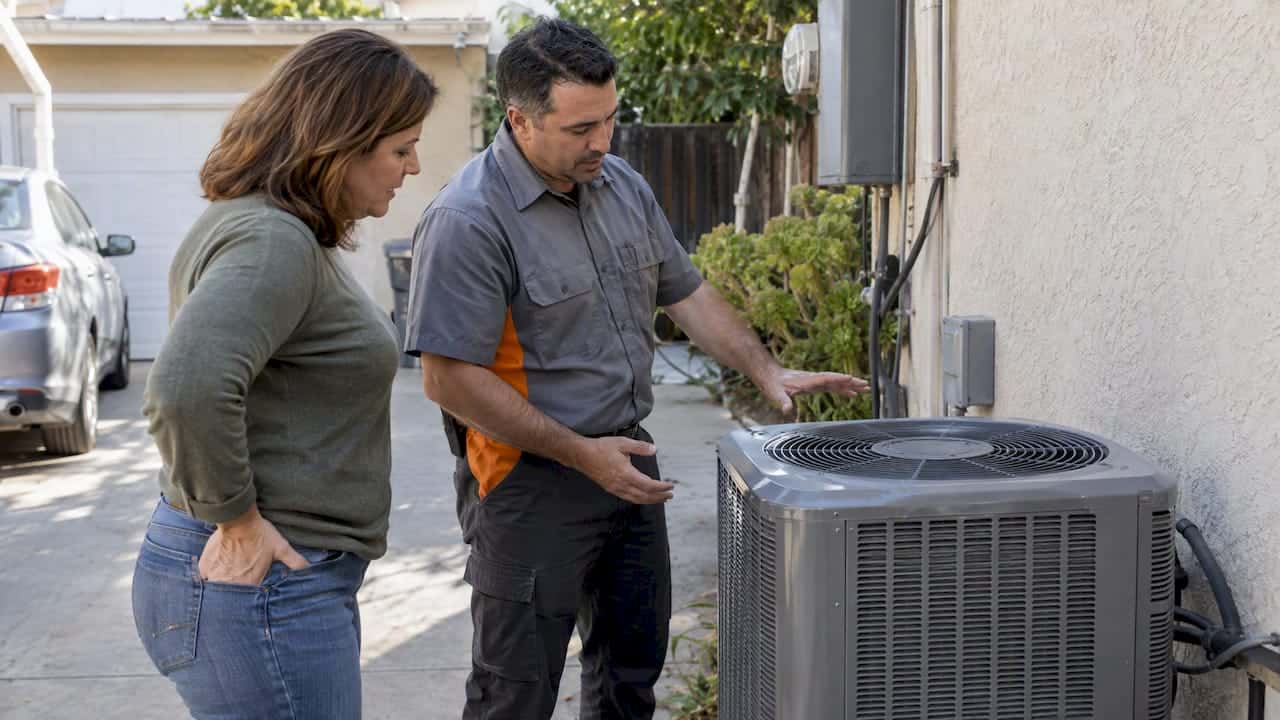
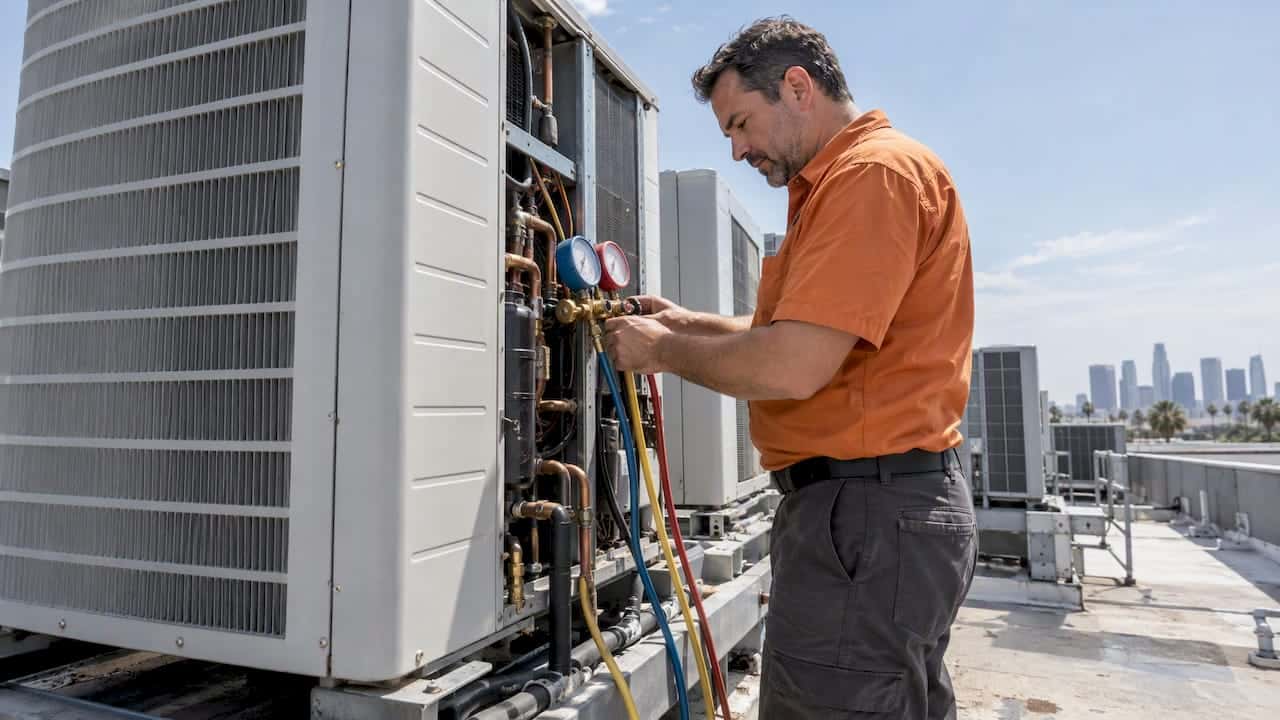
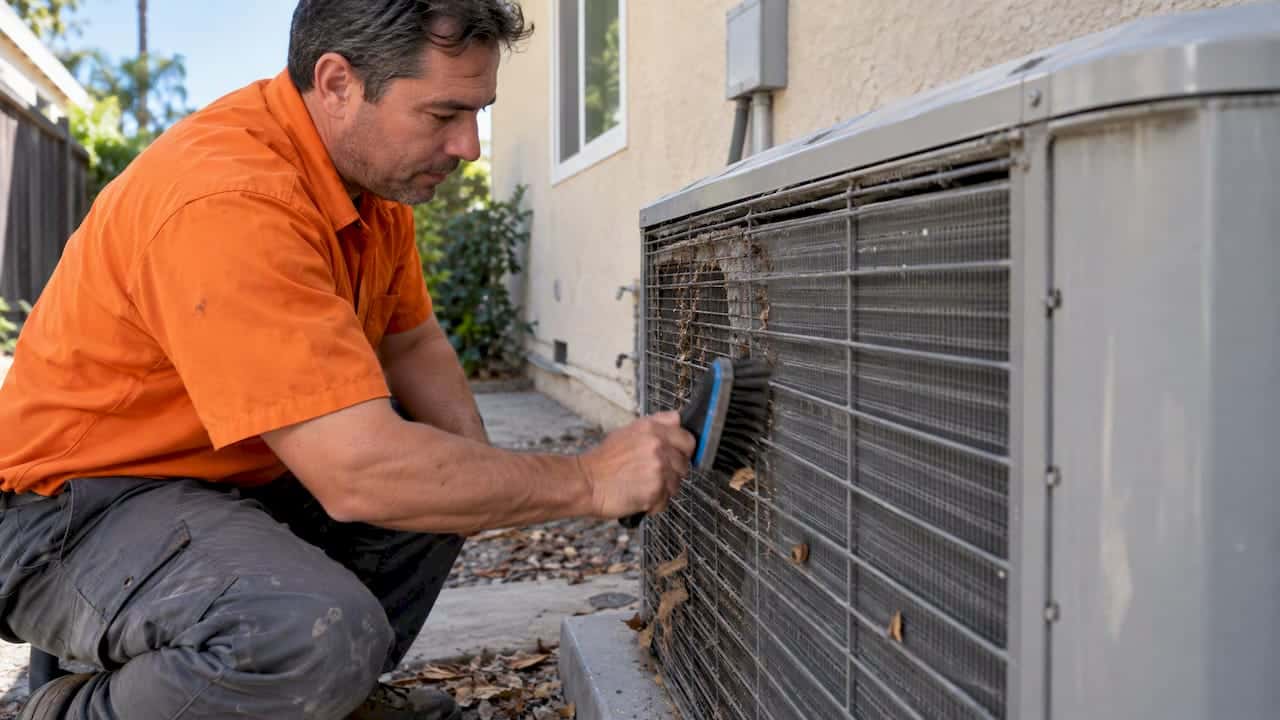
Most HVAC-related indoor air complaints trace back to a small handful of repeat offenders. Clogged filters restricting airflow, disconnected or leaking ductwork pulling attic or crawlspace air into the living space, and condensate drain lines backing up into a damp, moldy mess under the coil. Technicians run a few quick diagnostic checks on nearly every call: filter condition, static pressure across the coil, visible duct connections at accessible joints, and a look at the condensate pan and drain for standing water or biological growth.
Before a technician arrives, write down when symptoms started, what changed around that time, and which rooms are worst. That single page of notes often cuts diagnostic time in half, because it turns a vague complaint into a testable hypothesis, exactly the Phase I approach this whole guide is built around.
Honest diagnostics means telling a homeowner when a $200 duct seal fixes the problem instead of pushing a $9,000 system replacement. Flat-rate pricing exists so nobody feels pressured into a bigger job than the diagnosis actually supports.
That repair-first philosophy shapes how LC Heating and Air Conditioning approaches every IAQ-related service call across the Greater Los Angeles area, from historic homes with original ductwork to modern multi-zone heat pump installations.
Why the Standard IAQ Advice Falls Short
Most consumer guidance on indoor air quality treats it as a shopping problem, buy a monitor, buy a purifier, done. That misses the point entirely. The research supporting the phased ASTM and UC protocols makes clear that context always comes before measurement, and measurement always comes before purchasing equipment.
The bigger gap is that homeowners chase sensor readings while ignoring the HVAC system generating half their air quality problems in the first place. A leaking duct or a neglected condensate drain will out produce any air purifier’s improvement, and no portable HEPA unit fixes a combustion venting issue.
Prioritize the walkthrough and the HVAC inspection before you buy anything. Fix sources before you filter symptoms. That order, not the sensor you choose, determines whether your air actually gets better.
— Leo
Get a Professional IAQ Assessment From LC Heating and Air Conditioning
Unlike a one-size-fits-all monitor purchase, LC Heating and Air Conditioning builds an assessment around your actual HVAC system, your ductwork, your equipment, and gives you flat-rate pricing before any work begins, so you know the cost of diagnostics upfront instead of guessing.

Booking starts with a phone consultation where we characterize your concern (that Phase I interview covered earlier), followed by an on-site walkthrough of your HVAC equipment, ductwork, moisture sources, and combustion appliances. From there, you get clear scope options rather than a single expensive package, and a written report with prioritized next steps. Our indoor air quality and air quality services cover everything from duct cleaning to heat pump-integrated filtration and dehumidification, backed by more than twenty years of local experience across Los Angeles, Beverly Hills, Brentwood, and Bel Air. If your assessment points to source control or ventilation upgrades, technicians handle the fix with the same honest, repair-first approach. Ready to find out what’s actually in your air? Request a service call and get a same-day diagnostic scheduled.
Primary Sources and Further Reading
These government and standards resources cover the full technical protocols this guide references:
- Care for Your Air: A Guide to Indoor Air Quality (EPA), covering ventilation, humidity, and source control basics.
- A Citizen’s Guide to Radon (EPA), detailing radon action levels and testing cadence.
- Indoor Air Quality Tools (UCOP), the phased investigation protocol referenced throughout.
- ASTM D7297, the formal standard practice for evaluating residential IAQ concerns.
- The Inside Story: A Guide to Indoor Air (CPSC), on source control priorities.
For readers curious how independent inspectors document moisture sources outside the HVAC context, this guide to independent moisture investigations offers a useful parallel methodology.
Sources
- Care for Your Air: A Guide to Indoor Air Quality — EPA
- Indoor Air Quality Tools — UCOP (Investigation protocol)
- ASTM D7297 — Standard Practice for Evaluating Residential Indoor Air Quality Concerns
- A Citizen’s Guide to Radon — EPA
FAQ
How can I test my indoor air quality at home?
Start with a Phase I walkthrough: check ventilation, HVAC filters, moisture sources, and combustion appliances, then add basic screening tools like a CO2 meter or a radon test kit. That combination catches most common problems without needing lab equipment.
How do you conduct a full indoor air quality assessment?
A complete assessment follows the phased approach in ASTM D7297: a walkthrough and occupant interview first, semi-quantitative checks like humidity and CO2 readings second, and targeted lab sampling third only if the earlier phases point to a specific pollutant needing confirmation.
Can you actually test the air quality inside your home?
Yes, both DIY screening tools and professional lab testing can measure specific pollutants like radon, particulate matter, VOCs, and mold spores. Accuracy and documentation improve significantly with accredited professional testing, which matters most for health, legal, or real estate situations.
How do you tell if you have poor indoor air quality?
Common signs include persistent headaches, allergy symptoms, or fatigue that improve when you leave the house, musty odors, visible mold or condensation, and CO2 readings consistently above 1,000 ppm in occupied rooms. If several of these show up together, schedule an assessment rather than guessing.
When should I call a professional instead of testing myself?
Call a professional for persistent health symptoms, visible mold beyond a small patch, real estate or insurance documentation needs, or complex HVAC issues. Flat-rate diagnostic services are available for certain HVAC-related IAQ situations.
Recommended
Leo, Owner & Lead Technician at LC Heating & Air
Leo leads LC Heating & Air as an owner-operator and holds California CSLB C-20 HVAC license #1073586. His guides focus on practical diagnostics, safe repair decisions, and clear advice for Los Angeles homeowners.