- Where Should You Mount the Indoor Unit in Each Room?
- What Placement Mistakes Do Homeowners Make Most Often?
- What Clearances and Manufacturer Guidance Should You Expect?
- How Do Airflow and Room Layout Affect Comfort?
- When Does a Wall Head Make Sense Versus a Floor or Ducted Unit?
- Where Should the Outdoor Condenser Go?
- How Does Sizing Affect Where You Place Each Zone?
- What Should You Confirm Before Installation Day?
- How Does Placement Affect Long-Term Maintenance?
- Our Take on Getting Placement Right the First Time
- Get Your Placement Checked by an Installer Who Sizes It Right
- FAQ
- Sources
- Recommended

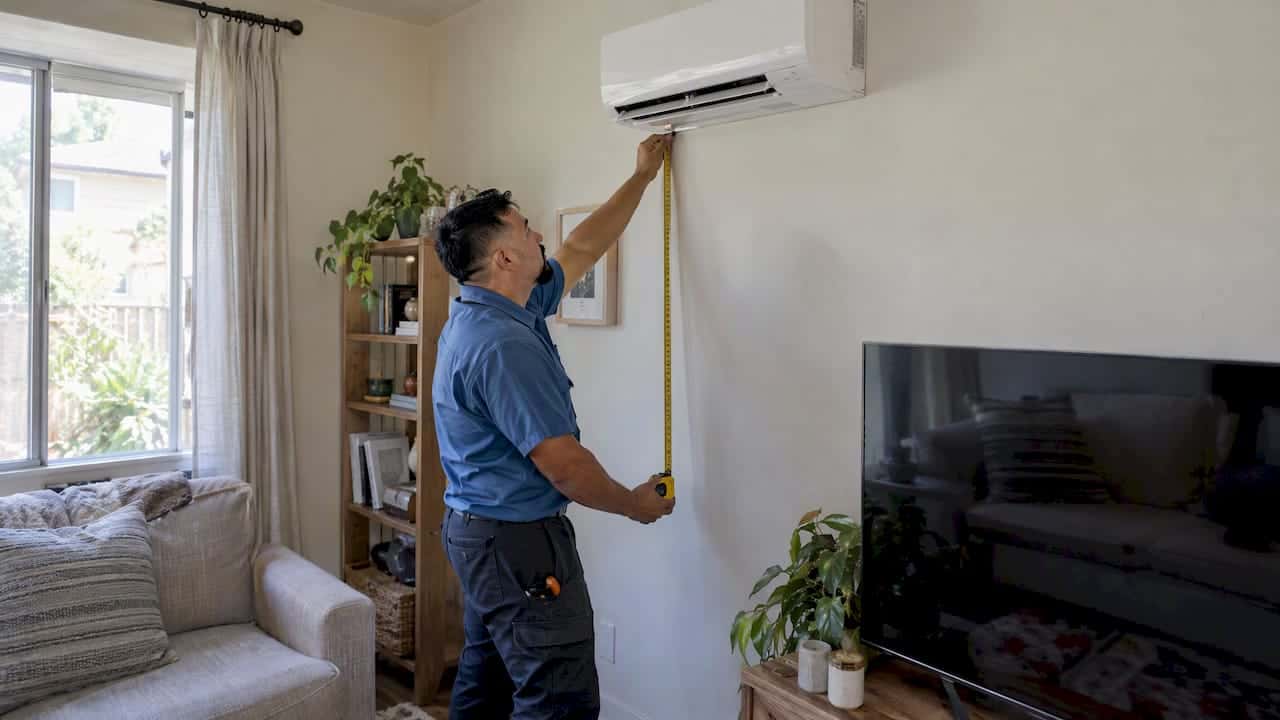
The indoor head belongs centered on your main living wall, mounted about 6 to 7 feet off the floor with nothing blocking the airflow in front of or below it, and the outdoor condenser belongs on a level pad with open space on every side for airflow and service access. The one rule that matters more than any other: unobstructed airflow and technician access always come before hiding the unit for looks.
TL;DR:
- Bedrooms should direct air across the room rather than onto the bed, while kitchen and bathroom heads should stay clear of steam and splash paths.
- Use the model’s installation manual for clearances, refrigerant line limits, and drain routing; a cold climate guide sets indoor top clearance at 6 inches minimum.
- A closed door can isolate a bedroom from the main head; use transfer grilles or add a second zone instead of oversizing the first unit.
- Ask for a documented Manual J calculation; larger or multistory homes may need multiple zones or compact ducting rather than one oversized head.
- Place the outdoor condenser level on a solid pad, elevate it above expected flood or snow levels, and preserve manufacturer clearances and technician access.
Where Should You Mount the Indoor Unit in Each Room?
The right wall depends on how you use the room, but the goal is always the same: deliver conditioned air to where you actually sit, sleep, or stand.
In living rooms and open floor plans, center the head on the wall that faces your main seating or activity area so the airflow reaches you directly instead of bouncing off a side wall, considering how open floor plans affect airflow. Avoid placing it above a sofa back or behind curtains, since fabric too close to the unit can block discharge air and mute the airflow sensor’s reading.
In bedrooms, aim for a wall that angles air across the room rather than straight down onto the bed. Cold or hot air blowing directly on a sleeper feels uncomfortable fast, and a unit mounted too close to the thermostat sensor’s usual reading zone can cause the system to cycle oddly.
Kitchens and bathrooms need extra thought. Cooking steam and shower humidity can interfere with coil performance over time, so keep the head away from the stove and shower spray paths, and make sure the condensate line has a clear route to drain.
In tiny homes and lofts, low ceilings change the math entirely. A standard high-wall head mounted near a sloped or low ceiling can short-cycle warm air right back to the ceiling peak, so a floor-mounted or cassette-style unit is often the better fit.
- Living rooms: center on the wall facing the main seating area, never behind curtains or shelving.
- Bedrooms: angle away from the bed and the usual thermostat reading spot.
- Kitchens and baths: keep clear of steam and splash zones, with a confirmed condensate path.
- Lofts and tiny homes: consider floor mounts or cassettes where ceiling height is limited.
Pro Tip: Stand where you spend the most time in the room and have your installer point the laser level from that spot. If you’d feel a direct draft there, move the unit.
What Placement Mistakes Do Homeowners Make Most Often?
“As high as possible” is a common instinct, but it often backfires. Mounting a unit near the ceiling peak, especially in a tall or vaulted room, traps warm discharge air up where nobody feels it, leaving the occupied space colder than it should be.
Visual concealment causes the second most common problem. Boxing a unit into a corner, tucking it behind a bookshelf, or mounting it directly above a door header restricts the air intake and discharge paths the unit depends on to read room temperature and move air evenly.
- Furniture or shelving too close to the unit can block both intake and discharge airflow.
- Curtains hung too close muffle airflow and can trap moisture near the coil.
- Mounting above a door header puts the unit too close to the ceiling and too far from the occupied zone.
- Corners with less than the manufacturer’s side clearance choke air circulation on one side.
The fix is usually simple: shift the unit farther from any curtain edge, skip the space directly over door frames, and leave extra room beyond the minimum clearance from the ceiling when the room allows it.
What Clearances and Manufacturer Guidance Should You Expect?
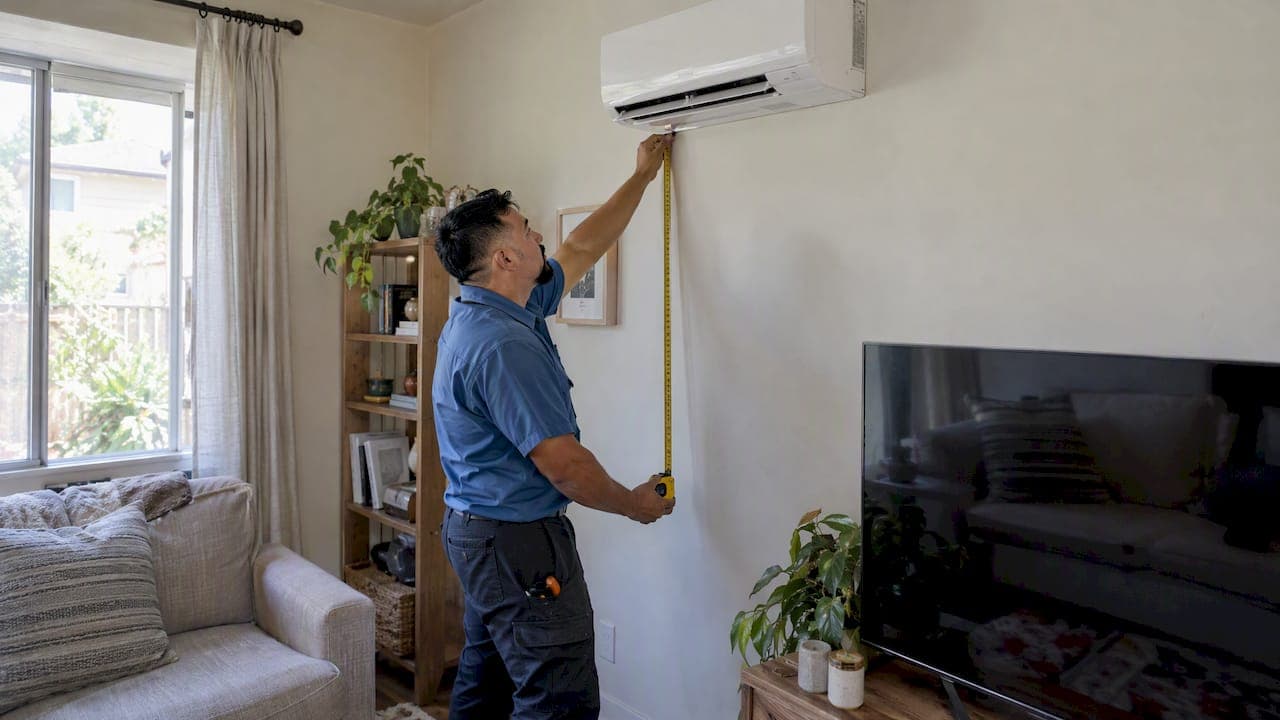
Every mini split manufacturer publishes exact clearance numbers, and your installer should follow them rather than rough estimates. Practical experience across most residential installs puts the indoor head around 6 to 7 feet off the floor, and in rooms with very tall ceilings, keeping the discharge opening lower can help avoid trapping warm air near the top of the room, as long as that still satisfies the manufacturer’s stated minimums.
The DOE island grantee job aid recommends installing the indoor unit roughly 6 to 7 feet off the ground with unobstructed vents, confirming the refrigerant line length stays within the manufacturer’s specified limit, and setting the outdoor unit level and elevated above potential flooding. A separate cold-climate installation guide calls for a minimum of 6 inches of top clearance for indoor units, with more room left open wherever the layout allows it.
- Confirm side, top, and front clearances against the specific model’s installation manual, not a general rule of thumb.
- Verify total refrigerant line length and vertical separation fall within the manufacturer’s published limits.
- Check that the condensate drain is sloped correctly or routed to a pump per the manufacturer’s instructions.
A 6-inch minimum top clearance is the baseline most manufacturers specify for indoor units, according to the cold-climate installation guide, and more clearance improves airflow and serviceability wherever the ceiling height allows it.
How Do Airflow and Room Layout Affect Comfort?
Warm air rises and cool air sinks, so placement should always aim to deliver conditioned air at the level where people actually sit or sleep, not just wherever looks tidiest on the wall. A closed door stops airflow completely, which is why a single head often struggles to condition a bedroom down the hall from the main living space.
When rooms are separated by doors, a few low-cost fixes help distribute air without moving the unit: door undercuts, transfer grilles cut into a wall or door, louvered doors, or a ceiling fan set to pull air downward in winter and push it up in summer.
- Leave an undercut beneath interior doors to help air circulate between rooms.
- Install transfer grilles where a closed door separates a zone from the head serving it.
- Run ceiling fans on low to redistribute stratified warm or cool air.
When one head genuinely can’t reach every room, the better answer is adding a zone, whether a second indoor head or a compact-ducted run, rather than oversizing the first unit to compensate.
Pro Tip: If a back bedroom always feels off no matter where the living room head sits, that’s usually a sign you need a second zone, not a bigger unit.
When Does a Wall Head Make Sense Versus a Floor or Ducted Unit?
Wall-mounted heads work well in most rooms, but certain layouts call for a different unit style entirely. Floor-mounted units heat the occupied level directly and work especially well in rooms with low ceilings or persistent cold-floor complaints, and a cold-climate sizing guide notes they’re often preferred for some first-floor installations.
- Floor mounts suit low-ceiling rooms and spaces where cold floors are the main complaint.
- Ceiling cassettes and compact-ducted systems spread air more evenly across large open rooms and keep equipment out of sight where aesthetics matter most.
- Lofts need careful attention to where warm air collects; avoid placing a head where a loft traps heat away from the main living space below.
Where Should the Outdoor Condenser Go?
The outdoor unit needs unobstructed airflow on both its intake and discharge sides, so keep it clear of dense shrubs, fences, and walls that would otherwise choke circulation. Mount it level on a proper pad or wall bracket, since an unlevel unit can throw off compressor oil return over time.

Leave real working space for a technician, not just a gap big enough for the unit itself, so they can work safely and access every panel.
Avoid spots where defrost water drips onto a walkway or near a door or window, since repeated icy patches become both a nuisance and a hazard in colder months. Where flooding or heavy snow accumulation is a concern, elevate the unit on a stand, and make sure the electrical disconnect stays within sight of the condenser, which the DOE job aid lists as a standard expectation alongside level mounting and flood elevation.
- Keep shrubs, fences, and walls at least the manufacturer’s stated distance from intake and discharge sides.
- Mount the unit level on a solid pad or bracket rated for its weight.
- Elevate above expected flood or snow lines and keep the disconnect switch visible and reachable.
Leave enough clear space around an outdoor condenser for technicians to perform routine maintenance safely.
How Does Sizing Affect Where You Place Each Zone?
Placement decisions only work if the system behind them is sized correctly. A proper Manual J load calculation, rather than a rule-of-thumb square footage estimate, prevents the short-cycling and poor humidity control that come with an oversized system.
For larger or multi-story homes, relying on a single high-wall head to cover the whole house rarely works well. A cold-climate sizing guide recommends placing the first zone where it covers the most central living area, then adding zones or considering multiple smaller outdoor units for better part-load performance rather than one oversized condenser trying to do everything.
- Ask for a documented Manual J calculation before agreeing on unit size or placement.
- For multi-story or larger homes, plan multiple zones or a compact-ducted run instead of one oversized head.
- Make sure your contractor matches indoor coil capacity to outdoor unit capacity, not just room count.
What Should You Confirm Before Installation Day?
A short checklist at quote time saves headaches later:
- Ask for a documented Manual J load calculation rather than a rough estimate.
- Confirm indoor and outdoor clearances meet the specific manufacturer’s published minimums.
- Verify total refrigerant line length and vertical separation fall within the manual’s stated limits.
- Confirm the condensate drain has correct slope or an approved pump.
- Check mounting bracket fastening, electrical disconnect placement, and whether surge protection is recommended.
- Confirm permits and any required inspection are scheduled, matching the permitting checklist for your jurisdiction.
For a deeper walkthrough of what to check during and after the visit, our step-by-step HVAC inspection checklist covers the same ground in more detail.
How Does Placement Affect Long-Term Maintenance?
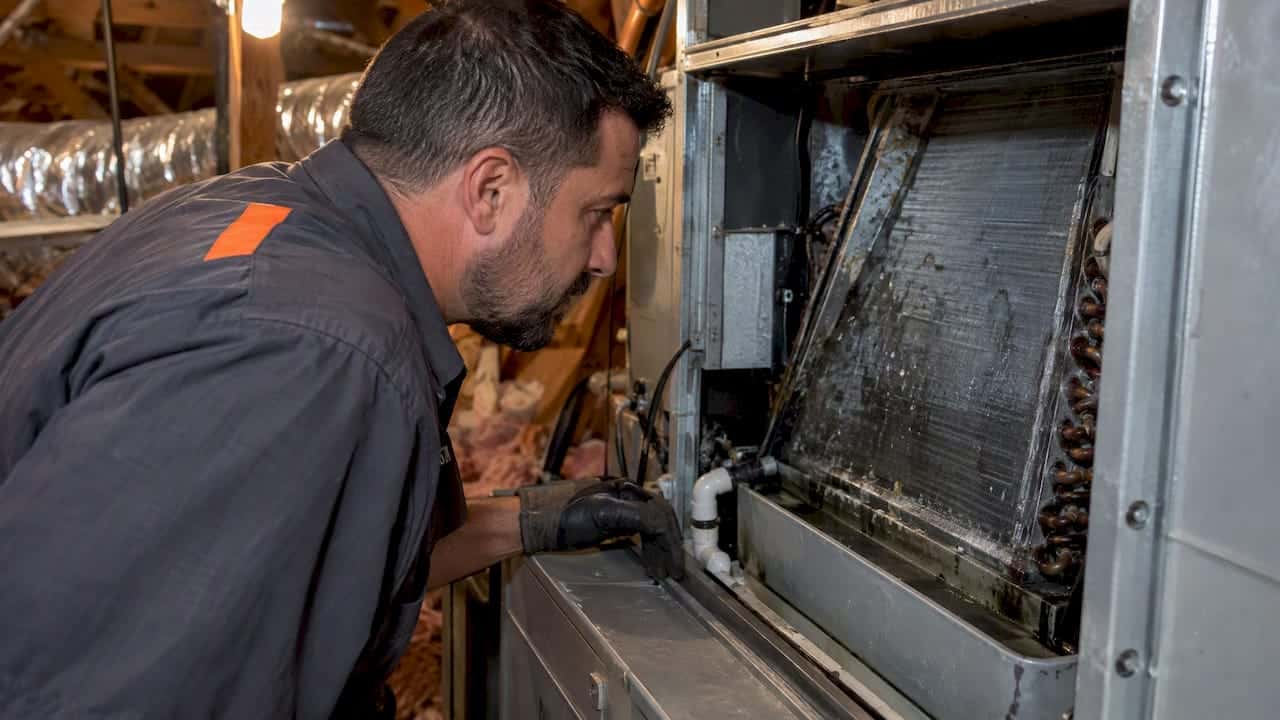
Good placement now saves real hassle later. Indoor filters and service panels should stay reachable without dragging furniture out of the way every time they need cleaning, and the outdoor unit needs a genuinely clear working area for routine maintenance and technician safety.
Skimping on clearance doesn’t just hurt day-one performance. It can stretch out future repair visits and, in some cases, affect warranty service if the installed clearances don’t match what the manufacturer specified.
Our Take on Getting Placement Right the First Time
After years of walking into homes where a mini split was mounted for looks instead of function, our core rule never changes: unobstructed airflow and service access beat a tidy-looking corner every time. We always ask installers to show us the Manual J numbers and the manufacturer’s clearance chart before the first screw goes into the wall. Having worked on everything from century-old Los Angeles bungalows to modern multi-zone heat pump setups, we’ve seen how much a few extra inches of clearance changes comfort down the line.
— Leo
Get Your Placement Checked by an Installer Who Sizes It Right
We size every mini split installation with flat-rate pricing, so you know the clearances, line lengths, and zone plan before any work begins. No surprise diagnostic fees, no pressure to replace systems unnecessarily, and same-day service when something needs a second look after the fact.

- Request a placement inspection or Manual J quote before your installation date.
- Ask about zone planning if one room never seems to reach temperature.
- Get a flat-rate estimate before committing to a wall or outdoor location.
If you’re ready to start, our mini-split installation team can walk your home, confirm clearances against manufacturer specs, and give you a straight answer on where each unit should go.
FAQ
Where’s the best place to put a mini split?
Center the indoor head on your main living wall, about 6 to 7 feet off the floor, with nothing blocking airflow in front of, above, or below it. The DOE job aid supports this height range as standard practice for most residential installs.
Where not to install a mini split?
Avoid mounting directly above a door header, behind curtains or furniture, or tucked into a tight corner that blocks the manufacturer’s required side clearances. These spots restrict the airflow the unit needs to sense room temperature accurately and distribute air evenly.
Is it better to mount a mini split on the wall or the ground?
It depends on the room: wall mounts work well in most standard-height rooms, while floor-mounted units perform better in rooms with low ceilings or persistent cold-floor complaints. A cold-climate sizing guide notes floor mounts are often preferred for some first-floor installations.
How far away from the house should a mini split be?
The outdoor unit doesn’t need to sit far from the house, but it does need open airflow space on its intake and discharge sides and enough clear space for a technician to work safely. Keep it clear of shrubs, fences, and walls that would otherwise block circulation.
What’s the most common mistake homeowners make with mini split placement?
The most common mistake is prioritizing how the unit looks over how it performs, which usually means hiding it behind furniture or mounting it too close to the ceiling. Both choices restrict airflow and can leave the room colder or warmer than expected despite a correctly sized system.
Sources
- Island Grantee Job Aid, Install an AC (Mini-Split)
- Guide To Installing Air-Source Heat Pumps in Cold Climates
Recommended
Leo, Owner & Lead Technician at LC Heating & Air
Leo leads LC Heating & Air as an owner-operator and holds California CSLB C-20 HVAC license #1073586. His guides focus on practical diagnostics, safe repair decisions, and clear advice for Los Angeles homeowners.