- Quick checklist to stop an AC drain clog in minutes
- Safety rules, tools, and what to skip
- Step-by-step guide to unclogging the condensate line
- Why AC drain lines clog in the first place
- When to stop DIY and call an HVAC professional
- Preventing the next clog before it starts
- What technicians check that homeowners often miss
- Our take: DIY has its place, but don’t force it
- Get a straightforward diagnosis from LC Heating & Air Conditioning
- FAQ
- Sources
- Recommended
AC Drain Line Clogged? EPA Backed Safety Steps for LA Homes

If your AC drain line is clogged, turn off the unit at the breaker and thermostat right away, then check the condensate pan for standing water. A wet/dry vacuum at the outdoor drain exit or a distilled white vinegar flush can clear many simple clogs in a short time. If you see overflow, mold, or a frozen coil, avoid DIY steps and call a professional immediately.
TL;DR:
- Most simple AC drain clogs can be cleared with a wet/dry vacuum or a vinegar flush, but persistent or recurring issues require professional diagnosis.
- Avoid using caustic cleaners, metal probes, or forcing the line with deep tools, as they can damage pipes, fins, or worsen microbial growth.
- Regular inspection, changing filters every 1 to 3 months, and quarterly line flushing help prevent biological buildup that causes clogs.
- Signs that indicate a need for professional help include overflowing pans, mold presence, frozen coils, or repeated clogs despite DIY efforts.
- Proper slope, trap integrity, and the outdoor discharge height are critical for drain line function; technicians check these during advanced diagnostics.
Quick checklist to stop an AC drain clog in minutes
A clogged drain line can soak your ceiling or floor fast, so speed matters more than perfection here. Work through these steps in order before you decide whether the problem needs a technician.
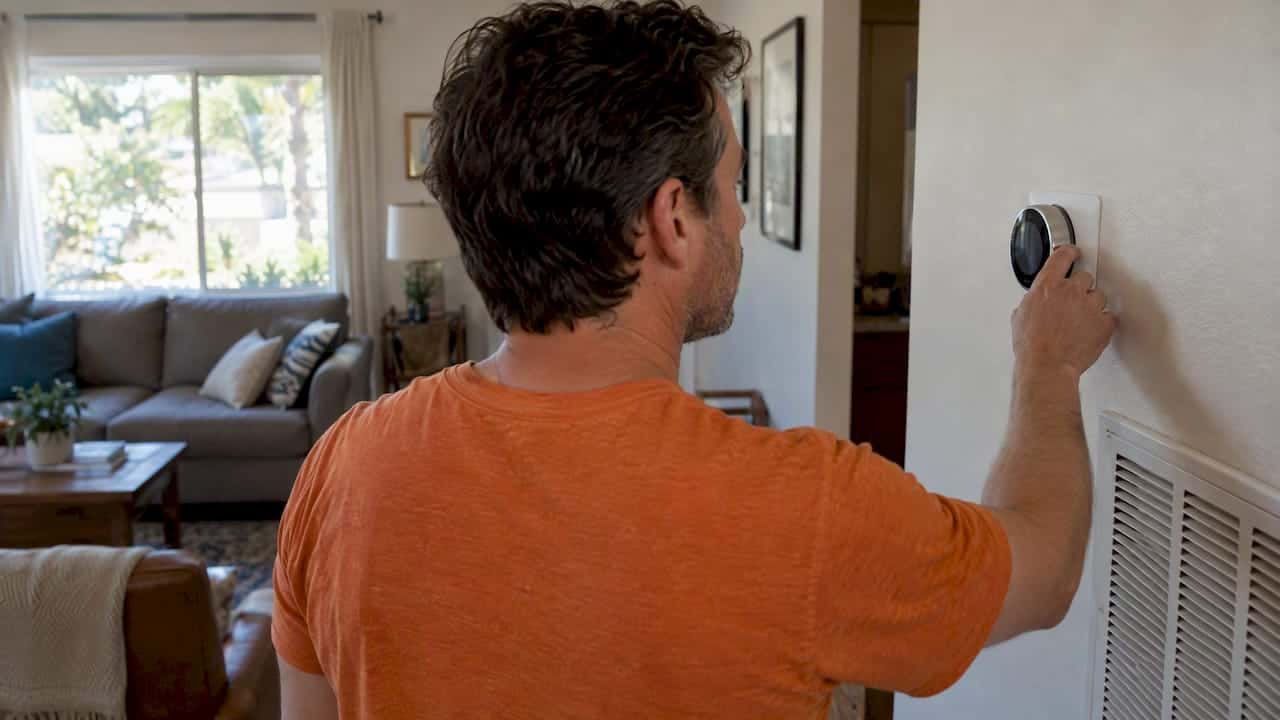
- Power off the system at the breaker and set the thermostat to “off.”
- Slide towels or a bucket under the drip pan to catch any remaining water.
- Check the drain pan for standing water and remove it with a wet/dry vacuum or towels.
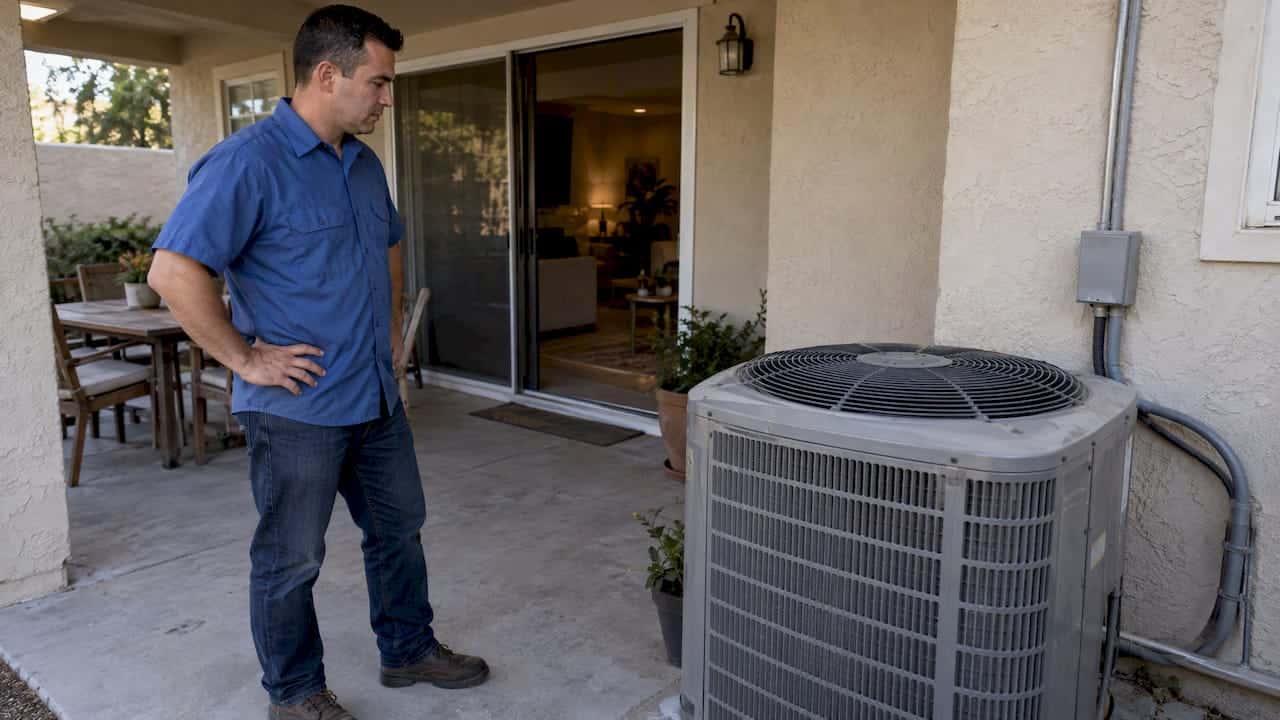
- Find the outdoor drain exit (usually a PVC pipe near the condenser) and seal a wet/dry vacuum hose over the opening with a rag or tape.
- Run the vacuum for 2 to 3 minutes to pull the clog out from the other end.
- If vacuuming isn’t an option, pour one cup of distilled white vinegar into the indoor access port, wait 15 to 30 minutes, then flush with a cup of water.
- Confirm steady drainage at the outdoor exit before restoring power.
Safety rules, tools, and what to skip
Before you touch anything, kill power to the indoor air handler at both the breaker and the thermostat, then double check it’s off. A wet system under power is a shock risk, and a few tools make the job safer and more effective:
- A wet/dry shop vacuum with a shop-vac adapter sized for PVC pipe.
- Distilled white vinegar for a safe, non-corrosive flush.
- A flexible plastic snake or soft tubing for gentle clearing.
- A flashlight, work gloves, and eye protection.
Never use bleach or caustic drain cleaners. They can corrode fittings and irritate your lungs in an enclosed space. Skip metal probes too, since they can puncture PVC or bend coil fins. If you spot mold or heavy biological growth anywhere in the system, stop the DIY work and bring in a professional for containment, since the EPA’s mold guidance warns that condensate pans and ventilation systems can spread spores through your home’s air.
Pro Tip: Wrap a rag tightly around the vacuum hose where it meets the drain pipe. A loose seal is the number one reason homeowners think vacuuming “didn’t work.”

Step-by-step guide to unclogging the condensate line
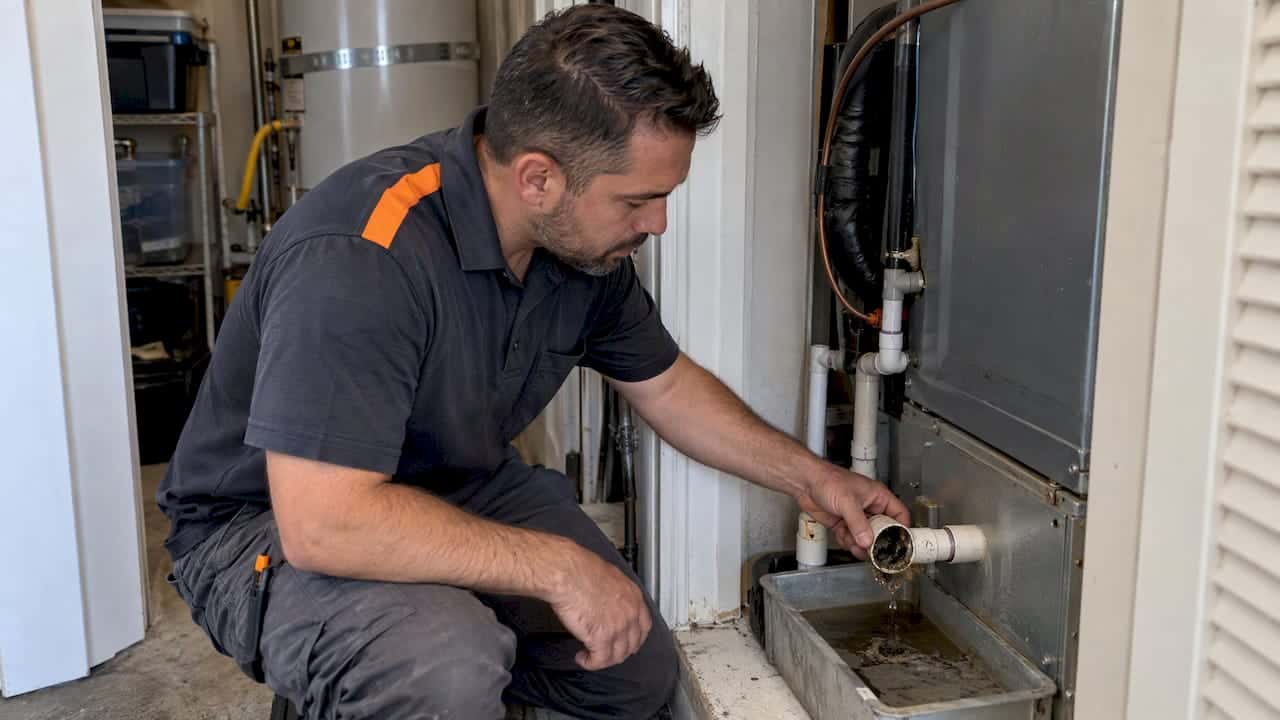
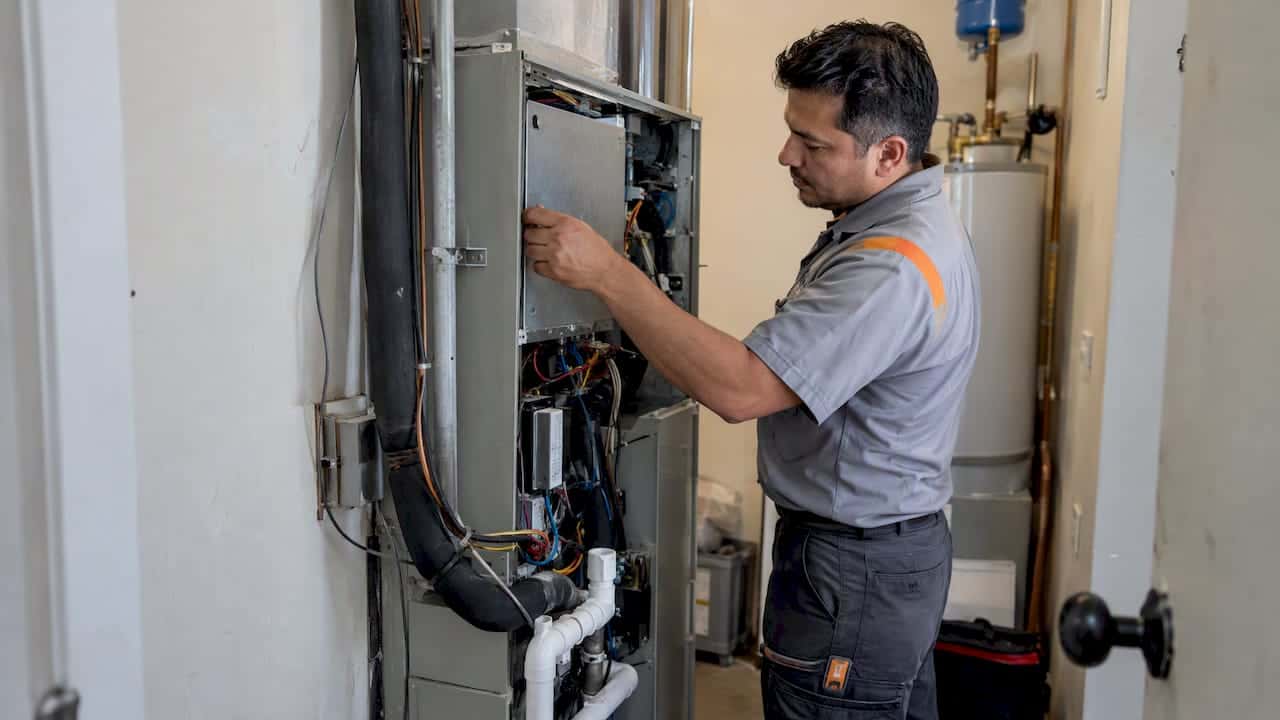
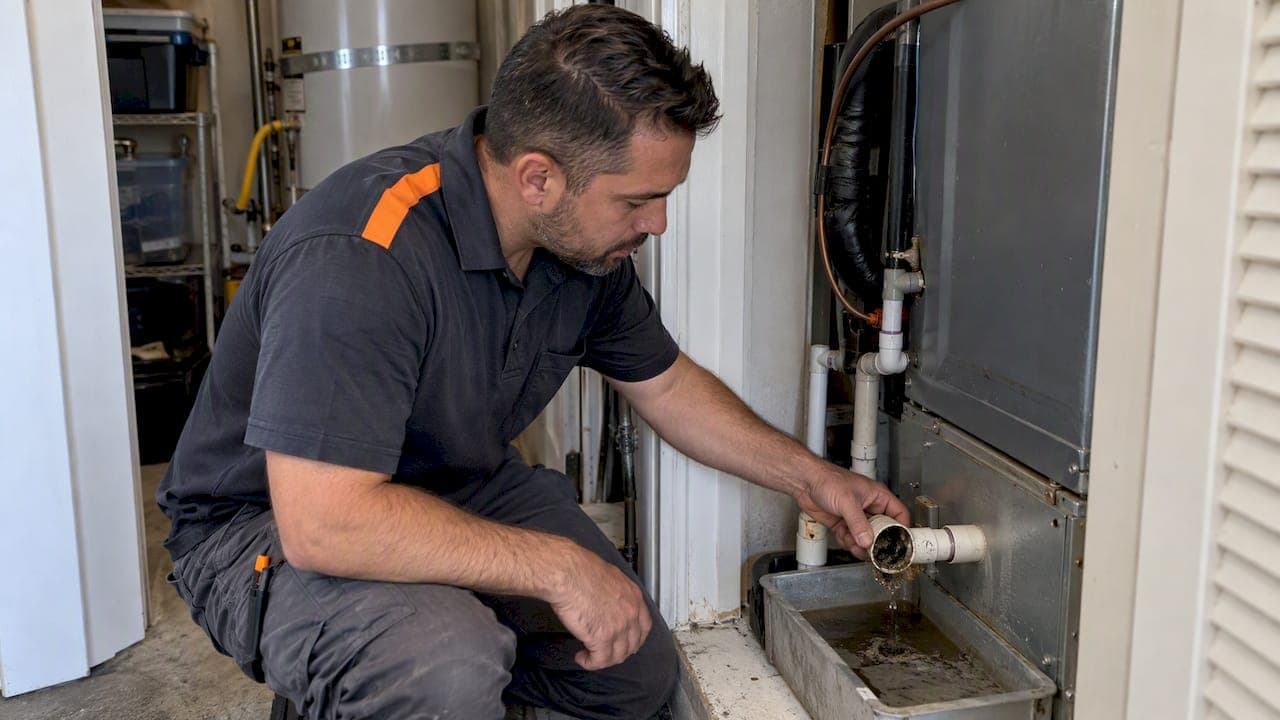
The condensate drain usually has two access points: a T-shaped PVC fitting near the indoor air handler (often in a closet, attic, or garage) and an open pipe outside near the condenser unit. Knowing both locations before you start saves time.
- Power off the system completely, then remove any standing water from the pan with a pump or towels.
- Vacuum the outdoor exit. Seal the hose tightly over the pipe opening and run the vacuum for a couple of minutes. A tight seal is what makes this step work.
- Snake it if vacuuming fails. Feed a flexible plastic snake or soft tubing into the indoor access port a short distance, moving gently so you don’t puncture the line or scrape the coil.
- Flush with vinegar. Pour a cup of distilled white vinegar into the access port, let it sit for 15 to 30 minutes to break down buildup, then follow with a cup of water.
- Verify flow. Watch for steady discharge at the outdoor exit, then restore power and run a short cooling cycle to confirm the pan stays dry.
This staged approach, trying the obvious fix first before escalating, lines up with how federal building diagnostics guidance recommends homeowners handle AC maintenance: address the simple, visible problems yourself, then call in a full diagnostic when the issue doesn’t resolve or keeps coming back. If water still isn’t moving after two attempts, stop here rather than forcing a tool further into the line.
Why AC drain lines clog in the first place
Most clogs are caused by biological growth like algae and mold that feed on dust, lint, and organic debris accumulating inside a dark, damp PVC pipe, gradually narrowing the line until water backs up. Dirty air filters make it worse by letting more debris reach the coil and drain pan.
Some clogs point to a bigger problem:
- Installation flaws like insufficient slope, a missing trap, or a drain that discharges in the wrong spot.
- A frozen evaporator coil or low refrigerant, which increases condensate volume beyond what the line can handle.
- Restricted airflow from a dirty filter or blocked return, which also drives up condensation.
Regular inspection and cleaning of drain pans and condensate systems helps catch biological growth before it causes equipment damage or indoor air problems.
That’s the core idea behind ASHRAE’s Standard 180 guidance on routine HVAC inspections. If your line clogs repeatedly, smells musty even after cleaning, or overflows again within weeks, you’re likely dealing with one of these underlying faults rather than a one-time buildup. Our AC leaking water guide walks through related leak symptoms if you’re not sure which problem you’re facing.
When to stop DIY and call an HVAC professional
Some situations call for a technician right away, no second-guessing:
- The pan is overflowing or has already overflowed onto the floor.
- You see visible mold inside the air handler.
- The evaporator coil is frozen or covered in ice.
- You notice any electrical issue near the unit.
- The line clogs again within weeks of clearing it, or your DIY attempts don’t restore flow.
A technician brings tools most homeowners don’t have on hand: a camera scope to see inside the line, nitrogen or compressed air for stubborn blockages, and the ability to correct a bad slope or repair a faulty trap. A standard service call is one thing; a full diagnostic and repair for a structural issue is another, and costs vary by what’s actually wrong.
Preventing the next clog before it starts
A little routine upkeep keeps your drain line clear and your indoor air cleaner for the long run.
- Do a quick visual check of the drain pan monthly during cooling season.
- Change your air filter every 1 to 3 months.
- Flush the line with vinegar or a condensate treatment every quarter.
- Have the drain pan and line inspected as part of an annual tune-up.
- Ask about installing a float switch or secondary drain if your system doesn’t already have one.
A float switch can shut the system down automatically before water overflows, providing useful protection against ceiling damage. The EPA recommends inspecting drain pans and cooling coils during routine maintenance and cleaning them whenever fouling or microbial growth shows up, since a clean coil feeds less debris into the line in the first place. Our condenser coil cleaning guide covers that part of the job in detail.
Pro Tip: Mark your filter change dates on a calendar. It’s the single easiest habit that keeps debris out of the drain line.

What technicians check that homeowners often miss
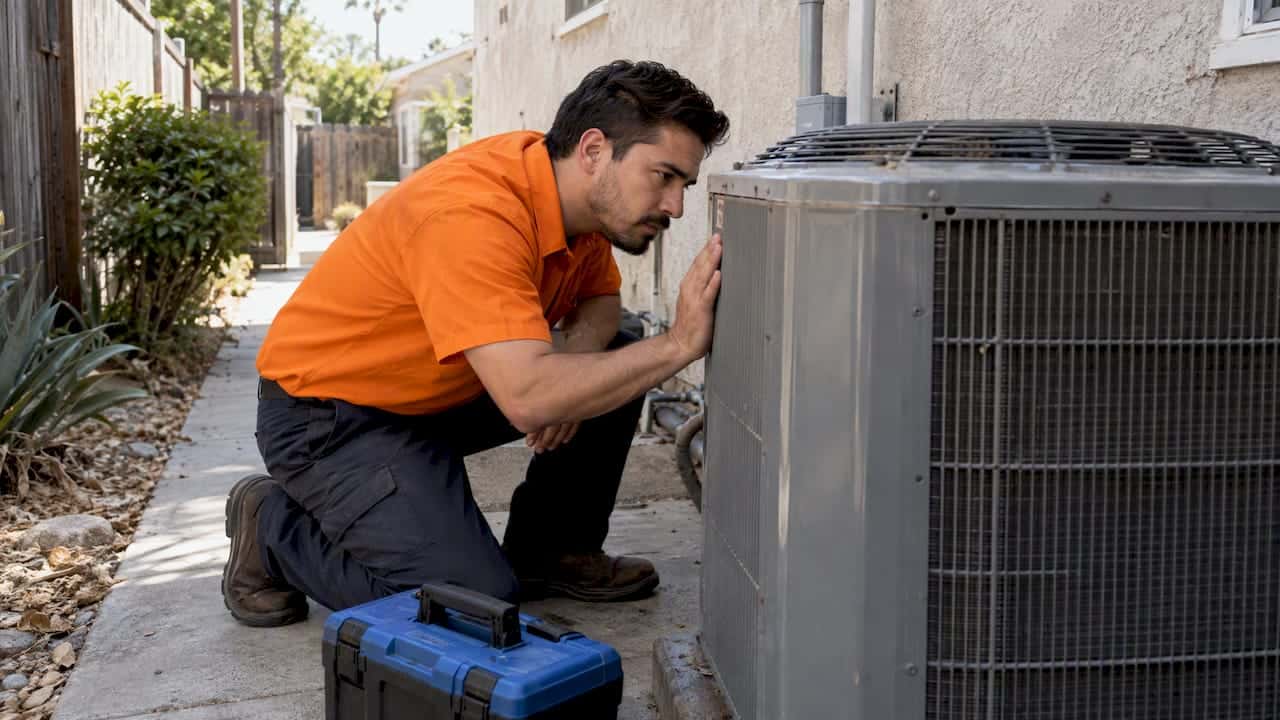
A technician’s diagnostic goes beyond a vacuum and a vinegar flush. We check the line’s slope with a level, pressure test the trap, scope the pipe with a camera when a clog won’t clear, and inspect the coil and refrigerant charge, since a cooling fault can mimic a drain problem.
A few things make a real difference in results:
- A tight vacuum seal at the outdoor exit matters more than suction power.
- A snake should enter at a shallow angle to avoid scraping the coil fins.
- The outdoor discharge point needs enough height above grade to drain freely, not pool back.
Persistent overflow, visible microbial growth, or water stains spreading across a ceiling or wall are signs the problem has moved past a simple clog.
Those are the moments EPA inspection checklists point to as reasons for a closer look, and they’re the same red flags we watch for on every service call. Our post on the truth about AC drain line cleaning goes deeper into the diagnostic side if you want more detail.
Our take: DIY has its place, but don’t force it
A vinegar flush and a wet/dry vacuum solve most simple clogs, and there’s no reason to pay for a service call when a 15-minute fix works. But forcing a snake too far or ignoring a repeat clog can turn a $0 fix into a damaged coil or a moldy air handler. We’d rather tell you honestly when a problem needs a trained eye than sell you a repair you don’t need.
— Leo
Get a straightforward diagnosis from LC Heating & Air Conditioning
If your drain line keeps clogging or the DIY steps above didn’t bring back steady flow, our condensate drain repair service includes a camera inspection, a clear explanation of what’s wrong, and flat-rate pricing before any work starts, so you know the cost upfront with no surprise diagnostic fees.

- Book a service call for same-day diagnosis anywhere we serve across Greater Los Angeles.
- Ask about our HVAC maintenance plan to catch slope, trap, and coil issues before they cause another clog.
- Get a flat-rate quote with no pressure to replace a system that just needs repair.
FAQ
Will the AC shut off if the drain is clogged?
Many systems have a float switch that shuts the unit off automatically when the condensate pan fills, which prevents overflow damage. Not every system has this safety feature installed, so check your pan for standing water even if the AC is still running.
What happens if my AC drain line is clogged?
Water backs up into the drain pan and, once it overflows, can damage ceilings, walls, or flooring near the indoor unit. Standing water in the pan also creates the damp, debris-rich environment where mold and algae grow, which the EPA ties to indoor air quality problems.
How much does it cost to fix a clogged AC drain line?
A basic service call starts from $125, and more involved repairs like trap replacement or slope correction cost more depending on what’s found during diagnosis. Many simple clogs clear with a $5 bottle of vinegar and a vacuum you may already own.
How to tell if an AC drain line is clear?
Steady water discharge at the outdoor drain exit during a cooling cycle means the line is flowing freely. If the pan stays dry and you don’t see water pooling near the indoor unit after an hour of operation, the clog is gone.
Sources
- Mold course: chapter 9 — U.S. EPA
- ASHRAE Standard 180-2018 preview
- Measure Guideline: Air Conditioner Diagnostics, Maintenance, and Replacement
Recommended
Leo, Owner & Lead Technician at LC Heating & Air
Leo leads LC Heating & Air as an owner-operator and holds California CSLB C-20 HVAC license #1073586. His guides focus on practical diagnostics, safe repair decisions, and clear advice for Los Angeles homeowners.