Understanding the root cause of a non-starting AC unit is the first step towards resolving the issue. Several common problems could be the culprit, ranging from simple fixes to more complex issues that may require professional attention.
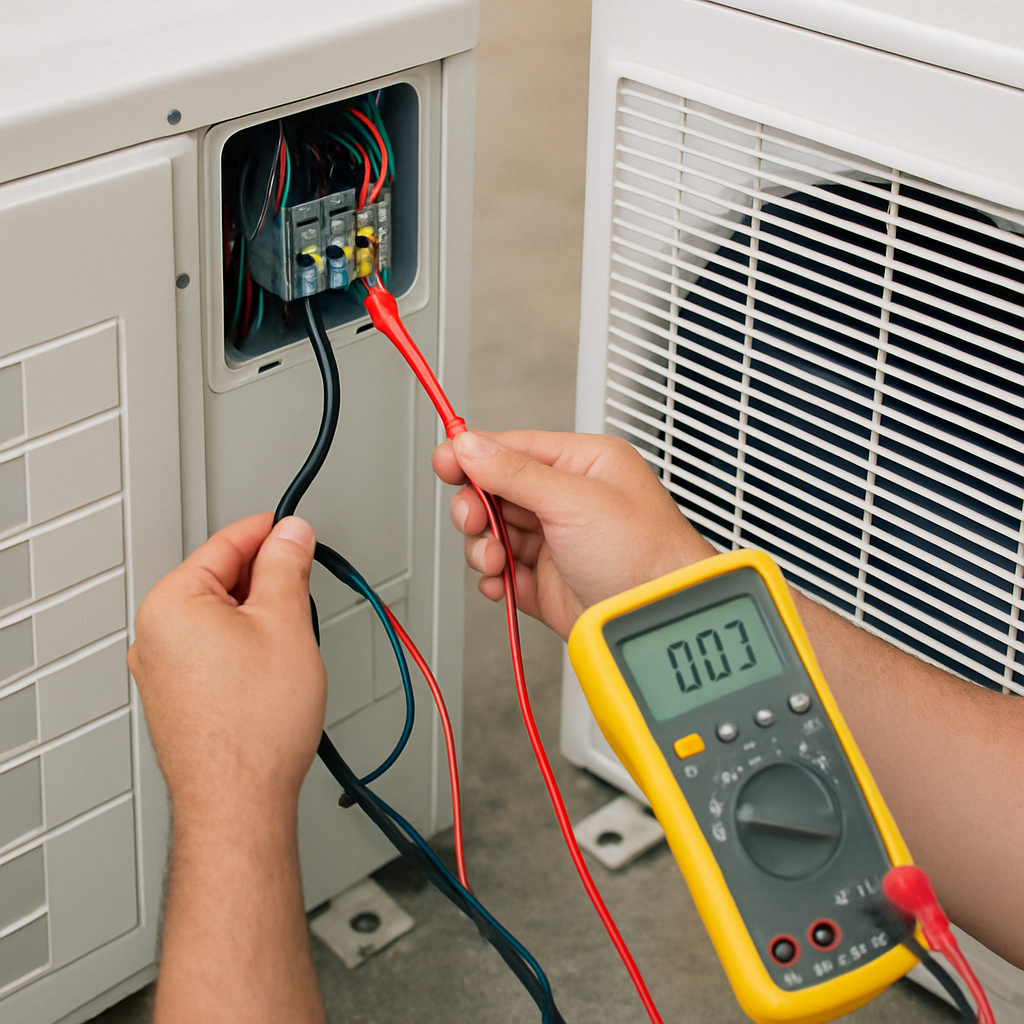
The most straightforward issue could be the power supply. Ensure that the unit is plugged in and the circuit breaker hasn’t tripped. Locate your main electrical panel and look for any tripped breakers or blown fuses. Reset any tripped breakers and replace any blown fuses. If the problem persists, there might be a more serious electrical issue at play.
In some cases, the electrical outlet itself may be faulty. Try plugging another appliance into the outlet to verify its functionality. If the outlet does not work, it may need to be repaired or replaced by an electrician.
Another potential issue could be the power cord of the AC unit. Inspect the cord for any visible signs of damage, such as fraying or cuts. A damaged power cord can prevent the unit from receiving power and may need to be replaced.
Thermostat Problems
The thermostat is the brain of your cooling system, dictating when the unit should turn on and off. Ensure that it is set to “cool” and the temperature is set lower than the current room temperature. Replace the batteries in your thermostat if necessary, as this can sometimes resolve the issue.
If replacing the batteries doesn’t work, check the thermostat’s wiring. Loose or damaged wires can disrupt the connection and prevent the unit from starting. Carefully inspect the wires and ensure they are securely connected.
Consider upgrading to a programmable or smart thermostat if your current model is outdated. These modern thermostats offer more precise control and can help improve the efficiency of your AC system.
Clogged Air Filters
Clogged air filters can restrict airflow and cause the system to overheat, preventing it from starting. Check your air filters and replace them if they are dirty. This simple maintenance task can greatly improve the efficiency and lifespan of your AC unit.
Regularly checking and replacing air filters can prevent a host of issues. Dirty filters force the system to work harder, consuming more energy and leading to higher electricity bills.
In some cases, clogged filters can lead to frozen coils, which can further impede the system’s performance. If you notice ice on the coils, turn off the AC and let them thaw before replacing the filter.
Using high-quality air filters can also make a difference. While they may be more expensive upfront, they can capture smaller particles and improve indoor air quality.
Condenser Unit Issues
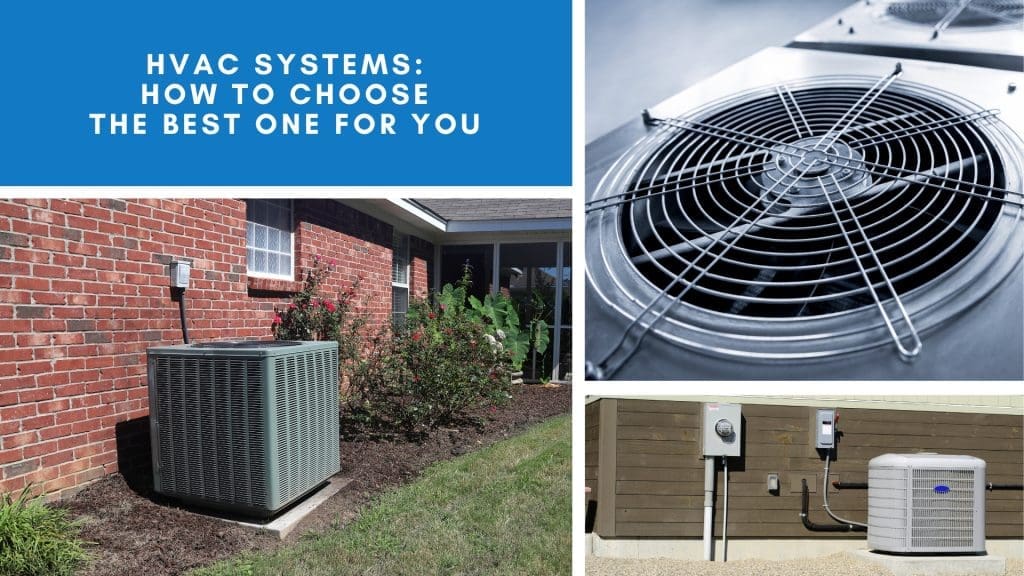
If the outdoor unit is not running, inspect the condenser. Overgrown plants, debris, or dirt can obstruct the condenser, preventing it from functioning properly. Ensure that the area around the unit is clear and clean, and remove any debris that might be blocking the airflow.
Regularly trimming back vegetation can prevent future obstructions. Plants and shrubs should be kept at least two feet away from the condenser to ensure optimal airflow.
Inspect the condenser coils for dirt and grime. Dirty coils can hinder the unit’s performance, so clean them periodically with a garden hose, taking care not to bend the fins.
If the condenser fan isn’t working, it may be due to a motor issue. A malfunctioning fan motor can prevent the unit from cooling effectively and may need to be repaired or replaced by a professional.

Troubleshooting Steps
Once you’ve identified potential issues, it’s time to take action. Following these step-by-step troubleshooting methods can help you resolve many common AC problems.
Step 1: Check the Power Source
Begin by checking the power source for your AC unit. Ensure that it is properly connected and receiving power. If the circuit breaker has tripped, reset it. If it trips again, this could indicate a more significant electrical issue that requires professional attention.
Test the electrical outlet with another device to confirm it’s working. If the outlet is functional, the problem may lie with the AC unit itself.
Inspect the power cord for any damage. A damaged cord can prevent the unit from turning on and should be replaced if necessary.
If you suspect a larger electrical issue, such as faulty wiring within your home, contact a licensed electrician to investigate and resolve the problem.
Step 2: Inspect the Thermostat
Examine the thermostat to ensure it is functioning correctly. Confirm that it is set to the correct settings and replace batteries if necessary. If the thermostat is malfunctioning, it may need to be repaired or replaced.
Check the thermostat’s wiring for any loose or disconnected wires. Secure any loose connections to ensure the thermostat can communicate with the AC unit.
Consider recalibrating the thermostat if you suspect it’s not reading temperatures accurately. Calibration instructions can often be found in the thermostat’s manual or online.
If you decide to upgrade to a new thermostat, ensure it’s compatible with your AC system and follow the installation instructions carefully.
Step 3: Clean or Replace the Air Filters
Dirty air filters can cause numerous issues with your AC unit, including preventing it from starting. Check your air filters and replace them if they are dirty. This simple step can improve airflow and system efficiency.
Establish a regular maintenance schedule to check and replace filters every 1-3 months, depending on usage and air quality.
Consider using filters with higher MERV ratings for better filtration. These filters capture smaller particles and improve indoor air quality.
Keep spare filters on hand to ensure you can replace them promptly when needed.
Step 4: Clear the Condenser Unit
Inspect the condenser unit for any obstructions. Clear away any debris, leaves, or dirt from around the unit. Make sure the condenser coils are clean, as dirty coils can hinder the unit’s performance. You can clean the coils with a garden hose, being careful not to damage the fins.
Establish a clear zone around the condenser by trimming back plants and shrubs regularly.
Check for any visible damage to the condenser fan or motor. If you notice any issues, contact a professional for repairs.
Consider investing in a condenser cover for the off-season to protect it from debris and weather-related damage.
Step 5: Check for Refrigerant Leaks
If your AC unit is low on refrigerant, it may not start. Look for signs of refrigerant leaks, such as oily spots on the ground near the condenser. If you suspect a refrigerant leak, contact a professional HVAC technician to address the issue.
Low refrigerant levels can also cause the unit to blow warm air or cycle on and off frequently. These symptoms may indicate a leak.
Never attempt to refill refrigerant yourself, as improper handling can be dangerous. Always hire a certified professional for this task.
Regular maintenance and inspections by a professional can help detect refrigerant issues early and prevent costly repairs.

When to Call a Professional
While some issues can be resolved with basic troubleshooting, others require professional expertise. If you encounter any of the following situations, it’s best to call a professional:
- Persistent electrical issues
- Thermostat malfunctions that aren’t resolved by replacing batteries
- Suspected refrigerant leaks
- Mechanical issues with the compressor or motor
Professional HVAC technicians have the tools and knowledge to diagnose and repair complex issues. Attempting to fix these problems yourself can lead to further damage and safety risks.
If your AC unit is older, consider consulting a professional about the potential benefits of upgrading to a newer, more efficient model.
Regular professional maintenance can extend the lifespan of your AC unit and improve its performance.

Preventative Maintenance Tips
Regular maintenance can prevent many common AC issues. Here are some tips to keep your system running smoothly:
- Schedule annual maintenance with a professional HVAC technician.
- Regularly clean or replace air filters every 1-3 months.
- Keep the area around the outdoor unit clear of debris and vegetation.
- Inspect and clean condenser coils regularly.
Consider setting reminders for routine maintenance tasks to ensure they’re not overlooked.
During professional maintenance visits, request a comprehensive system check to identify any potential issues before they escalate.
Educate yourself on the basic components of your AC system to better understand its maintenance needs and recognize when something is amiss.
Conclusion: What to Do If You’re Dealing with a Non-Starting AC Unit
A non-starting AC unit can be a major inconvenience, but with a little patience and troubleshooting, you can often identify and resolve the issue. Regular maintenance is key to preventing future problems and ensuring your system runs efficiently. If you’re in the Los Angeles area and need professional assistance, don’t hesitate to reach out to LC Heating and Air Conditioning. We’re here to help you stay cool and comfortable all year round.
For more information, visit our website at http://www.lahvaclc.com or give us a call at (818) 858-7080.


