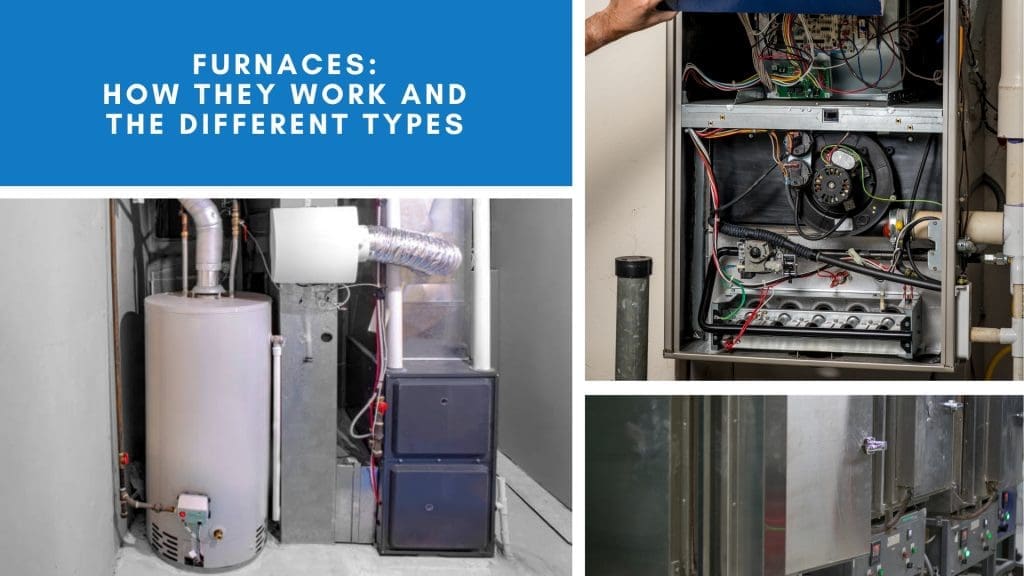
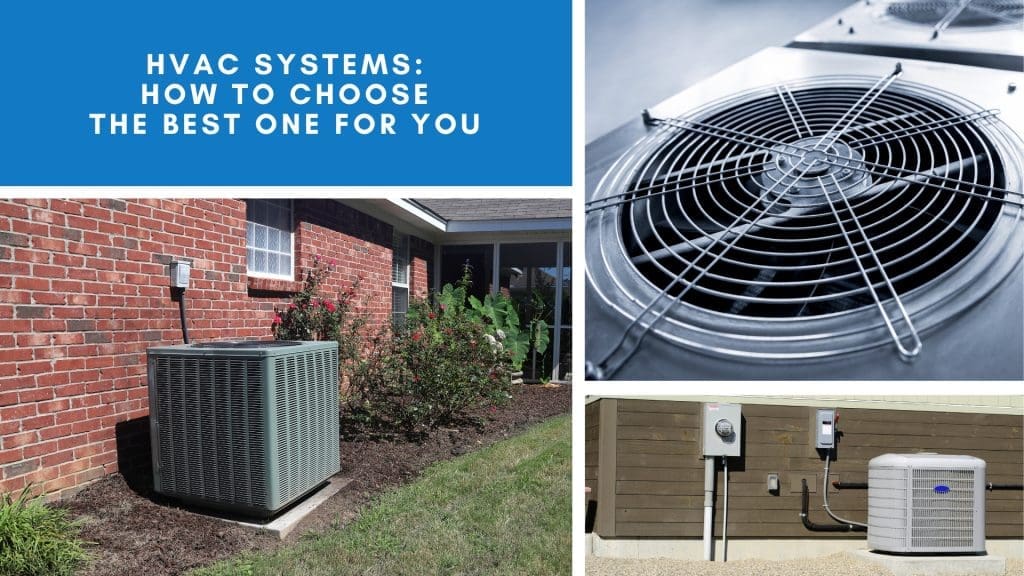
Troubleshooting Your Heater’s Cold Air Issue
When winter’s chill sets in, a warm and cozy home is a sanctuary. But what happens when your heater starts blowing cold air? It’s a common issue that can leave you shivering and searching for solutions.
Understanding why your heater is blowing cold air is the first step towards resolving the issue. It could be due to a variety of reasons, from simple thermostat settings to more complex mechanical problems.
This comprehensive guide aims to help you troubleshoot your heater’s cold air issue. Whether you’re a small business owner, a work-from-home professional, or a busy stay-at-home mom, this guide is designed to empower you with knowledge.
We’ll walk you through the common causes and solutions, helping you either fix the problem yourself or make informed decisions when hiring professionals.
Remember, a well-maintained heater not only ensures your comfort but also contributes to the efficiency of your home or business. Let’s dive in and get that warm air flowing again.
Understanding Why Your Heater May Blow Cold Air
A heater blowing cold air can be frustrating and puzzling. It’s crucial to understand the common reasons behind this problem. By doing so, you’ll be better prepared to tackle the issue effectively.
Several factors can cause a heater to blow cold air. It might be as simple as an incorrect thermostat setting or something more technical like a malfunctioning blower motor. Sometimes, a dirty air filter restricts airflow, causing the system to overheat and shut down, resulting in cold air.
Here’s a list of potential causes for your heater blowing cold air:
- Incorrect thermostat settings
- Dirty or clogged air filter
- Pilot light or ignition system issues
- Blower motor problems
- Low refrigerant levels in heat pumps
Identifying the root cause is essential for a proper solution. It helps prevent unnecessary repairs and saves time and money. A methodical approach to diagnosing the problem can lead to a quick fix or inform a professional’s intervention.
Understanding the underlying issues not only resolves current discomfort but also helps maintain your system’s longevity and efficiency. By addressing these problems early, you ensure consistent warmth and comfort throughout your home or business premises.
Initial Checks Before Troubleshooting Your Heater
Before diving into complex troubleshooting, start with some initial checks. These steps can often reveal and resolve the problem quickly.
First, examine your thermostat settings. Ensure it’s set to “heat” and the temperature is set higher than the current room temperature. Sometimes, the simplest oversight can cause unexpected issues.
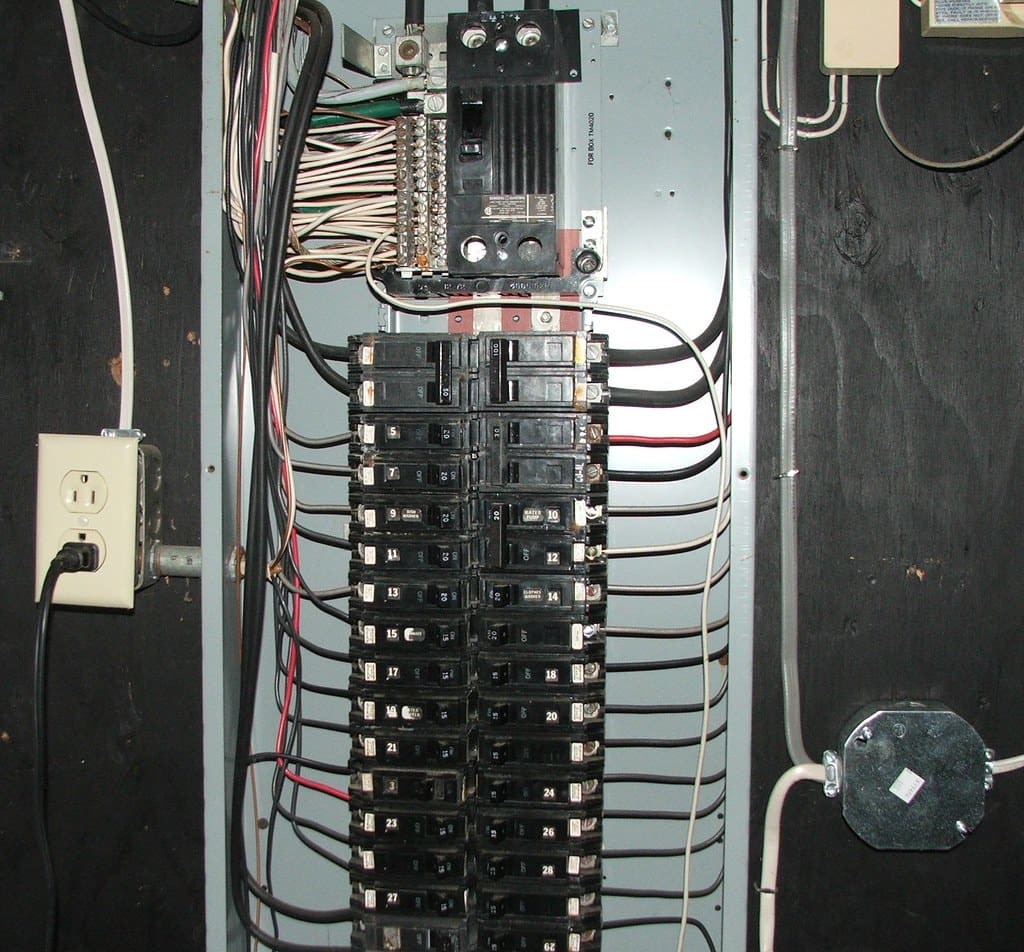
Next, check the power supply and circuit breakers. A tripped breaker can prevent your heater from functioning correctly. If the breaker is tripped, reset it and see if the heater resumes normal operation.
For gas heaters, verify the gas supply is turned on. Confirm that any valves along the gas line are open. If your gas heater isn’t receiving gas, it won’t be able to heat the air effectively. These simple checks help identify basic problems, allowing you to address them without much hassle. If these don’t resolve the issue, further troubleshooting may be necessary.
The Role of Air Filters in Heater Performance
Air filters are crucial to the efficiency of your heating system. When filters become clogged with dust, dirt, and debris, airflow is hindered. This can cause your heater to blow cold air instead of warm, as the system struggles to push air through a blocked filter.
To avoid performance issues, regularly checking and replacing air filters is essential. Here’s a simple guide to replacing a dirty air filter:
- Turn off the heater for safety.
- Locate the filter compartment, usually near the air return duct.
- Remove the old filter carefully.
- Insert a new filter with the arrows pointing in the direction of airflow.
- Secure the compartment and turn the heater back on.
Replacing air filters every one to three months enhances your heating system’s efficiency and ensures clean air circulates through your home. Taking these steps prevents unnecessary strain on your heater, keeping it running smoothly.
Troubleshooting Your Pilot Lights and Ignition Systems in Gas Heaters
For gas heaters, the pilot light or ignition system is key to starting the heating process. If your heater is blowing cold air, the pilot light might be out. Alternatively, there could be an issue with the ignition system.
Start by checking if the pilot light is lit. If not, try relighting it following your heater’s instructions. For electronic ignition systems, listen for clicking sounds which indicate an attempt to ignite. An absent sound might signal a malfunction.
Signs of a faulty ignition system can include erratic operation or a complete failure to start. To troubleshoot:
- Verify there is a gas supply.
- Check for any visible dirt or debris obstructing the ignition.
- Refer to the manual for resetting the electronic ignition, if applicable.
- If issues persist, contact a professional.
Handling ignition problems cautiously is crucial. It ensures your home remains safe and warm, without unnecessary risks.
Furnace Flame Sensors and Their Issues
A furnace flame sensor is a small but vital component. It detects the flame within the furnace to ensure it’s burning correctly. If your furnace fails to detect a flame, it may shut down, causing cold air issues.
Recognizing a faulty flame sensor involves looking for telltale signs. These include the furnace attempting to ignite but shutting off shortly after. This usually indicates the sensor is either dirty or malfunctioning.
Cleaning or replacing the flame sensor can often resolve the problem. Here’s a simple guide:
- Turn off the furnace’s power to ensure safety.
- Locate the flame sensor, typically near the burner assembly.
- Use sandpaper to clean any soot or residue from the sensor.
- If cleaning doesn’t help, consider replacing the sensor.
Regular cleaning can prevent these issues, but if problems persist, replacing the sensor is wise. This ensures your furnace operates smoothly, keeping your home warm and comfortable.
Blower Motor and Fan Issues
The blower motor is an essential part of your heating system. It circulates warm air throughout your home. When the blower motor fails, your heater might blow cold air, or stop blowing air altogether.
Look for symptoms indicating blower motor issues. These can include strange noises from the heater, reduced airflow, or overheating. If you notice any of these, your blower motor might need attention.
Before diving into repairs, consider whether a DIY fix is possible or if professional help is needed. Here’s what you can do:
- Ensure the blower compartment is clean and free from debris.
- Check for loose belts or wires that might need tightening.
- Lubricate the motor bearings to reduce friction.
When simple fixes don’t work, calling a professional is the best course of action. They can diagnose and rectify more complex issues, ensuring the longevity and efficiency of your heating system.
Ductwork: Leaks and Blockages
Your heating system relies on ductwork to distribute warm air. If there are leaks or blockages, you might experience cold air. It’s crucial to inspect your ductwork regularly to ensure efficient heating.
Start by examining visible ductwork for any signs of damage. Look for disconnected sections or holes that could cause air leaks. Listen for unusual noises, which might indicate blockages causing airflow issues.
Understanding how ductwork issues affect performance can help you prioritize repairs. Leaks and blockages not only result in a heater blowing cold air but also increase energy bills. Here’s how you can approach ductwork inspection:
- Use a flashlight to inspect dark areas and corners.
- Place your hand near joints to feel for escaping air.
- Check for dust accumulation, which could signal leaks.
Addressing these problems can restore your heating system’s efficiency. Consider using mastic sealant or metal tape for small repairs, or call a professional if the damage is extensive. Regular maintenance and prompt attention to ductwork issues can ensure your home stays warm and comfortable.
Heat Pumps and Refrigerant Levels
Heat pumps are vital for maintaining warmth during winter. However, they can face issues like low refrigerant levels. When refrigerant is low, your heat pump may struggle, resulting in your HVAC blowing cold air when it shouldn’t.
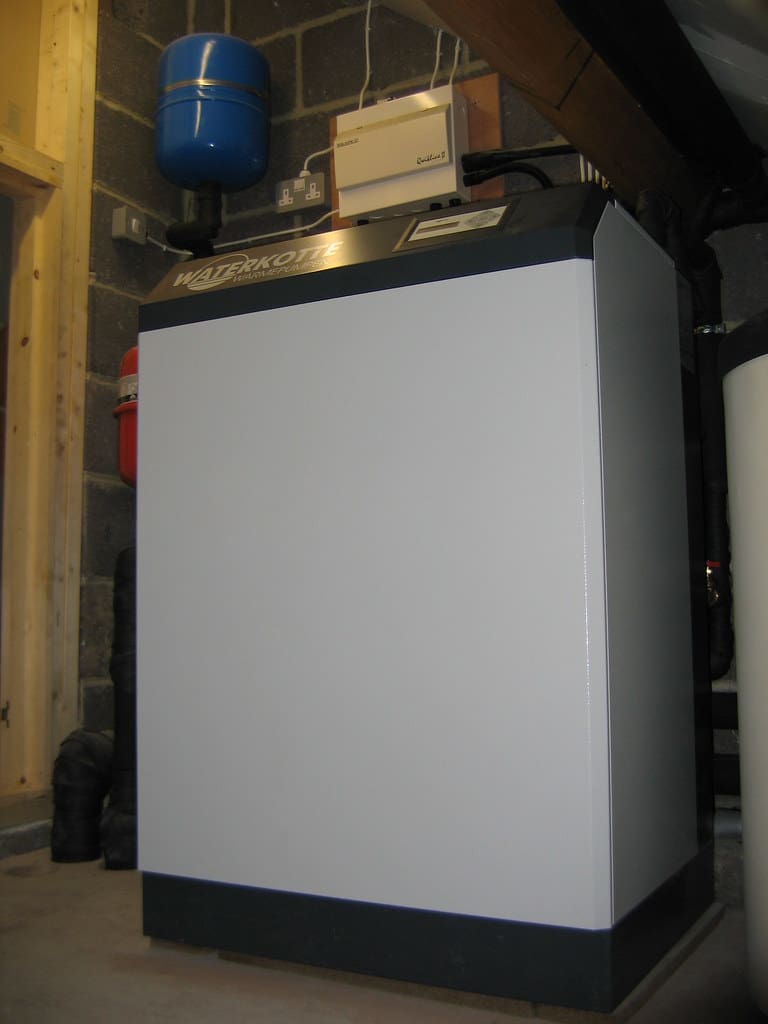
Refrigerant is crucial for absorbing and transferring heat. If the levels drop, your system’s efficiency decreases, making it harder to heat your home. This results not only in cold air but also can cause the system to overwork, leading to higher energy bills.
You should be attentive to signs of refrigerant issues and know when to contact a professional. Here’s what to watch for:
- Ice buildup on the heat pump
- Strange hissing or bubbling sounds
- Increased utility bills with no apparent reason
Attempting to handle refrigerant issues yourself is not recommended due to safety and regulatory concerns. Calling a qualified HVAC technician ensures proper diagnosis and safe handling of refrigerants. This approach protects both your home’s system and your safety.
Condensate Drain Line Maintenance
Maintaining your home’s heating system involves ensuring the condensate drain line is clear. This line carries away the excess moisture your heater produces. If it gets blocked, it can lead to more than just inconvenience.
A clogged condensate drain line might cause water damage. This blockage can also lead to system malfunctions, which could result in your home heater blowing cold air. Regularly checking and cleaning this line prevents these issues.
To keep your condensate drain line functioning properly, follow these steps:
- Inspect the line for visible blockages
- Gently flush the line with a mixture of water and vinegar
- Ensure the line slopes downward for proper drainage
Routine maintenance of the condensate drain line is simple yet crucial. Keeping it clear ensures your system runs efficiently, saving you from costly repairs and keeping your home comfortably warm.
When to Call a Professional HVAC Technician
Sometimes, heater issues are beyond a DIY fix. Recognizing these complex problems ensures your system gets the right care. If troubleshooting steps don’t resolve the heater blowing cold air, it’s likely time for expert help.
Engaging a professional HVAC technician has several advantages. They possess the expertise and tools to identify intricate problems. Professionals can efficiently repair issues, improving your heater’s reliability and efficiency.
Here are situations where calling a professional is advisable:
- Persistent cold air despite basic troubleshooting
- Unusual noises or smells from the heating system
- Frequent system short cycling
Regular professional inspections prevent larger issues before they occur. These visits ensure your system operates smoothly throughout the year. Investing in professional check-ups safeguards your home’s comfort and your heater’s longevity.
Preventative Maintenance to Avoid Future Cold Air Issues
Preventative maintenance is key to a consistently warm home. Regular care can dramatically reduce heater issues. Homeowners should perform basic tasks to keep the system in top shape.
Changing air filters is a simple yet crucial task. Clean filters allow efficient airflow and prevent overheating. Ensure that vents and registers remain unblocked by furniture or debris.
Here’s a list of maintenance tasks to consider:
- Replace air filters monthly or quarterly
- Keep the area around the furnace clean
- Check that vents are open and unobstructed
Scheduling professional maintenance annually is equally important. HVAC professionals conduct thorough inspections. They can spot potential problems early, saving you from costly repairs.
Investing in routine professional maintenance enhances your heating system’s performance. It ensures your home remains cozy and reduces the risk of emergency breakdowns. A well-maintained system is safer, more efficient, and ultimately more reliable.
Troubleshooting Specific Scenarios With Your Heater
Sometimes, heaters behave differently depending on the time or conditions. A furnace blowing cold air only at night can be puzzling. Often, this issue relates to incorrect thermostat settings.
If your thermostat switches to a cooler setting at night, it may cause your furnace to blow cold air. Ensure the thermostat is not programmed for nighttime cooling. Also, verify that the thermostat is located away from drafts or cold spots.
In some cases, a heater may blow cold air intermittently. Such behavior might indicate an issue with the thermostat’s wiring or settings. Loose or damaged wires can disrupt communication between the thermostat and the furnace.
On the other hand, frequent cycling between hot and cold air could be due to a short cycling issue. This might be caused by an overheating furnace that temporarily shuts down. Checking for blocked vents and filters could help resolve this.
Heat pumps are efficient, even in cold weather. However, they can struggle when temperatures drop significantly. During very cold weather, auxiliary heat might kick in to provide extra warmth.
If the heat pump blows cold air when it shouldn’t, check the outdoor unit. Snow or debris could block its coils. Additionally, ensure the system isn’t in defrost mode, which might cause temporary cold air.
Addressing specific scenarios depends on understanding the system’s behavior and setting. Here’s a list to consider:
- Check nighttime thermostat settings
- Inspect for short cycling causes
- Verify heat pump outdoor unit condition
Knowing your system’s quirks allows for faster troubleshooting. By addressing these specific scenarios, you can maintain a comfortable environment year-round. Understanding common patterns will empower you to make timely adjustments, reducing downtime and discomfort.
Safety Precautions and Best Practices
When it comes to maintaining your heater, safety should always come first. Attempting repairs on your own can be risky without the proper precautions. Before starting any troubleshooting, ensure the power to your heating system is turned off.
Working with heating systems involves electricity, gas, or both. It’s crucial to disconnect power or gas supply to prevent accidents. Taking time to understand the system’s components helps identify potential hazards.
Additionally, personal protective equipment (PPE) is a must. Gloves and goggles protect against debris and accidental contact with sharp components. These basic safety measures provide a barrier during your inspection process.
Before making any repairs, it’s beneficial to know when to halt efforts. Complex issues often require professional expertise. Trust certified technicians for intricate problems beyond your scope.
Here’s a basic safety checklist to guide your efforts:
- Turn off power before inspecting the heater
- Use gloves and goggles for protection
- Consult professionals for complex issues
Adhering to safety protocols ensures a secure environment. By following these precautions, you protect not only your heating system but also your well-being. Remember, taking preventive steps minimizes risks and promotes effective repairs.
Conclusion: Ensuring Warmth and Comfort in Your Home
Keeping your home warm and comfortable requires a well-functioning heating system. Understanding why your heater blows cold air is crucial for effective troubleshooting. Start by checking simple elements like thermostat settings and air filters. These basic steps can often resolve common issues.
It’s important to remember that not all problems are DIY-friendly. Recognizing when to call a professional can save you time and stress. An expert’s touch ensures that more complex problems are fixed accurately and safely. Your comfort and peace of mind are worth the investment in professional support.

