The placement of your thermostat significantly impacts your HVAC system’s efficiency. Many homeowners wonder when it’s best to Relocate My Thermostat, as a poorly located thermostat can lead to inaccurate temperature readings, causing your heating and cooling systems to work harder than necessary. This not only affects comfort but also increases energy bills. So, where should a thermostat be placed?
The Importance of Proper Placement
Proper thermostat placement is crucial for maintaining a balanced and consistent indoor climate. When strategically positioned, it ensures that your HVAC system accurately reflects the average temperature of your home. This prevents unnecessary energy consumption and helps maintain a comfortable environment throughout the seasons.
How Incorrect Placement Affects Efficiency
Incorrect placement can lead to frequent cycling of your HVAC system, which wears out the components faster and leads to higher maintenance costs. For instance, if placed near a window, the thermostat might sense a cooler temperature due to drafts, triggering the heating system unnecessarily. Understanding these dynamics is key to optimizing placement.
Common Misplacements to Avoid
Many homeowners unknowingly place their thermostats in suboptimal locations, such as near kitchens, hallways, or exterior doors. These areas can have fluctuating temperatures that do not accurately represent the home’s climate. By avoiding these spots, you can ensure more accurate temperature control and a more efficient HVAC operation.

Ideal Locations for a Thermostat
- Central Location: Ideally, your thermostat should be placed in a central area of your home. This ensures an average temperature reading, reflecting the overall climate of the house.
- Away from Heat Sources: Avoid placing thermostats near heat-emitting appliances, like ovens, or in direct sunlight, as these can skew temperature readings.
- Avoid Drafty Areas: Drafts from windows, doors, or poorly insulated walls can cause inaccurate readings, so keep thermostats away from these areas.
- Eye Level Placement: Install the thermostat at eye level, typically around 52 to 60 inches from the floor for easy access and accurate temperature detection.

Central Location: The Heart of Your Home
Positioning your thermostat centrally allows it to gauge the average temperature of your living space accurately. This is crucial because it helps your HVAC system respond appropriately to the overall climate rather than isolated temperature changes. Central hallways or living rooms often serve as ideal spots for this reason.
Shielded from Direct Sunlight
Direct sunlight can cause your thermostat to register higher temperatures than the actual room temperature, leading to inefficient cooling. Therefore, selecting a shaded spot away from windows and skylights is essential. This ensures your HVAC system operates based on true indoor temperature readings, not artificial heat spikes.
Avoiding Heat Sources and Drafts
The presence of heat sources like stoves or even electronic devices can distort your thermostat’s readings. Similarly, drafts from windows or doors can trick the system into thinking the space is cooler than it is. Placing your thermostat away from these influences helps maintain more accurate control over your home’s temperature.
Reasons to Relocate a Thermostat
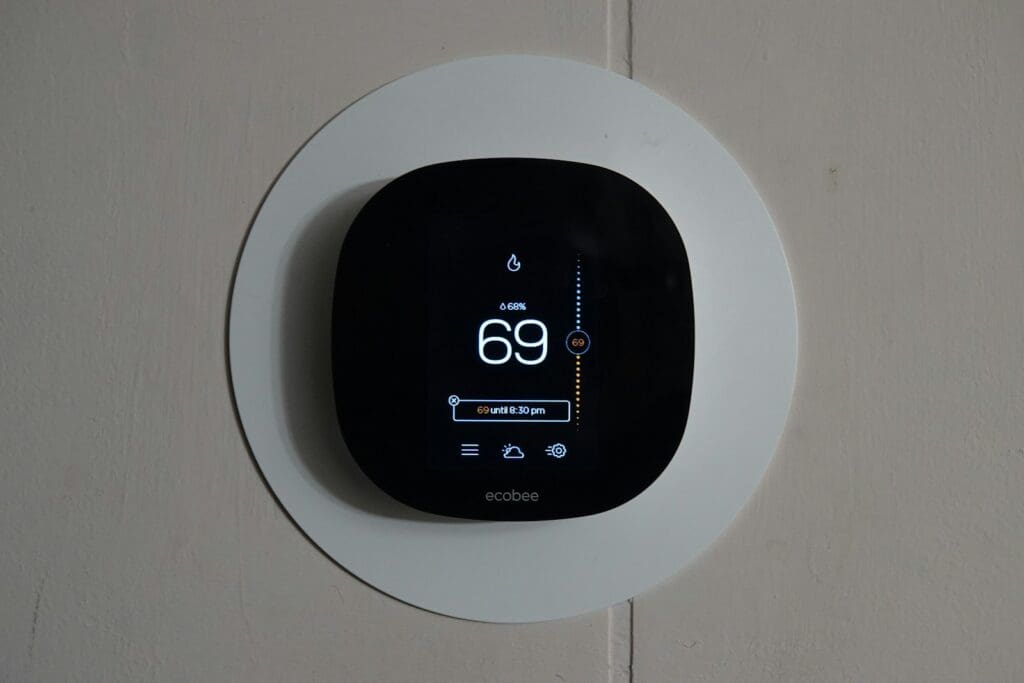
by Hutomo Abrianto (https://unsplash.com/@hutomoabrianto)
There are several valid reasons you might consider relocating your thermostat:
- Renovations: Changes in home layout due to renovations can necessitate moving the thermostat to a more central location.
- Energy Efficiency: Improving your home’s energy efficiency by ensuring the thermostat is in an optimal location.
- Aesthetic Reasons: You may want to move the thermostat to improve the aesthetic appeal of a room.
- Ease of Access: Placing the thermostat in a more accessible location can make adjustments easier for all family members.
Renovations and Home Layout Changes
Renovations often alter the layout and airflow patterns of a home. When walls are moved or rooms are expanded, your existing thermostat location might no longer be ideal. Relocating it to a more central position ensures it reflects the new configuration and maintains effective temperature control throughout your remodeled space.
Boosting Energy Efficiency
An improperly placed thermostat can lead to increased energy consumption as it causes the HVAC system to cycle on and off unnecessarily. By relocating the thermostat to an optimal spot, you can significantly enhance energy efficiency. This not only reduces utility bills but also contributes to a more sustainable household energy footprint.
Enhancing Room Aesthetics and Accessibility
A thermostat placed awkwardly can detract from a room’s visual appeal. Moving it to a less obtrusive or more stylistically appropriate location can enhance the room’s aesthetics. Furthermore, placing it at a convenient height and spot ensures that all family members, including those with mobility challenges, can access it easily.
Can You Move a Thermostat Yourself?
The question of whether you can move a thermostat yourself often arises. While it is possible, it involves a certain level of technical understanding. Here’s what you should consider:
DIY Considerations
- Skill Level: Ensure you are comfortable with basic electrical work and have an understanding of your HVAC system.
- Tools and Materials: You’ll need tools such as a screwdriver, drill, wire strippers, and possibly new wiring.
- Time Investment: The process can take several hours, especially if you are unfamiliar with electrical systems.
- Risk of Damage: Incorrect installation can damage your HVAC system or result in inefficient operation.
Assessing Your Technical Skills
Before embarking on this project, honestly evaluate your comfort level with handling electrical components. Basic knowledge of your HVAC system’s wiring and operations is essential. If you’re unfamiliar with these systems, it might be wise to seek professional assistance to avoid potential mishaps.
Gathering the Necessary Tools
Successful relocation requires the right tools. A screwdriver, drill, wire strippers, and potentially new wiring are essential. Having these on hand before starting the project ensures a smoother process. It’s also a good idea to consult your thermostat’s manual for specific guidance on tool requirements.
Allocating Sufficient Time
Moving a thermostat is not a quick task, especially for beginners. Set aside several hours to carefully complete each step without rushing. This ensures that you can address any unexpected challenges that may arise and complete the task safely and effectively.
Understanding the Risks Involved
Attempting this task without adequate preparation can lead to costly mistakes. Incorrect wiring could damage the thermostat or your HVAC system, leading to inefficient heating or cooling. If at any point you feel unsure, it’s advisable to stop and consult with a professional to mitigate these risks.
Steps to Relocate a Thermostat
If you decide to move forward with the task yourself, follow these steps to relocate your thermostat:
Step 1: Turn Off Power
Before beginning any work, ensure power to the HVAC system is turned off at the circuit breaker to prevent electrical shock.
Step 2: Remove the Thermostat
Carefully remove the current thermostat from its mounting plate. Take note of how the wires are connected. Label them for easy reattachment.
Step 3: Choose the New Location
Based on the ideal locations mentioned earlier, choose a suitable new spot for the thermostat.
Step 4: Run New Wiring (if necessary)
If the existing wiring doesn’t reach the new location, you’ll need to run new wires. This step can be complex and may require drilling through walls or floors.
Step 5: Install the Mounting Plate
Secure the mounting plate at the new location. Ensure it is level and firmly attached to the wall.
Step 6: Reconnect the Wires
Attach the wires to the correct terminals on the new thermostat. Refer to the labels you made earlier for guidance.
Step 7: Mount the Thermostat
Attach the thermostat to the mounting plate and ensure it is secure.
Step 8: Restore Power and Test
Turn the power back on and test the thermostat to ensure it is functioning correctly and the HVAC system responds to adjustments.
Safety First: Power Off Precautions
Always start by turning off the power to your HVAC system at the circuit breaker. This step is crucial to prevent electrical shocks or damage to the system. Double-check that the power is off by attempting to turn on the system before beginning any work.
Detailed Thermostat Removal
Gently remove the thermostat from its current location. This involves detaching it from the mounting plate and disconnecting the wires. Pay close attention to the wiring configuration, as reconnecting them correctly is vital for the new installation. Label each wire carefully to ensure easy reattachment later.
Selecting the Optimal New Spot
Evaluate potential new locations based on the guidelines for ideal thermostat placement. Consider factors such as centrality, exposure to sunlight, and proximity to drafts. Once you’ve chosen a spot, ensure it meets all criteria for optimal temperature sensing and accessibility.
Running New Wiring: Challenges and Tips
If your new location requires additional wiring, prepare for a complex process. This might involve drilling holes and threading wires through walls. It’s important to measure accurately and take safety precautions, such as wearing protective gear and using appropriate tools, to prevent injury or damage to your home.
Installing the Mounting Plate Securely
Once wiring is in place, affix the mounting plate to the wall at the new location. Use a level to ensure it is straight and securely fastened. This step ensures the thermostat sits properly and functions accurately without being disturbed by vibrations or movements.
Wiring Reconnection: Attention to Detail
Reconnect the wires to the new thermostat, following the labels you created during removal. Each wire must be attached to the corresponding terminal to ensure proper function. Take your time to double-check connections, as errors can lead to malfunctioning systems.
Finalizing the Installation
Mount the thermostat onto the new plate, ensuring it clicks into place securely. Once installed, turn the power back on and test the system. Check to see if the HVAC responds correctly to temperature adjustments, indicating a successful relocation.
Professional Help and Costs
While DIY options are available, hiring a professional can provide peace of mind and ensure the job is done correctly. Professionals have the expertise to deal with unexpected issues and can optimize your HVAC system’s efficiency.
Cost Considerations
- Labor Costs: Professional installation typically costs between $150 to $400, depending on the complexity of the job and your location.
- Additional Costs: If new wiring or drywall repair is needed, these can increase the overall expense.
Weighing the Benefits of Professional Installation
Hiring a professional not only ensures a correctly executed job but also saves you time and potential headaches. Professionals bring expertise that allows them to anticipate and solve unforeseen issues, which might be challenging for a DIY enthusiast. This can result in a more efficient and longer-lasting HVAC setup.
Understanding the Financial Investment
The cost of professional thermostat relocation varies, but it typically ranges from $150 to $400. This price reflects the complexity of the task and the professional’s expertise. While it might seem like a significant expense, the long-term benefits of optimized HVAC efficiency and reduced energy bills can offset the initial costs.
Factoring in Additional Expenses
In some cases, additional costs may arise if new wiring needs to be installed or if drywall repair is necessary. These factors should be considered when budgeting for the relocation project. Discussing these possibilities with your chosen professional in advance can help avoid unexpected expenses.
Conclusion: When and Why to Relocate My Thermostat for Better Efficiency
Relocating a thermostat can enhance your home’s comfort and energy efficiency. Whether you decide to do it yourself or hire a professional, considering the placement’s impact on your HVAC system is crucial. If you’re in the Los Angeles area and need assistance, don’t hesitate to contact us at LC Heating and Air Conditioning. Our team of experts is ready to help you optimize your home’s heating and cooling systems.
Remember, a well-placed thermostat is a key component in maintaining a comfortable and cost-effective home environment. By taking the time to ensure your thermostat is in the right spot, you can enjoy a more consistent indoor climate and potentially save on energy costs. Whether for aesthetic, efficiency, or accessibility reasons, relocating your thermostat might just be the upgrade your home needs.
Speaking of thermostat placement and HVAC efficiency, you might be interested in learning more about how heating, ventilation, and air conditioning systems work. Check out the detailed overview of Heating, Ventilation, and Air Conditioning (HVAC). If you’re curious about how thermostats function to regulate temperature, this article on the Thermostat provides a great explanation. Additionally, understanding concepts like Thermodynamics can give you deeper insight into how heat transfer influences indoor climate control.


